
Launching and managing a WordPress website doesn’t have to be complex or stressful. Whether you’re a business owner, blogger, or developer, finding the right hosting solution is crucial for your site’s performance and security. This is where Web-Server (WBS) comes in, offering an all-in-one managed WordPress hosting platform designed to make your life easier.
With WBS, you get lightning-fast load times, top-notch security, and powerful tools to manage your WordPress sites effortlessly. From automatic backups to staging environments, WBS takes care of the technical side so you can focus on growing your online presence. In this guide, we’ll walk you through the simple steps to set up WordPress on WBS and show you how to make the most of its robust features for a hassle-free hosting experience.
Watch the Step-by-Step Video
Watch the complete walkthrough of the process in this video, or check the detailed step-by-step guide to set up WordPress on Web-Server with confidence.
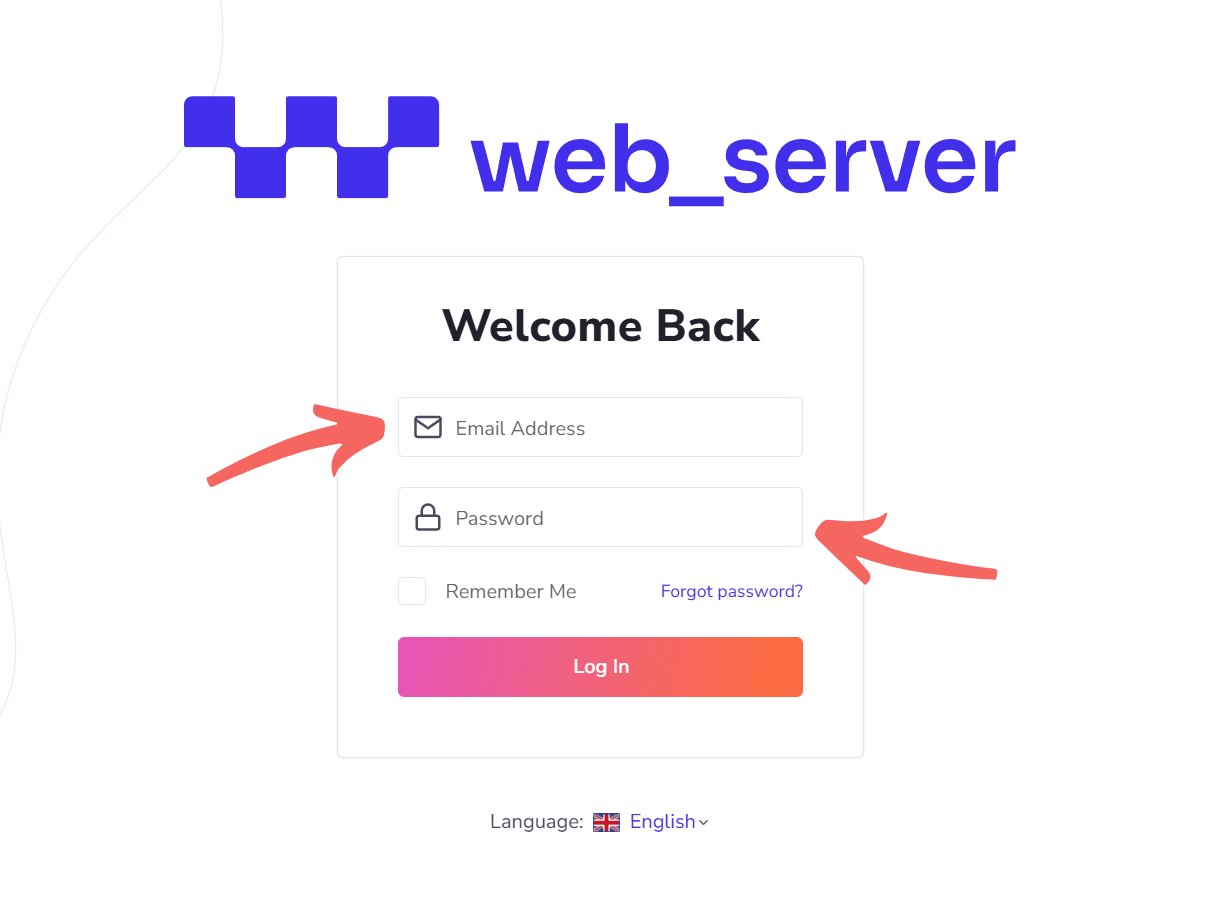
Step 1: Log in to WBS
The first step is to log in to your WBS account. If you don’t have an account yet, you’ll need to sign up on the Web-Server platform. Once logged in, you’ll have access to the WBS management interface, where you can create and manage your WordPress instances.
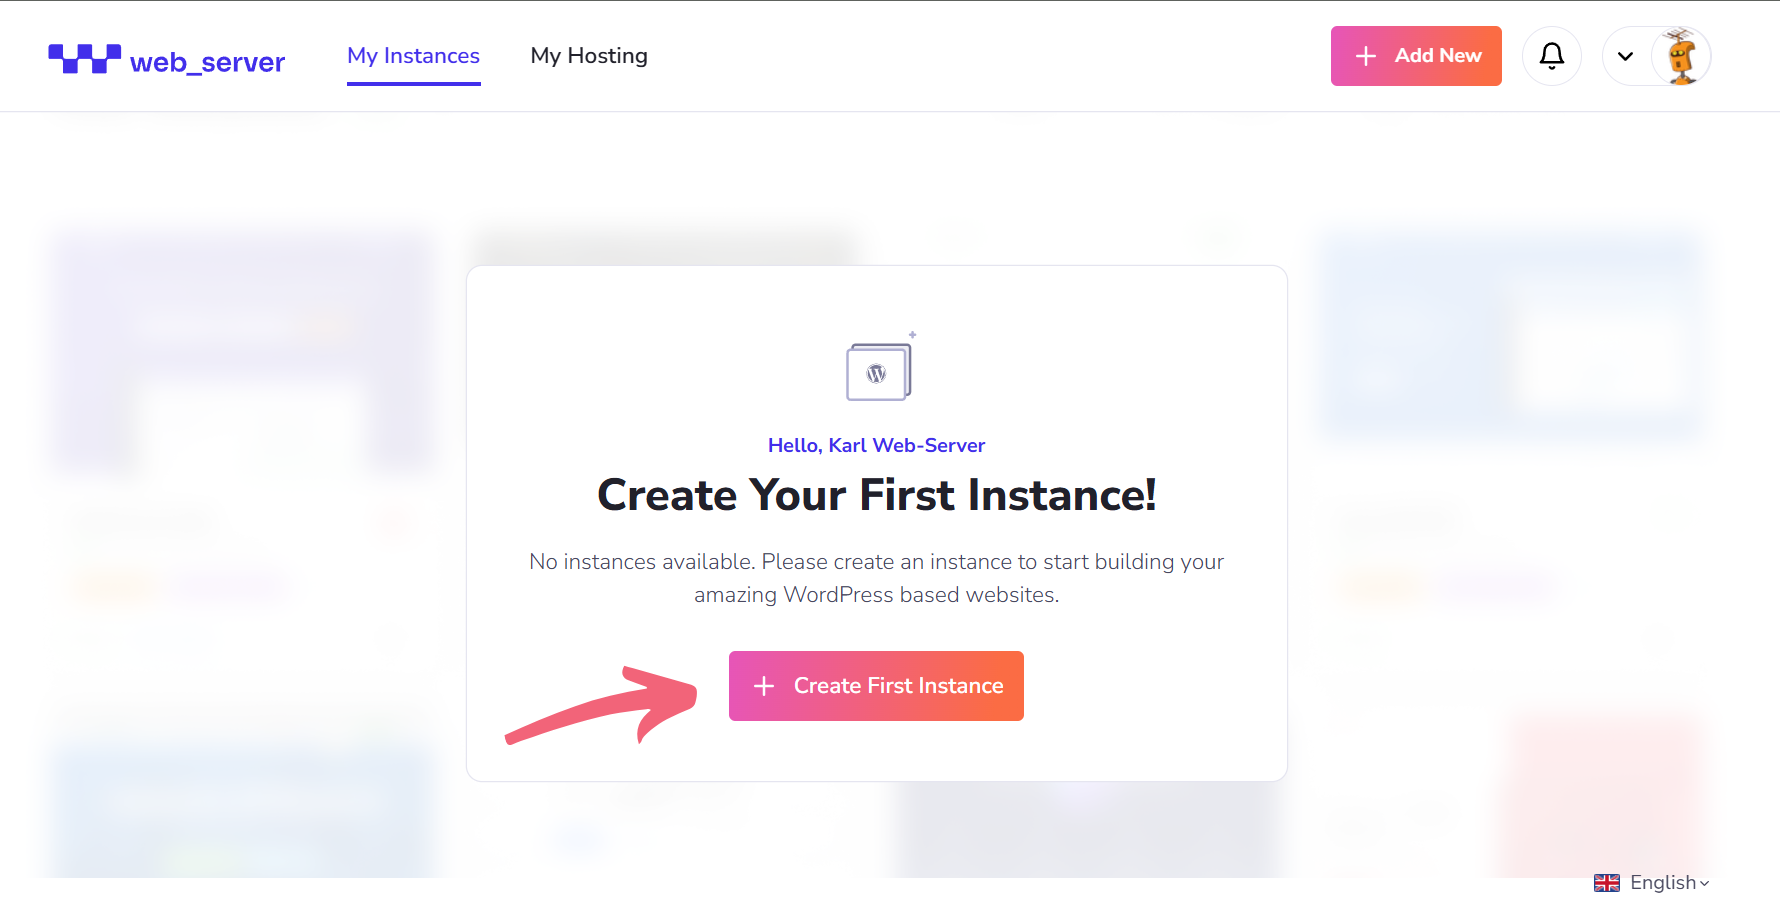
Step 2: Create Your First Instance
Once logged in, the next step is to create a new hosting instance for your WordPress site.
Follow these steps:
- Click on the Create First Instance button on your dashboard.
- WBS will guide you through setting up your new instance, where you can install WordPress.
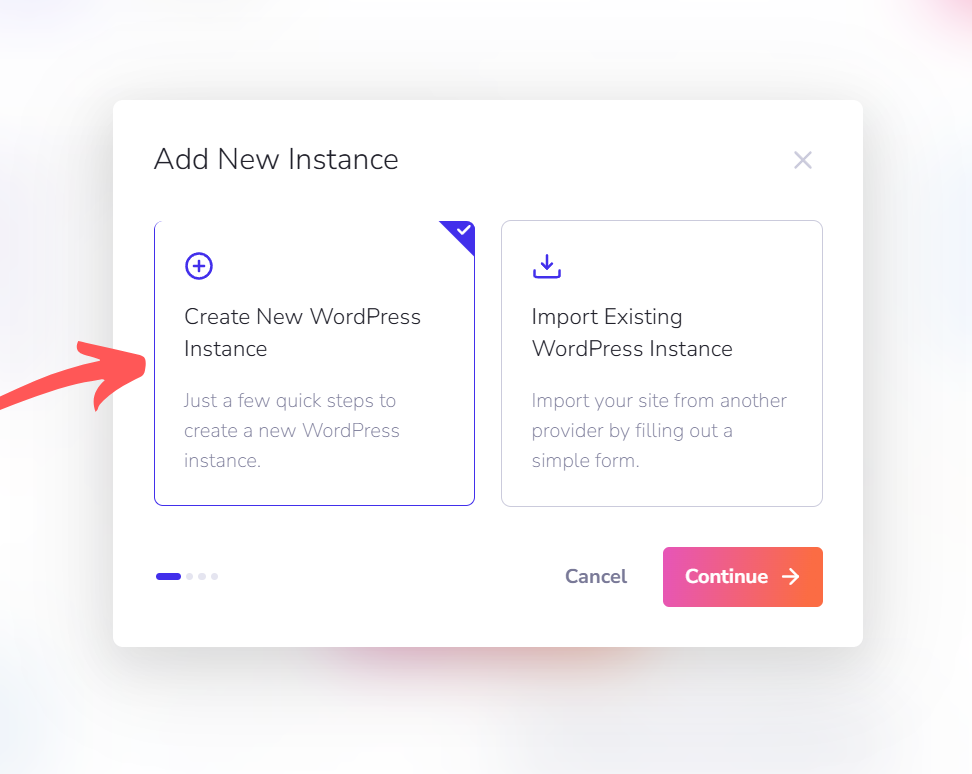
Step 3: Create a New WordPress Instance
Click the Create New WordPress Instance button. This action will begin the installation process for your new WordPress site. WBS simplifies the process by providing pre-installed, ready-to-go WordPress instances.
Step 4: Enter Your Domain Name
You’ll then be prompted to enter your domain name. If you already have one, simply enter it in the provided field. If you’re new to WBS, don’t worry – your domain will be assigned to you when you subscribe to the service, making the setup process seamless and easy.
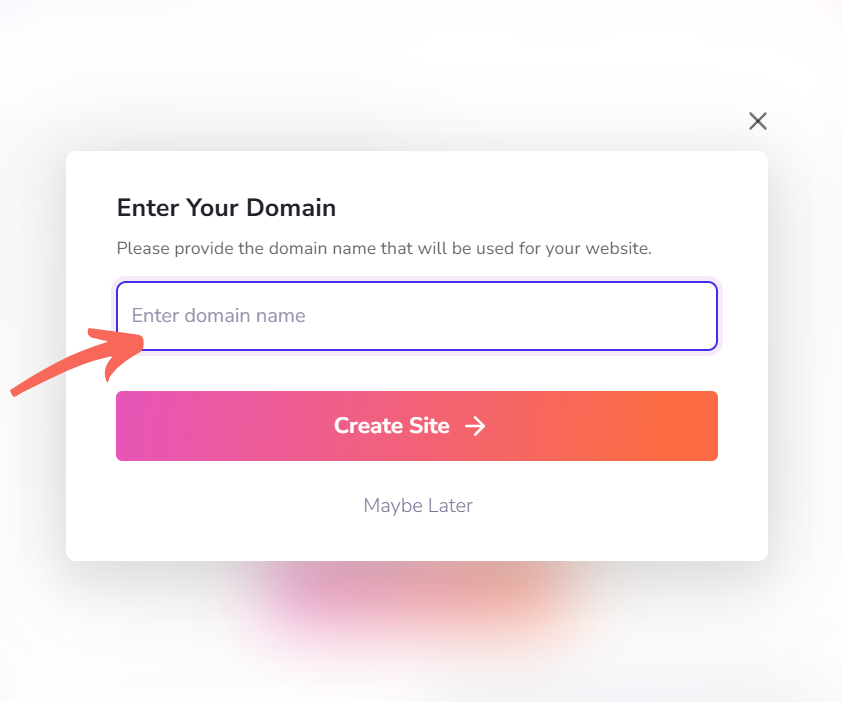
Once your domain is set up, click ‘Create Site’ to initiate the installation process.
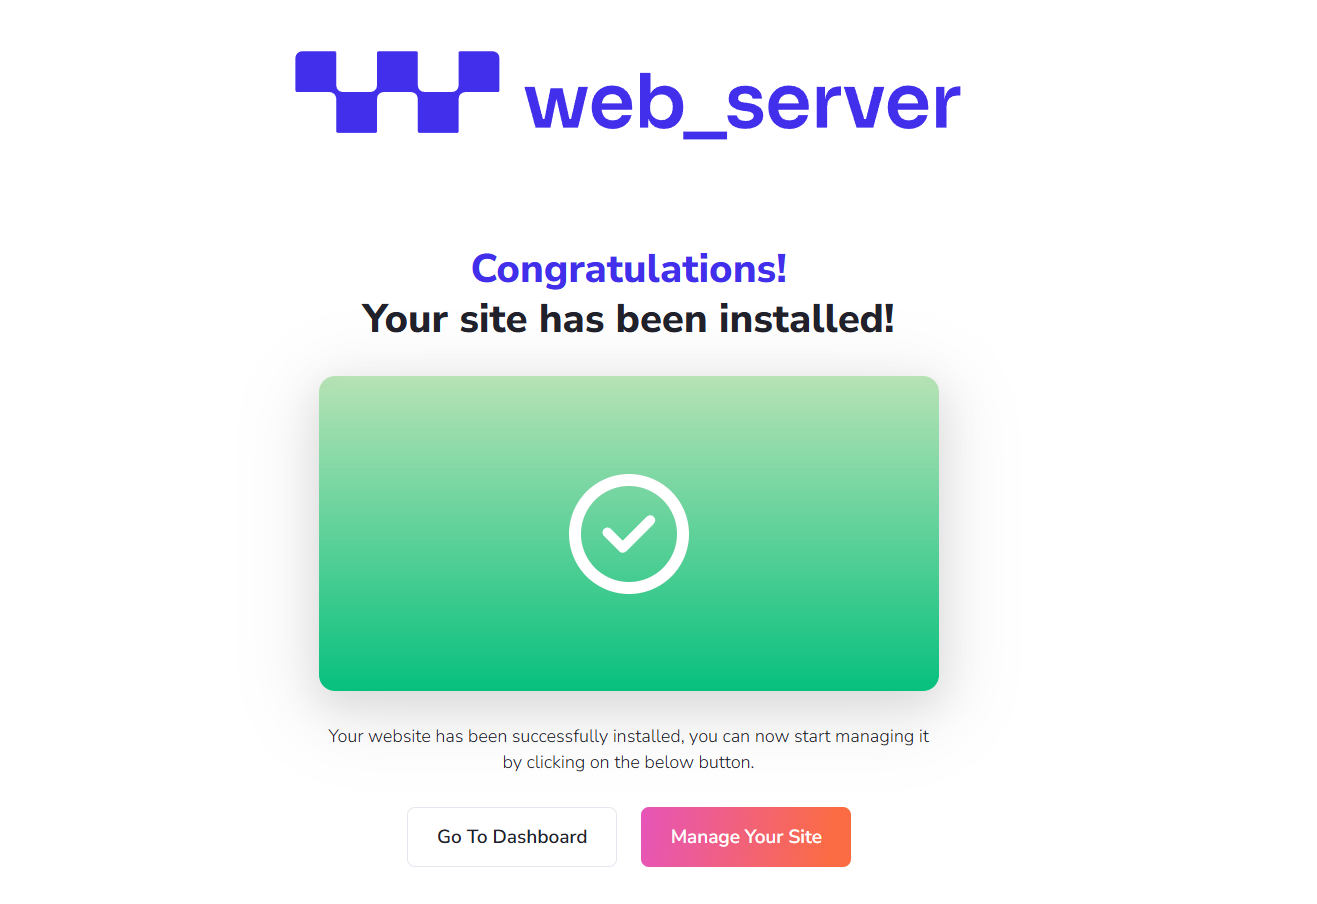
Step 5: Site Installation Complete
After the installation finishes, your WordPress site will be live and ready to use. You’ll see a notification confirming the installation is complete.
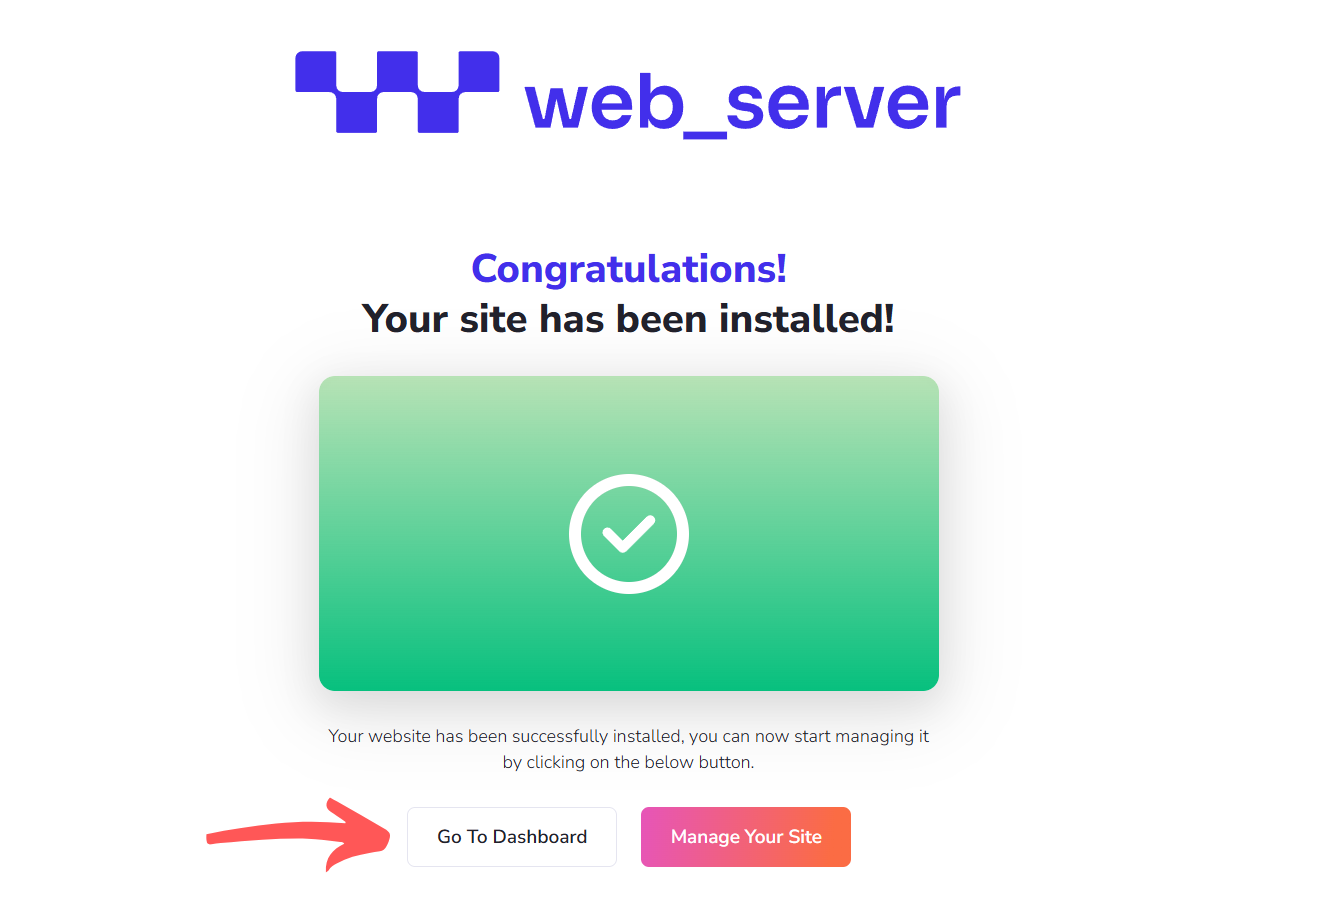
Step 6: Access Your Dashboard
Now that your site is live, you can access the WordPress dashboard for easy management. This dashboard allows you to customize, manage content, and tweak your site’s settings.
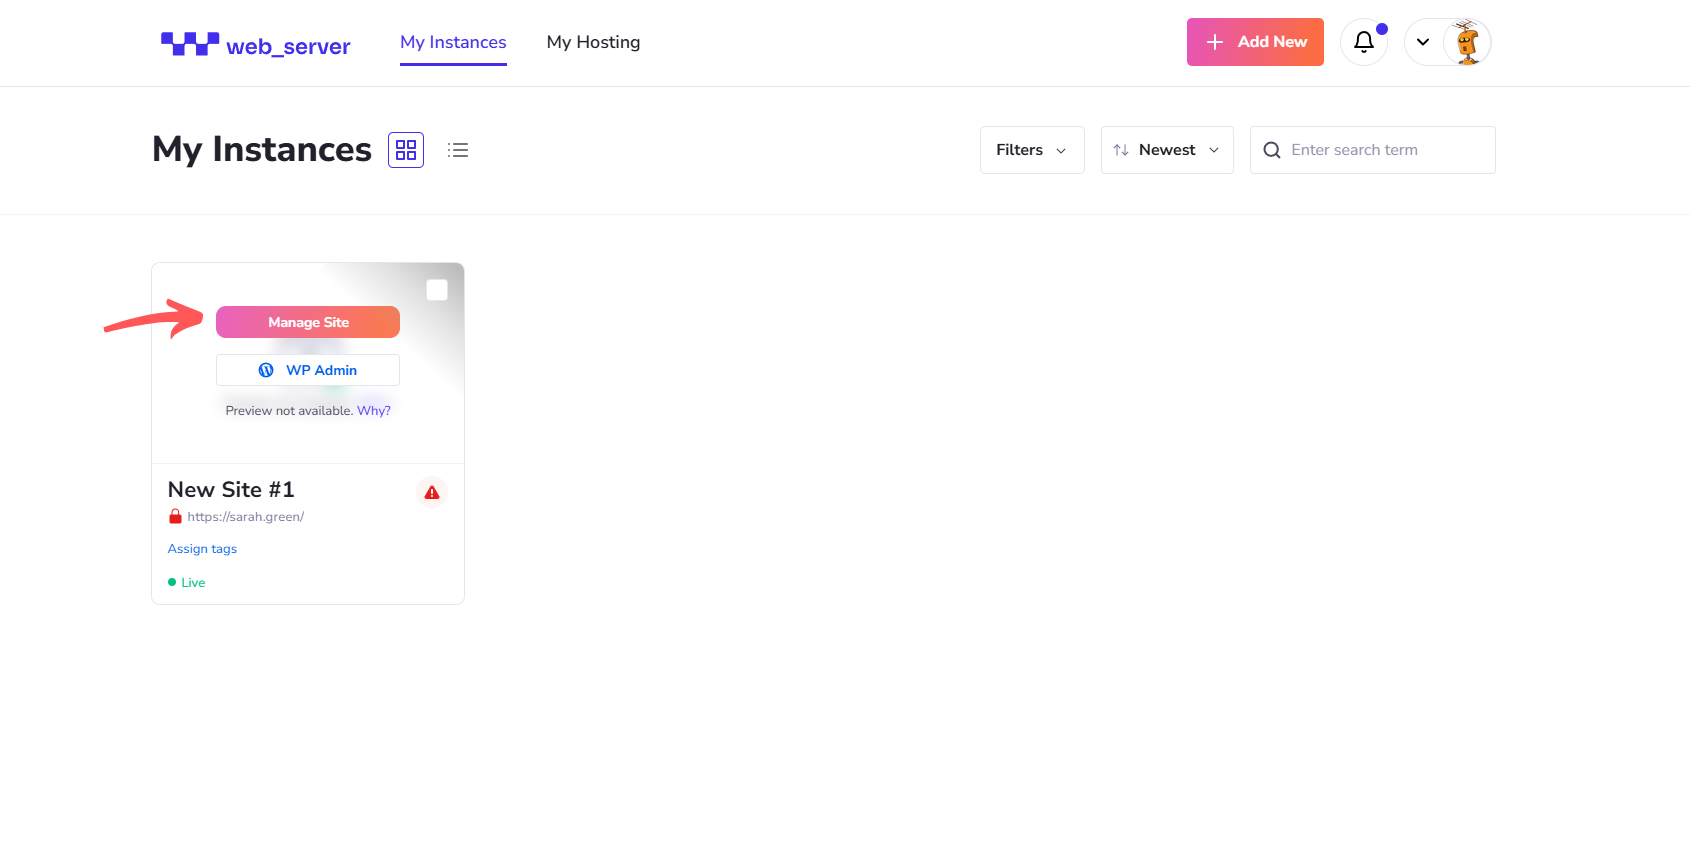
Step 7: Managing Your Site
The WBS management interface provides various tools to keep your WordPress site optimized, secure, and functioning smoothly. Here’s a deeper dive into the key management features:
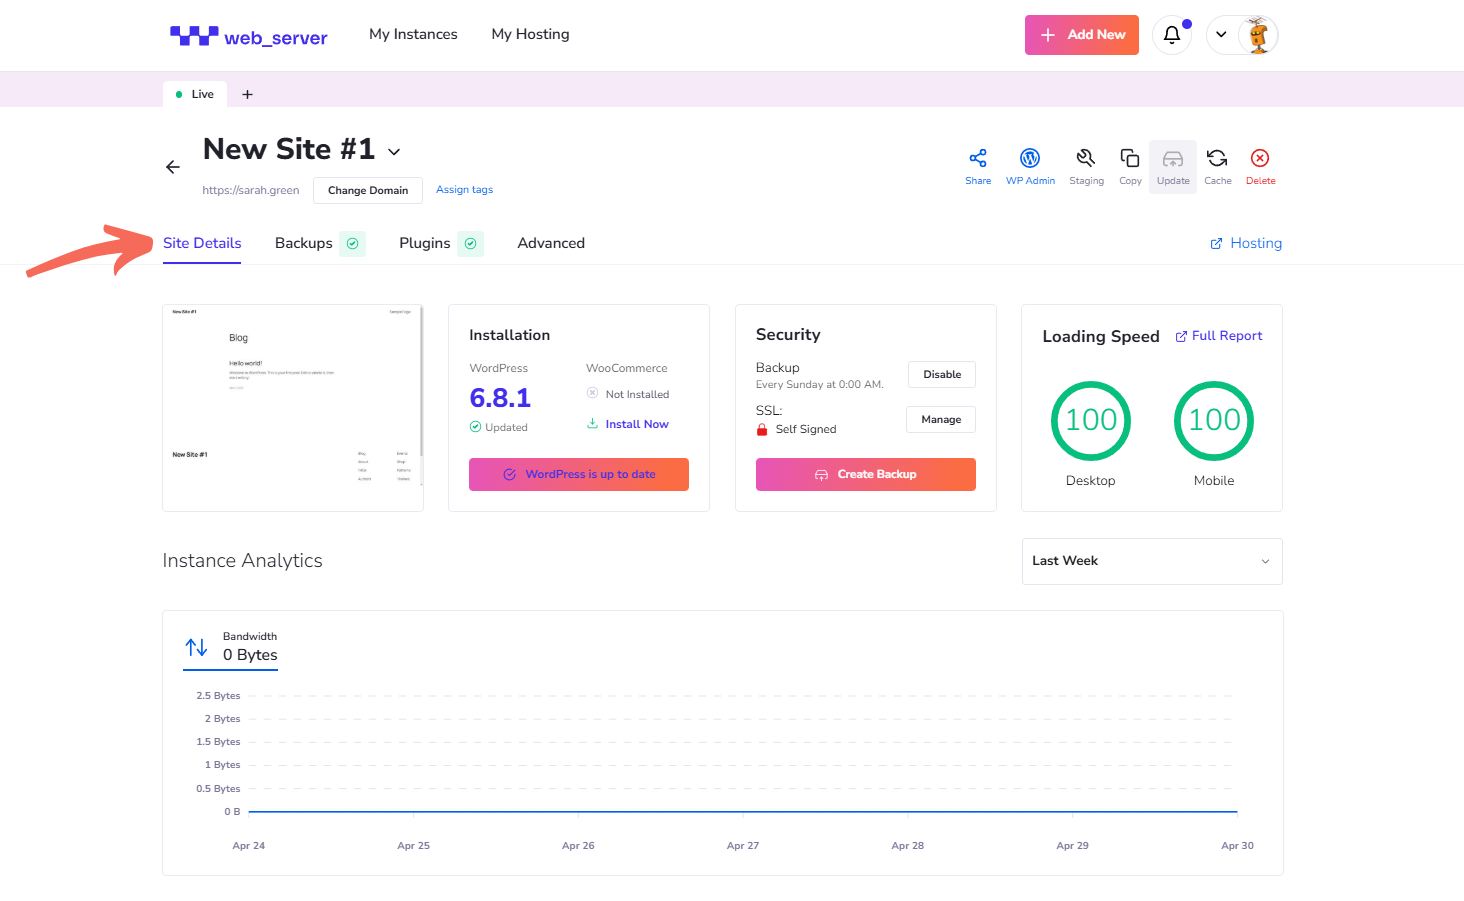
Site Details
View essential information about your site at a glance. This includes:
- Site Preview: Quickly preview your site to see live changes.
- SSL Certificates: Ensure your site is secure with a valid SSL certificate, providing HTTPS encryption for visitors.
- Backup Status: Monitor the status of your automatic backups to confirm that your data is safely stored.
- Loading Speed and Bandwidth: Check the performance metrics to ensure your site loads quickly and can handle your expected traffic.
- Staging: A staging environment allows you to test changes in a safe space before making them live. Whether you’re testing new plugins or themes, updating the WordPress core or plugins, or experimenting with design and content changes, staging ensures that any potential issues won’t impact your live site. Once you’re satisfied with the results, pushing the changes live is as simple as a single click.
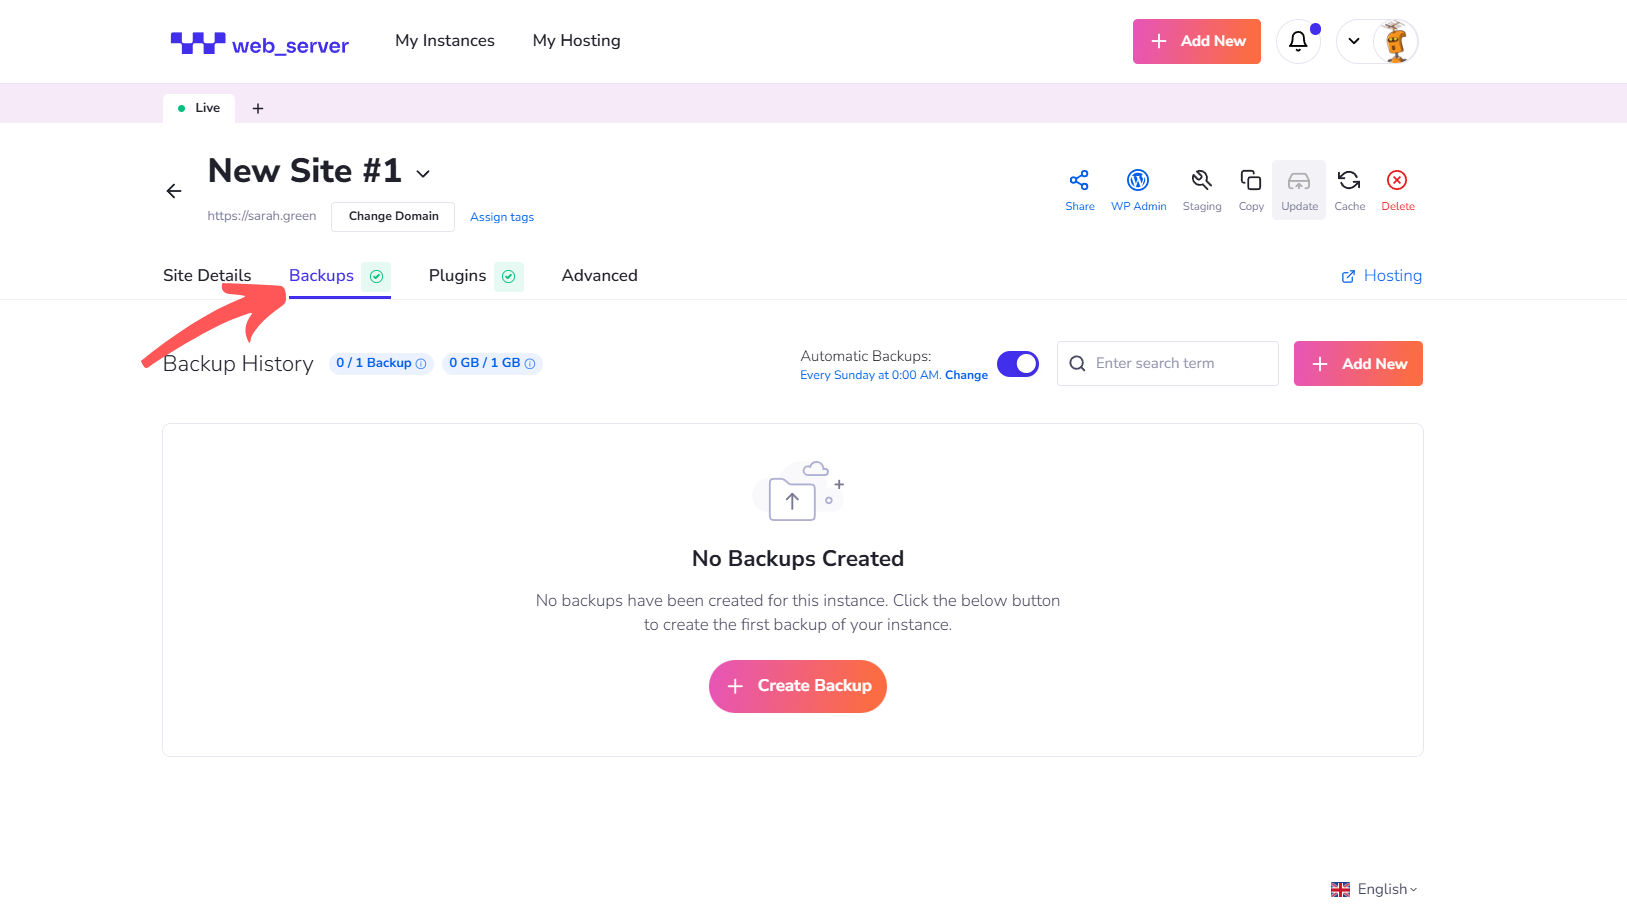
Backup
WBS automatically backs up your site daily to ensure you never lose data. However, you can also manually initiate backups if you want extra control. Here’s what you need to know:
- Automatic Backups: WBS handles daily backups for you, so you don’t have to worry about remembering to back up your site.
- Manual Backups: If you want to back up your site before making significant changes, you can initiate a backup manually with just a few clicks.
- Restore Backups: In case anything goes wrong, you can quickly restore your site to a previous backup version.
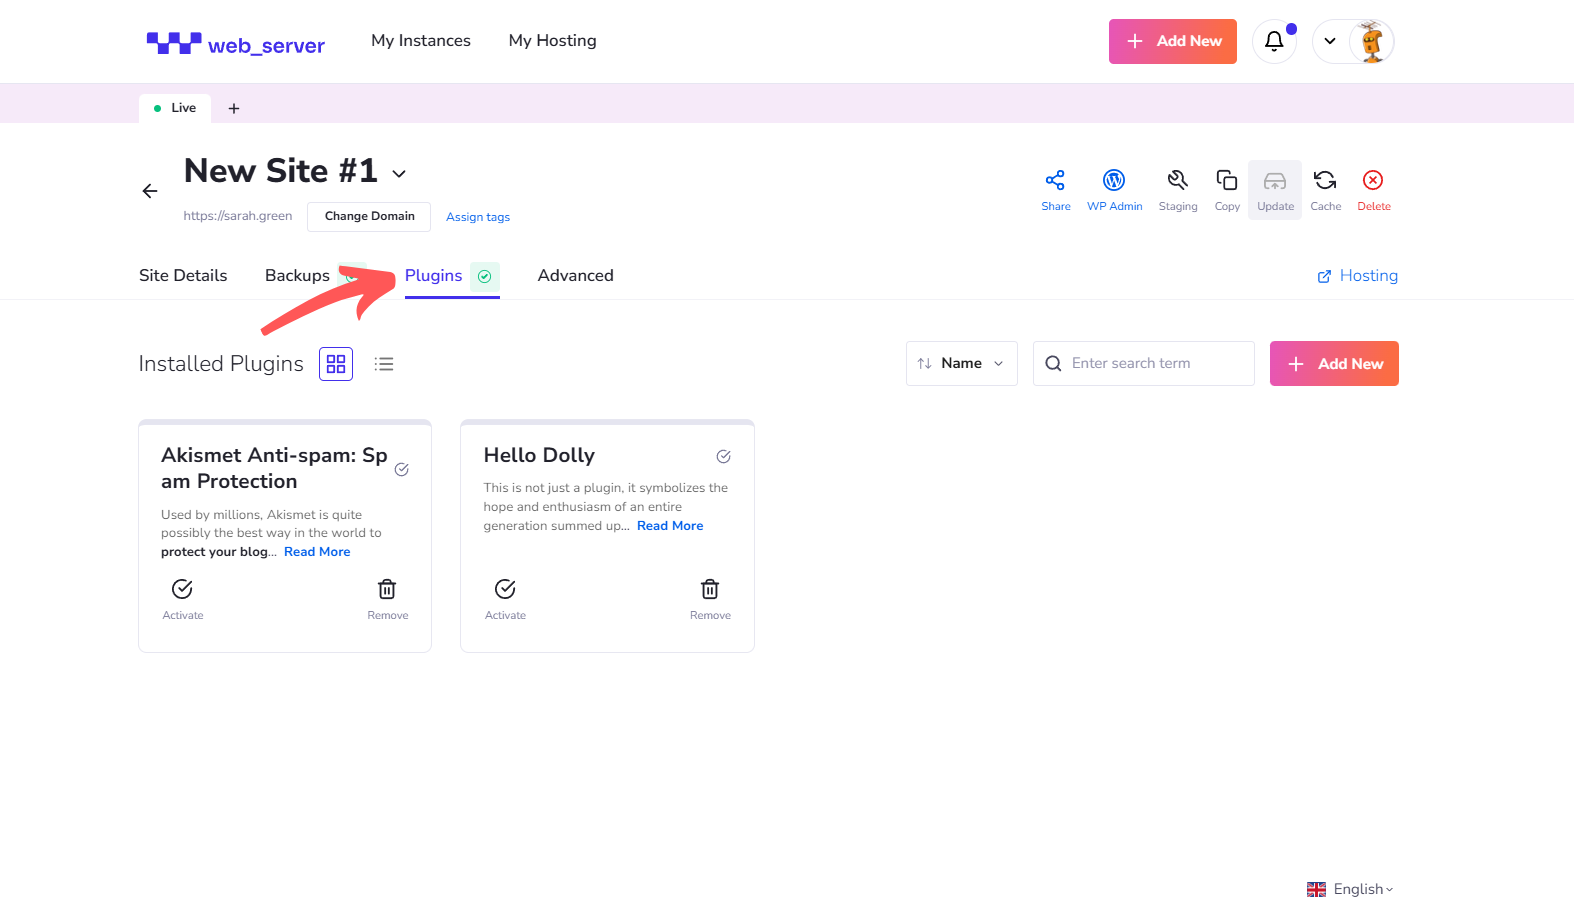
Plugins
Plugins are vital for enhancing your WordPress site’s functionality. The WBS platform makes it easy to manage your plugins:
- Add, Update, or Delete Plugins: Use the simple interface to install, update, or remove plugins.
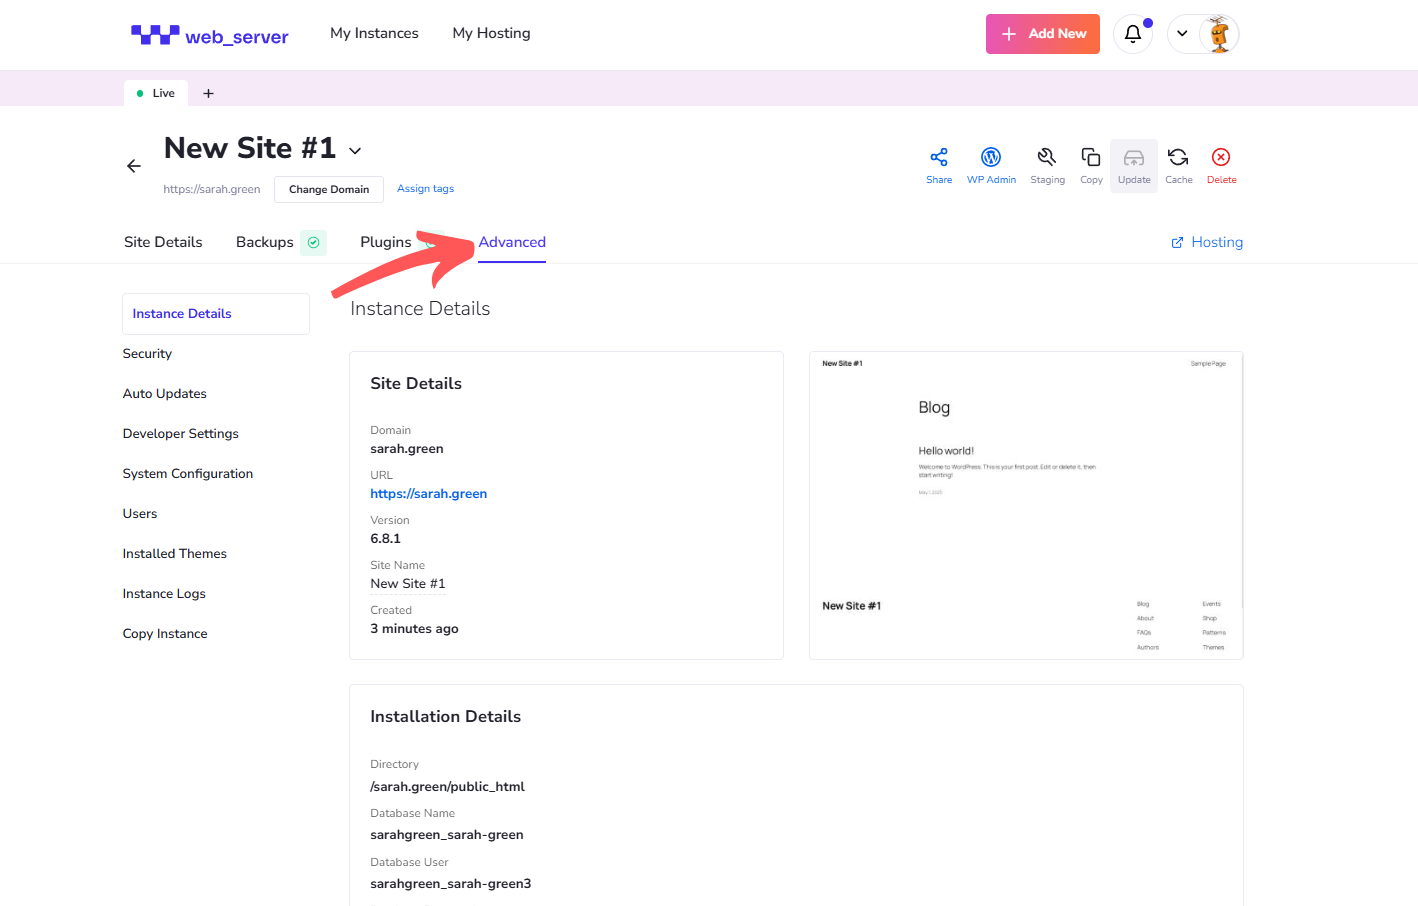
Advanced Settings
For users who need more control, WBS provides a comprehensive suite of advanced features:
- Instance Details: View detailed information about your hosting instance, such as resource usage and server specifications.
- Security Settings: Access advanced security options like firewalls, IP-based blocking, and malware protection.
- Updates: Manage your site’s update schedule for WordPress core, themes, and plugins.
- Developer Settings: Developers can take advantage of features such as WP-CLI, Git, and Composer for managing WordPress installations.
- System Configurations: Make changes to your server settings, such as PHP versions, caching options, and CDN configurations.
- User Management: Manage user access levels, add collaborators, and assign permissions to control who can access various aspects of your site.
Log in via SSO (Single Sign-On)
With Single Sign-On (SSO), you can seamlessly log into your WordPress dashboard without remembering separate login credentials. This feature streamlines your workflow and enhances security by reducing the passwords you need to manage.
Step 8: Customizing and Managing Your WordPress Site
Now that your WordPress site is up and running and your dashboard ready, it’s time to make it your own. You can enhance functionality and design by installing themes and plugins, fine-tuning settings through the WordPress admin panel, and monitoring your site’s performance and security through the intuitive WBS interface.
Take Your WordPress Site to the Next Level with WBS
Setting up and managing your WordPress site is simple with WBS. With features like staging environments, automatic backups, and easy plugin management, WBS handles the technical side so you can focus on growing your business and engaging your audience.
WBS offers a secure, reliable platform that’s easy to maintain, with optimizations to keep your site performing at its best. Whether you’re just starting out or scaling up, our user-friendly interface and helpful support team ensure your site runs smoothly every step of the way.
Get started with WBS today and experience hassle-free WordPress hosting that helps your business grow faster with less effort.
