
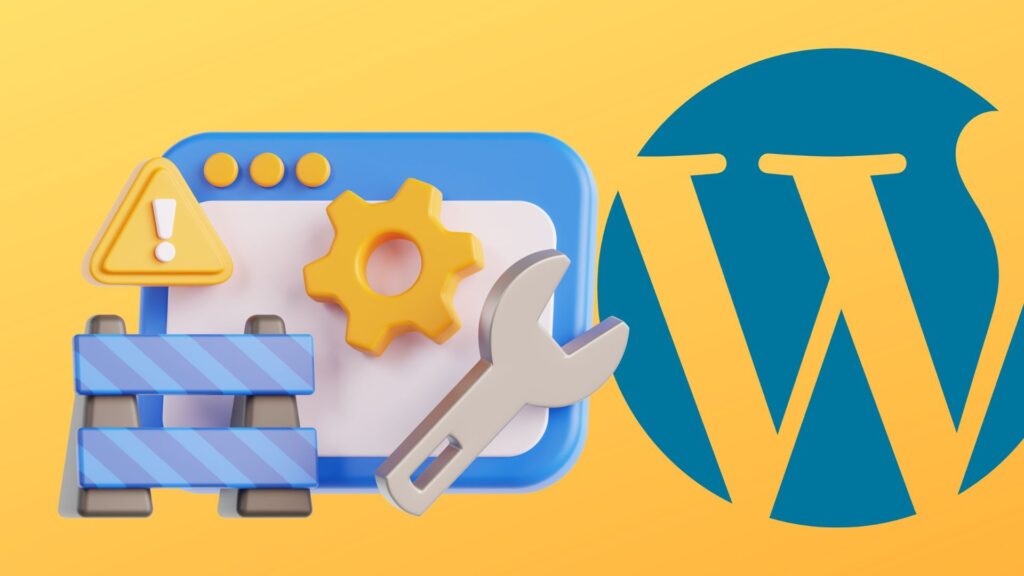
Putting your WordPress site in maintenance mode is an essential practice whenever you’re making significant updates or changes. It ensures visitors don’t encounter a broken or unfinished website, and it conveys professionalism with a clear message that your site is temporarily unavailable for scheduled maintenance. Whether you’re performing updates, redesigning your pages, or troubleshooting technical issues, knowing how to enable maintenance mode protects both your reputation and your user experience.
Key Takeaway:
Put your WordPress site in maintenance mode to safely perform updates or changes without exposing visitors to errors. Use a plugin like WP Maintenance Mode for quick setup, or create a .maintenance file for manual control. Always remove maintenance mode when finished to bring your site back online.
Why Put Your WordPress Site in Maintenance Mode
Enabling WordPress maintenance mode on a website provides a controlled way to handle downtime. When you make changes to your WordPress site, such as installing new themes, updating plugins, or customizing core files, there’s always a risk of errors appearing to your visitors. A maintenance mode page prevents this by displaying a clear notice that your site is under maintenance, assuring users that the site will return soon.
This approach is also vital during larger maintenance tasks like migrating your website or performing security fixes. Without maintenance mode, visitors might see incomplete layouts, malfunctioning features, or confusing error messages. Using maintenance mode gives you the privacy to work on your site without exposing transitional problems, and it reinforces trust by communicating that the downtime is intentional and temporary.
Choosing the Right Approach for Your Site
Before diving into how to put your WordPress website into maintenance mode, it’s important to consider which approach best fits your site’s needs and your level of technical confidence. A small personal blog might only require a simple maintenance page, while a high-traffic business site could benefit from a custom maintenance mode page with branding and notifications.
Understanding your priorities, whether that’s quick setup, deep customization, or minimal reliance on plugins, will help you decide how to implement maintenance mode. This way, you’ll ensure your website in maintenance mode still aligns with your goals, keeps your visitors informed, and protects your reputation during updates.
Using a Maintenance Mode Plugin
Installing a maintenance mode plugin is the simplest way to put your WordPress site into maintenance mode. Plugins like WP Maintenance Mode or Maintenance allow you to activate maintenance mode with a few clicks from your WordPress dashboard. These tools offer features beyond just blocking access; they let you customize the maintenance message, design a branded maintenance page, and even add subscription forms so visitors can be notified when your site is back.
With the maintenance plugin, you gain precise control over the maintenance mode option, such as deciding who can still access the website. For example, you can allow logged-in administrators to see the live site while all other visitors see a maintenance message. This flexibility ensures you can continue to test changes on the frontend without disabling maintenance mode.
Using a maintenance mode plugin also avoids common pitfalls like getting stuck in maintenance mode due to leftover files. Most plugins manage the process cleanly, preventing issues that can arise from manual edits.
How to Enable Maintenance Mode Manually
If you want to enable maintenance mode without a plugin, you can do so by adding a small snippet of code to your theme’s functions.php file or by creating a maintenance file in your WordPress root directory. This method is ideal for developers or site owners who are comfortable editing files directly, as it avoids adding extra plugins to your site.
A common manual approach involves placing a .maintenance file in your site’s root directory. When WordPress detects this file, it automatically serves a standard maintenance page to visitors. Alternatively, adding a custom function in functions.php can let you display a personalized maintenance mode message.
Manual methods provide greater control but come with risks if handled incorrectly. Mistyped code or forgotten maintenance files can leave your website stuck in maintenance mode. Always back up your site before making manual changes and test thoroughly to ensure your site is only in maintenance mode when intended.
Fixing a Site Stuck in Maintenance Mode
Sometimes, after updates fail or processes are interrupted, your site may get stuck showing “Briefly unavailable for scheduled maintenance.” This usually happens when the .maintenance file remains in your WordPress root directory even after the update completes. To fix this, access your site via FTP or your hosting file manager, locate the .maintenance file, and delete it. Your site should immediately return to normal.
If you use a plugin and the site remains stuck in maintenance mode, disable the plugin from your plugins directory or via your WordPress dashboard. Understanding how to disable maintenance mode is crucial to avoid extended downtime and reassure visitors that your website is live again.
Customizing the Maintenance Mode Page
A generic maintenance mode page does little to engage visitors. Customizing the maintenance message and page design helps maintain your brand’s voice even when your website is under maintenance. Many maintenance mode plugins allow you to upload your logo, adjust colors, and write a friendly message explaining the maintenance period.
A well-crafted maintenance mode landing page can also include options for visitors to sign up for updates or follow you on social media, keeping your audience engaged while your site is temporarily inaccessible. This approach turns downtime into an opportunity to strengthen customer relationships.
Testing and Managing Your Maintenance Mode
After activating maintenance mode, clear the cache and open your website in an incognito window to see exactly what visitors experience. This ensures your maintenance page displays correctly and confirms that logged-in administrators can still access the full site to continue making changes.
Monitoring the process from your WordPress dashboard allows you to turn off maintenance mode as soon as your updates are complete. Regular checks help you avoid leaving the site in maintenance mode longer than necessary, preserving your SEO rankings and visitor trust.
Conclusion
Putting your WordPress site in maintenance mode is a smart, professional way to handle updates or technical changes to your site. It protects your visitors from seeing a broken site and communicates that your website is under maintenance temporarily. Whether you use a maintenance mode plugin, enable maintenance mode manually, or customize your maintenance page for your brand, taking control over maintenance mode ensures your site will be back online smoothly and your visitors remain informed.
