
Managing your sites effectively is key to keeping your Web-Server account organized and running smoothly. This guide will walk you through the exact steps to delete a WordPress website from your Web-Server account. Whether you’re clearing out old projects, optimizing server resources, or simply tidying up, this straightforward process will help you safely remove any WordPress site you no longer need, while avoiding common mistakes along the way.
Why Would You Want to Remove a WordPress Site?
There are several reasons why you might decide to delete a WordPress site from your account:
- Free up server resources: Unused sites still consume storage, bandwidth, and sometimes even processing power.
- Reduce hosting costs: Keeping your account lean helps ensure you’re only paying for what you truly need.
- Eliminate security risks: Outdated or abandoned WordPress installations can become vulnerable to security threats and attacks.
- Get a clean slate: You may be preparing to launch a fresh site or migrate to a new domain.
What to Consider Before Deleting Your Site
Before you proceed, it’s crucial to understand that deleting your WordPress site is a permanent action. Once removed, all your website files, content, and databases tied to that site will be gone and cannot be recovered.
Also consider:
- Impact on connected services: If your site is tied to business emails, CDN, or SSL certificates, deleting it may disrupt those services.
- SEO implications: If the site is live and indexed by search engines, removing it will result in broken links and a loss of rankings.
Need to keep your content?
We strongly recommend creating a full backup before you delete your site. You can follow our dedicated guide here: How to Back Up Your WordPress Site.
How to Safely Delete Your WordPress Site From Your Account
Follow these simple steps to safely delete your WordPress site from your hosting dashboard.
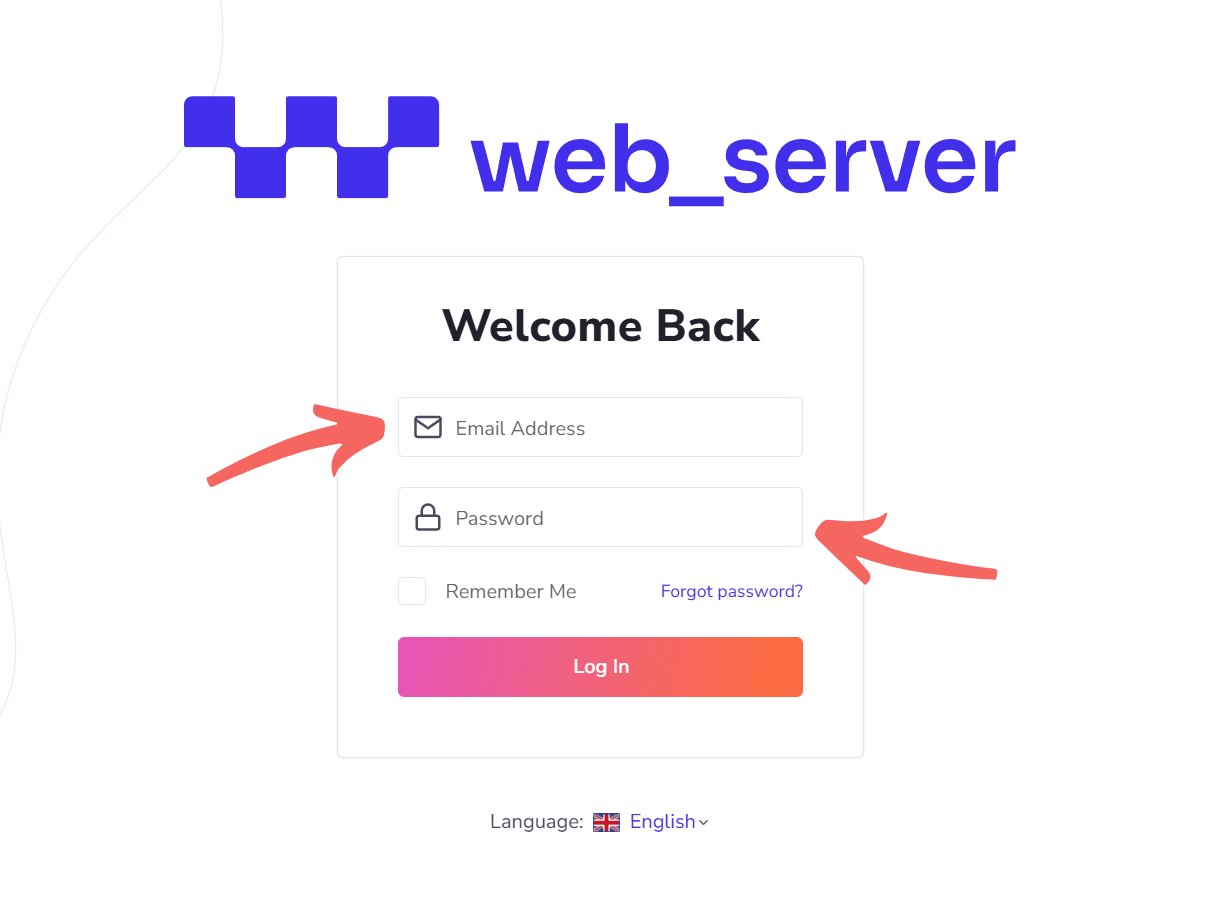
Step 1: Log In to Your Web-Server Account
Start by logging into your Web-Server account using your username and password. Once logged in, you’ll arrive at your main dashboard, where all your hosted sites are displayed.
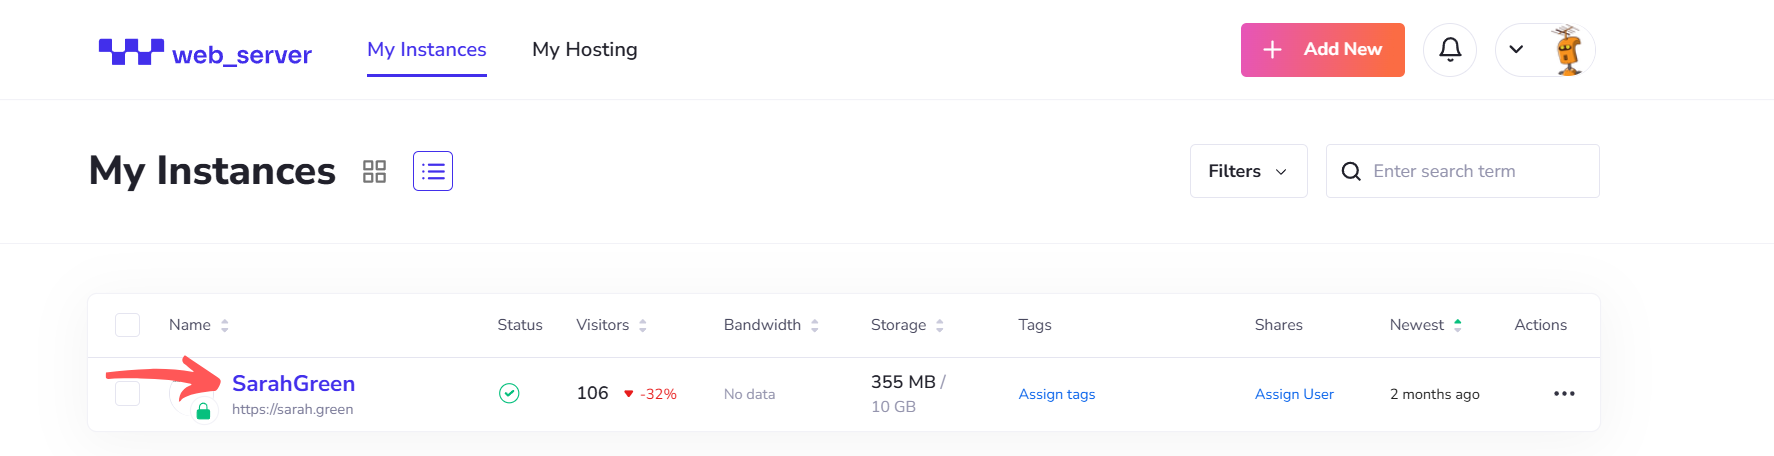
Step 2: Select the WordPress Site to Remove
Navigate to your Instances dashboard. Locate the WordPress site you want to remove.
You can either:
- Click directly on the site’s name to open its management page, or
- Hover over the three-dot menu next to the site, then click “Manage.”
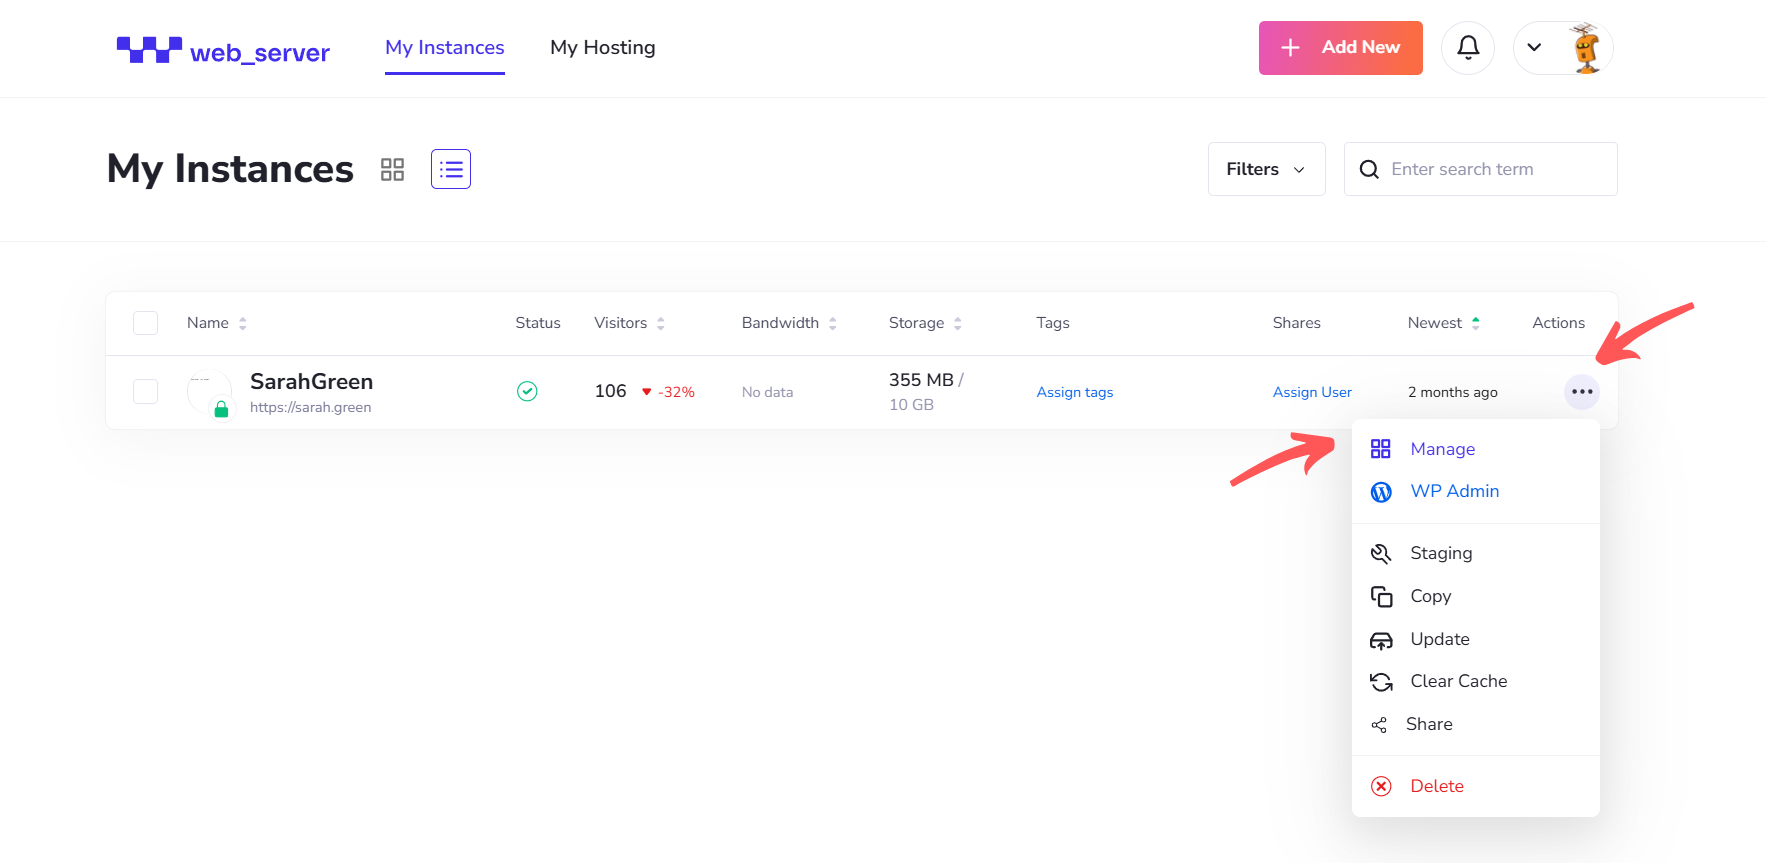
Step 3: Initiate the Deletion Process
- If you followed option 1 in Step 2:
Go to the site details section, move your cursor to the upper right corner, and click “Delete.” - If you followed option 2 in Step 2:
Simply hover over the three-dot menu next to the site and click “Delete” directly.

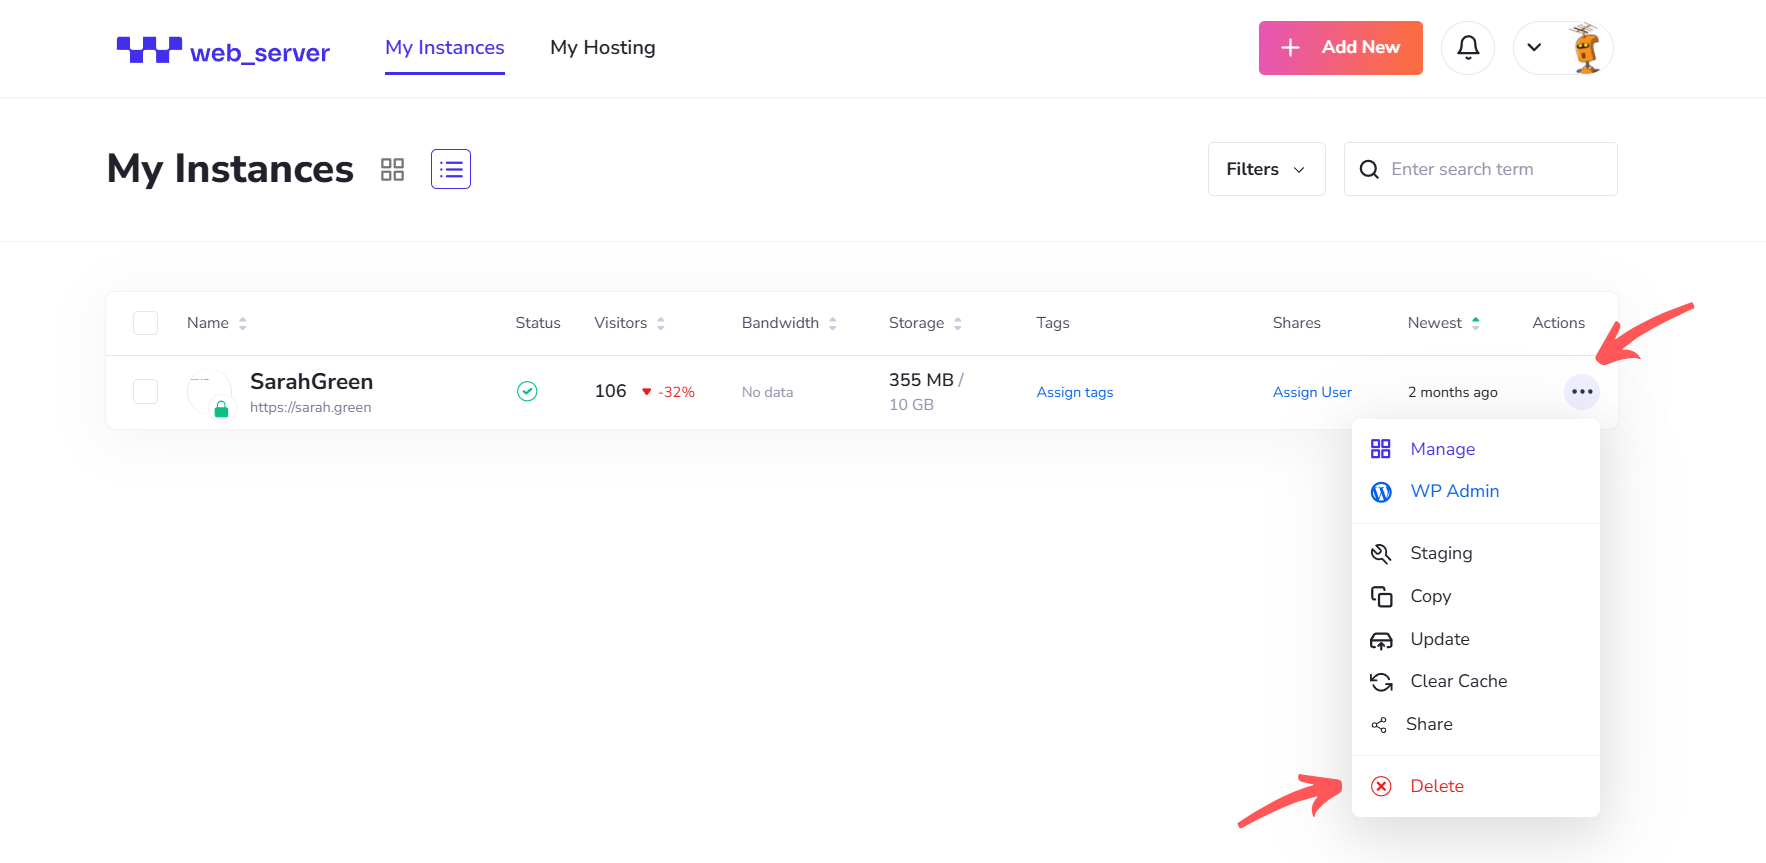
A pop-up window will appear asking what data you’d like to remove:
- Remove data – deletes your site files from the server.
- Remove database – deletes your site’s database.
Choose one or both options depending on how thoroughly you want to clean up.
Finally, check the confirmation box to acknowledge that this action is irreversible, then click “Delete Instance.”
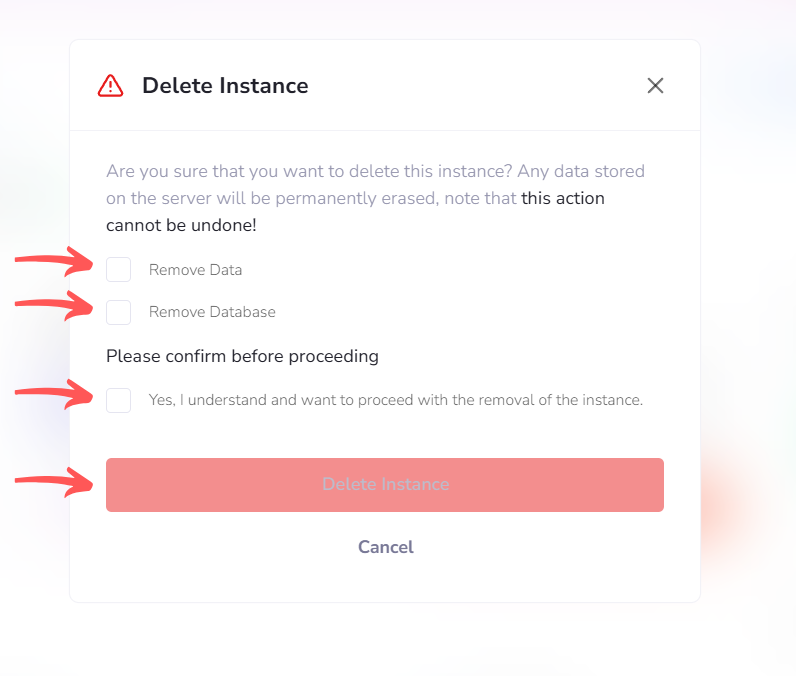
Note: Once deleted, your site and its data cannot be recovered.
Step 4: Confirmation
The system will process your request, and you’ll see a confirmation message once your site has been successfully removed.
Troubleshooting Common Issues
If you run into problems during the deletion process, here’s how to handle them:
- Site still appears in your dashboard: Try refreshing the page, clearing your browser cache, or waiting a few minutes for changes to propagate.
- Delete option is disabled: Make sure there are no pending updates, backups, or other processes running on the instance.
- An error occurs while deleting: Retry after a short wait. If the issue continues, contact our support team for assistance.
Conclusion
Deleting a WordPress site is an effective way to keep your hosting environment organized, secure, and tailored to your current projects. Just be sure to back up any important data beforehand to avoid accidental loss.
If you run into any issues, double-check the steps above or consult additional resources to ensure everything is handled smoothly. Taking a careful approach will help you maintain a clean, efficient, and worry-free hosting setup.
