
In today’s digital-first world, having a custom email address that matches your domain is more than just a convenience; it’s a sign of professionalism and credibility. If you’re hosting your website with Web-Server (WBS), you can create and manage email addresses directly within your hosting dashboard. This guide will walk you through exactly how to set up an email on Web-Server, even if you have no technical background.
By the end of this guide, you’ll know how to create a custom email address (like [email protected]), access your inbox, and troubleshoot common issues, all within your Web-Server hosting account.
What Is Email in Web Hosting and Why Is It Important?
Email hosting refers to the service of creating and managing custom email addresses associated with your domain name (e.g., [email protected]). Unlike free email services like Gmail or Yahoo, email hosting through your web host offers better branding, control, and scalability.
Here’s why using a domain-based email matters:
- Professional Image: Emails from yourdomain.com appear more credible to clients and partners.
- Brand Recognition: Every time you send an email, you reinforce your domain and brand.
- Centralized Management: You control storage, user accounts, and settings directly from your web hosting platform.
- Security: Most hosting providers, including WBS, offer spam filters, SSL, and other protection features for your email communications.
Steps to Create an Email on Web-Server
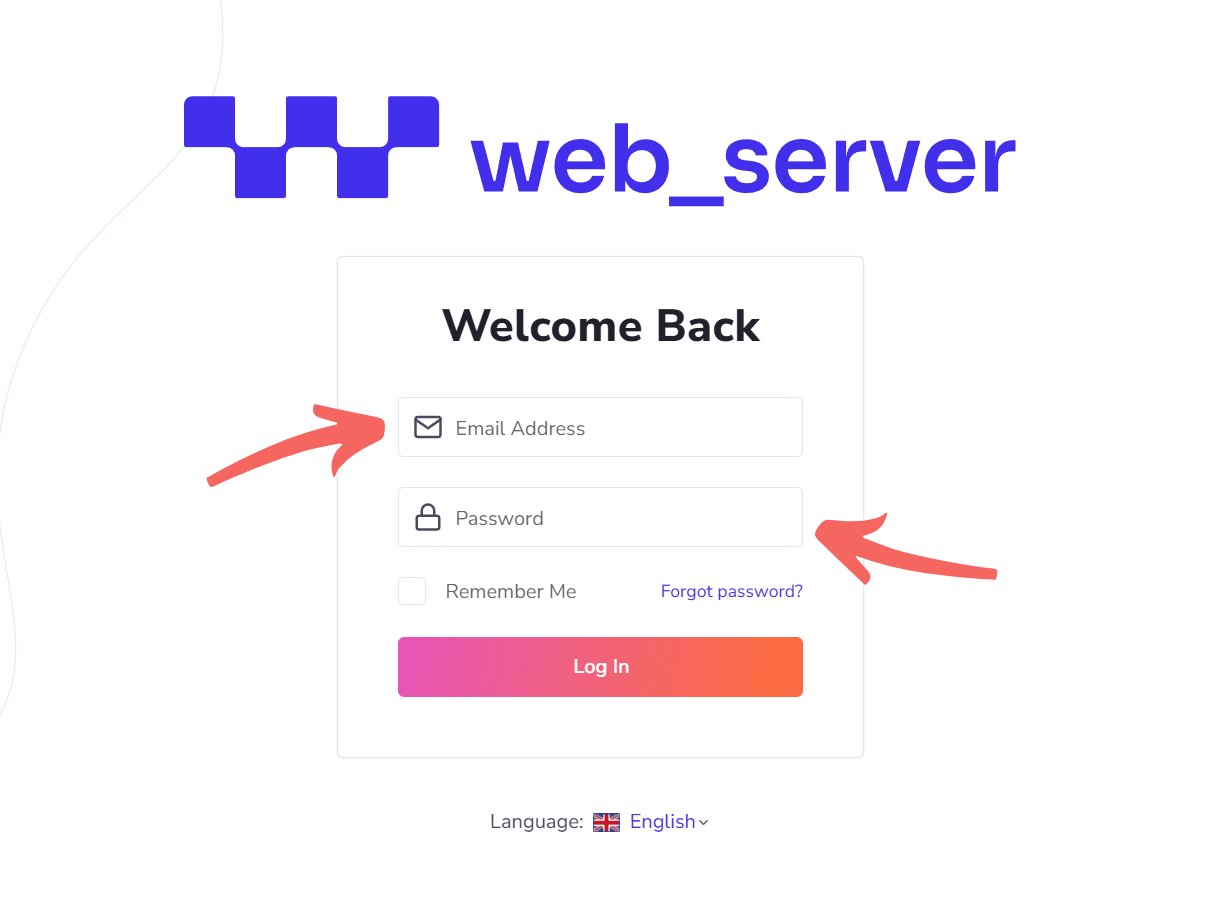
Step 1: Log In to Your Web-Server Account
To get started, visit the Web-Server login page and sign in using your username and password. This provides you with access to your hosting dashboard, where you can manage your domains, DNS settings, email, and more.
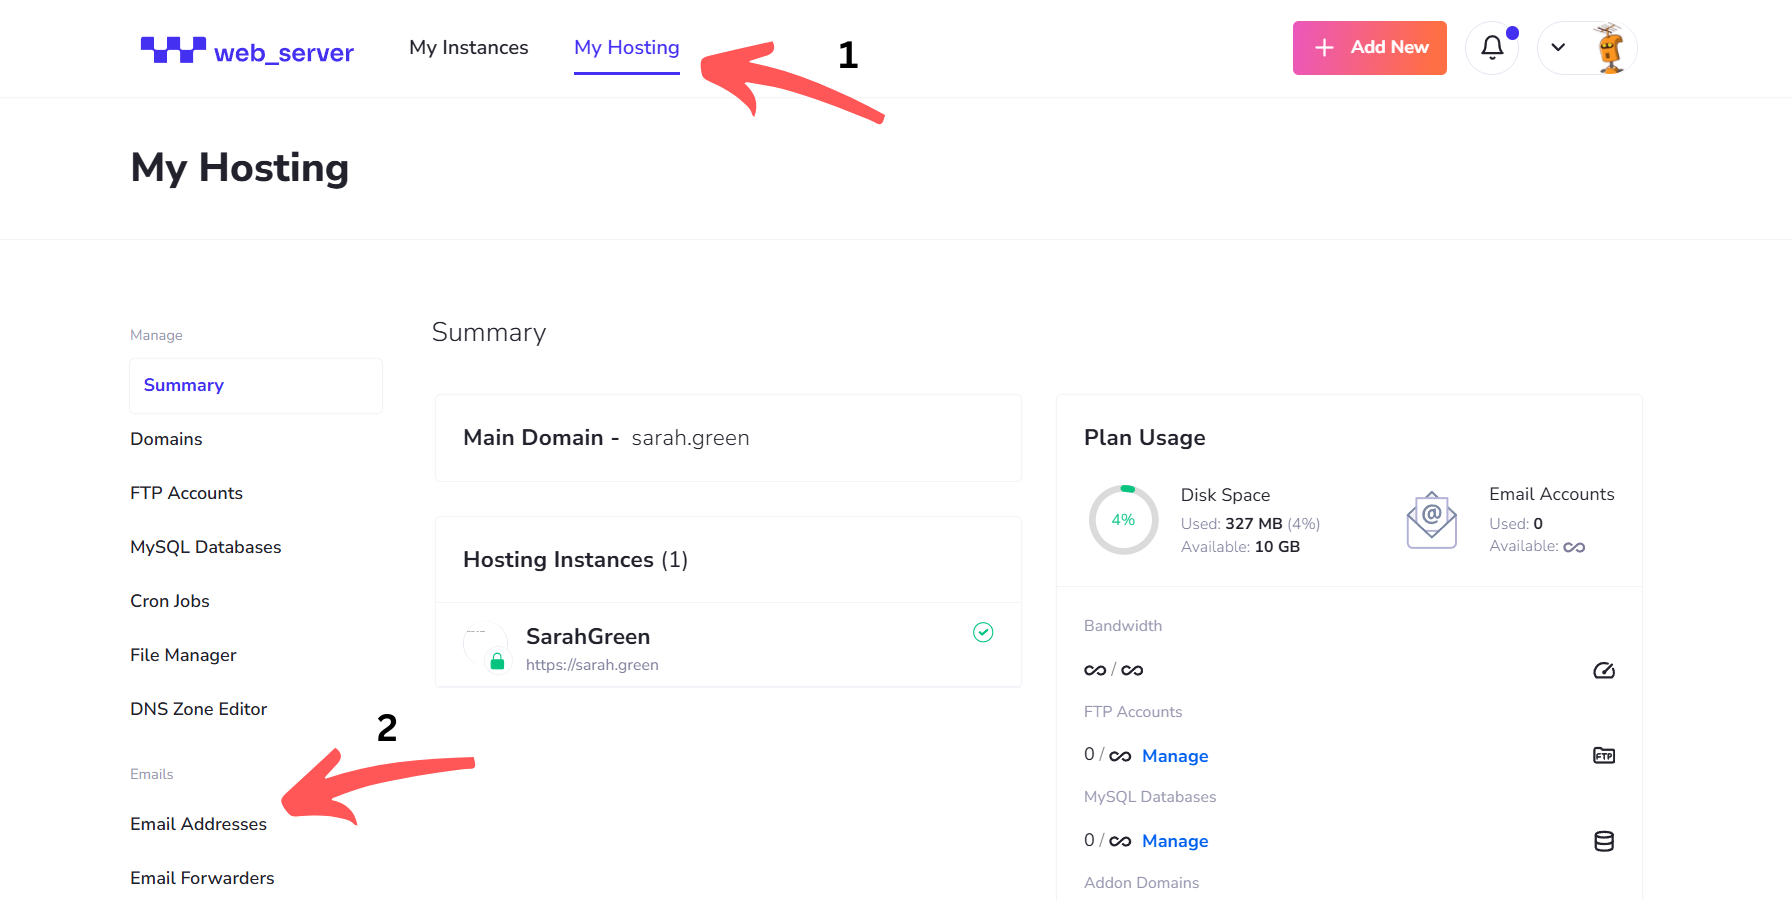
Step 2: Access Email Management Tools
Once inside your account:
- Go to your Dashboard.
- Click the “My Hosting” tab to view your active hosting services.
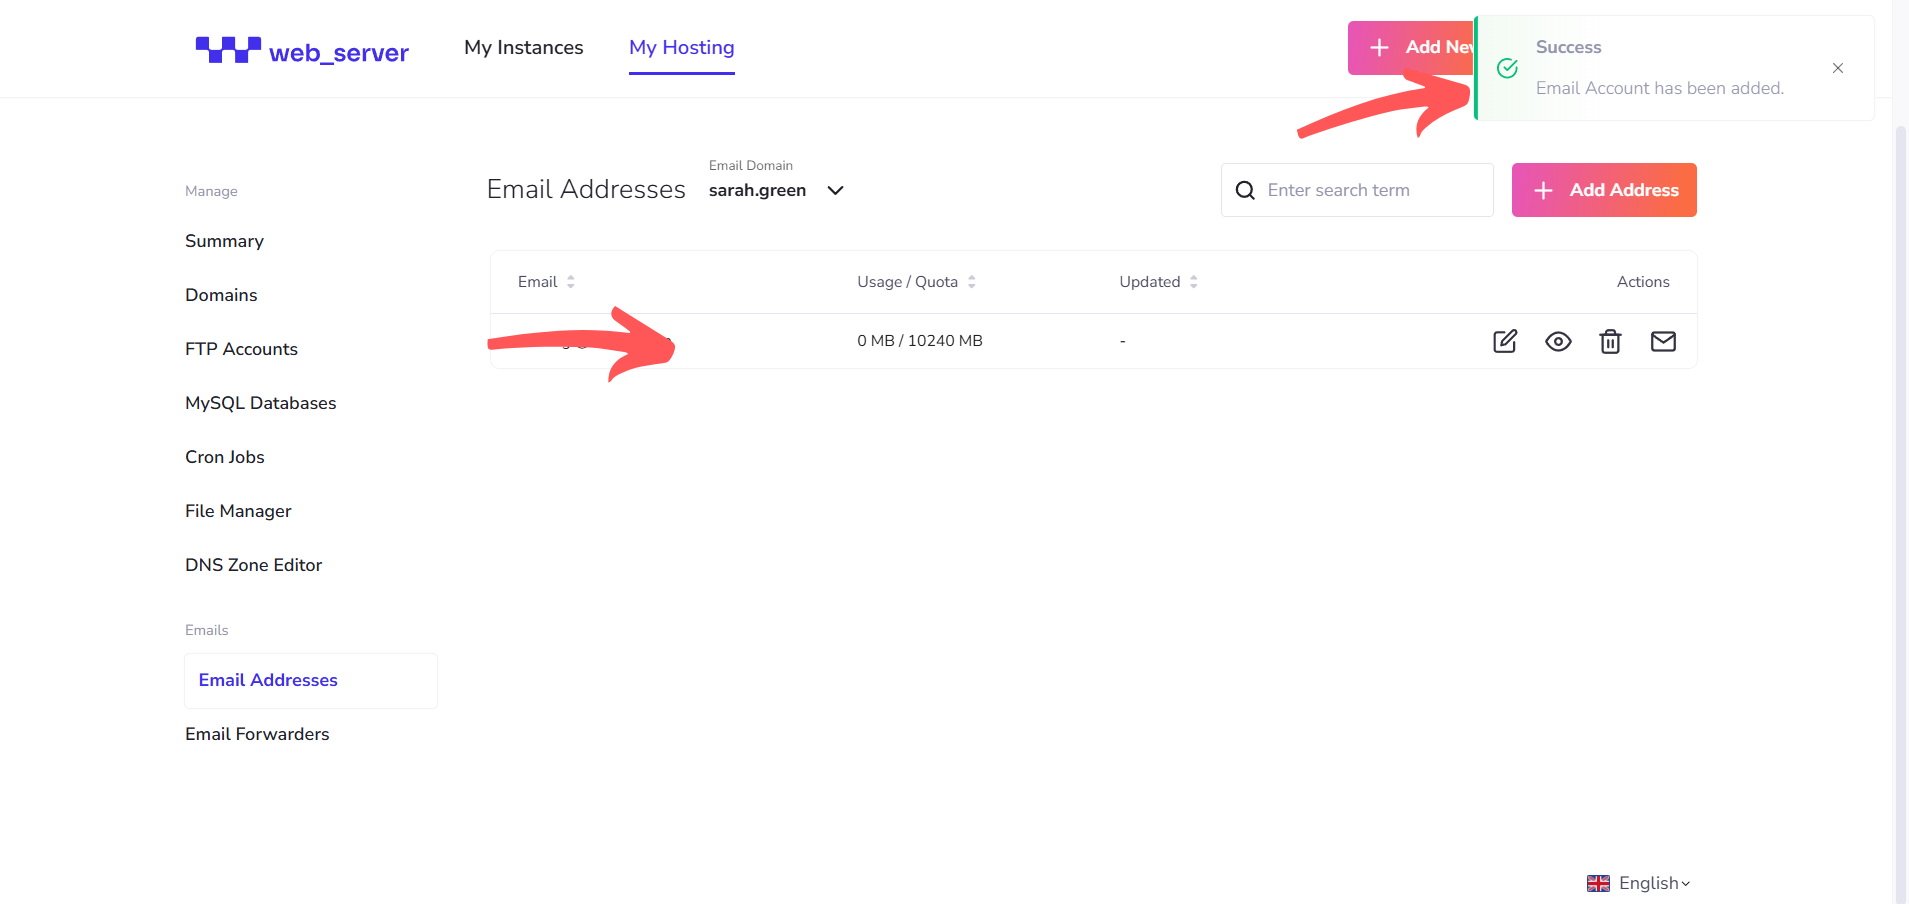
- Find and select the “Email Address” section. This is where you can create, edit, or remove email accounts.
- If you manage multiple domains under your WBS account, choose the correct domain where the email will be created.
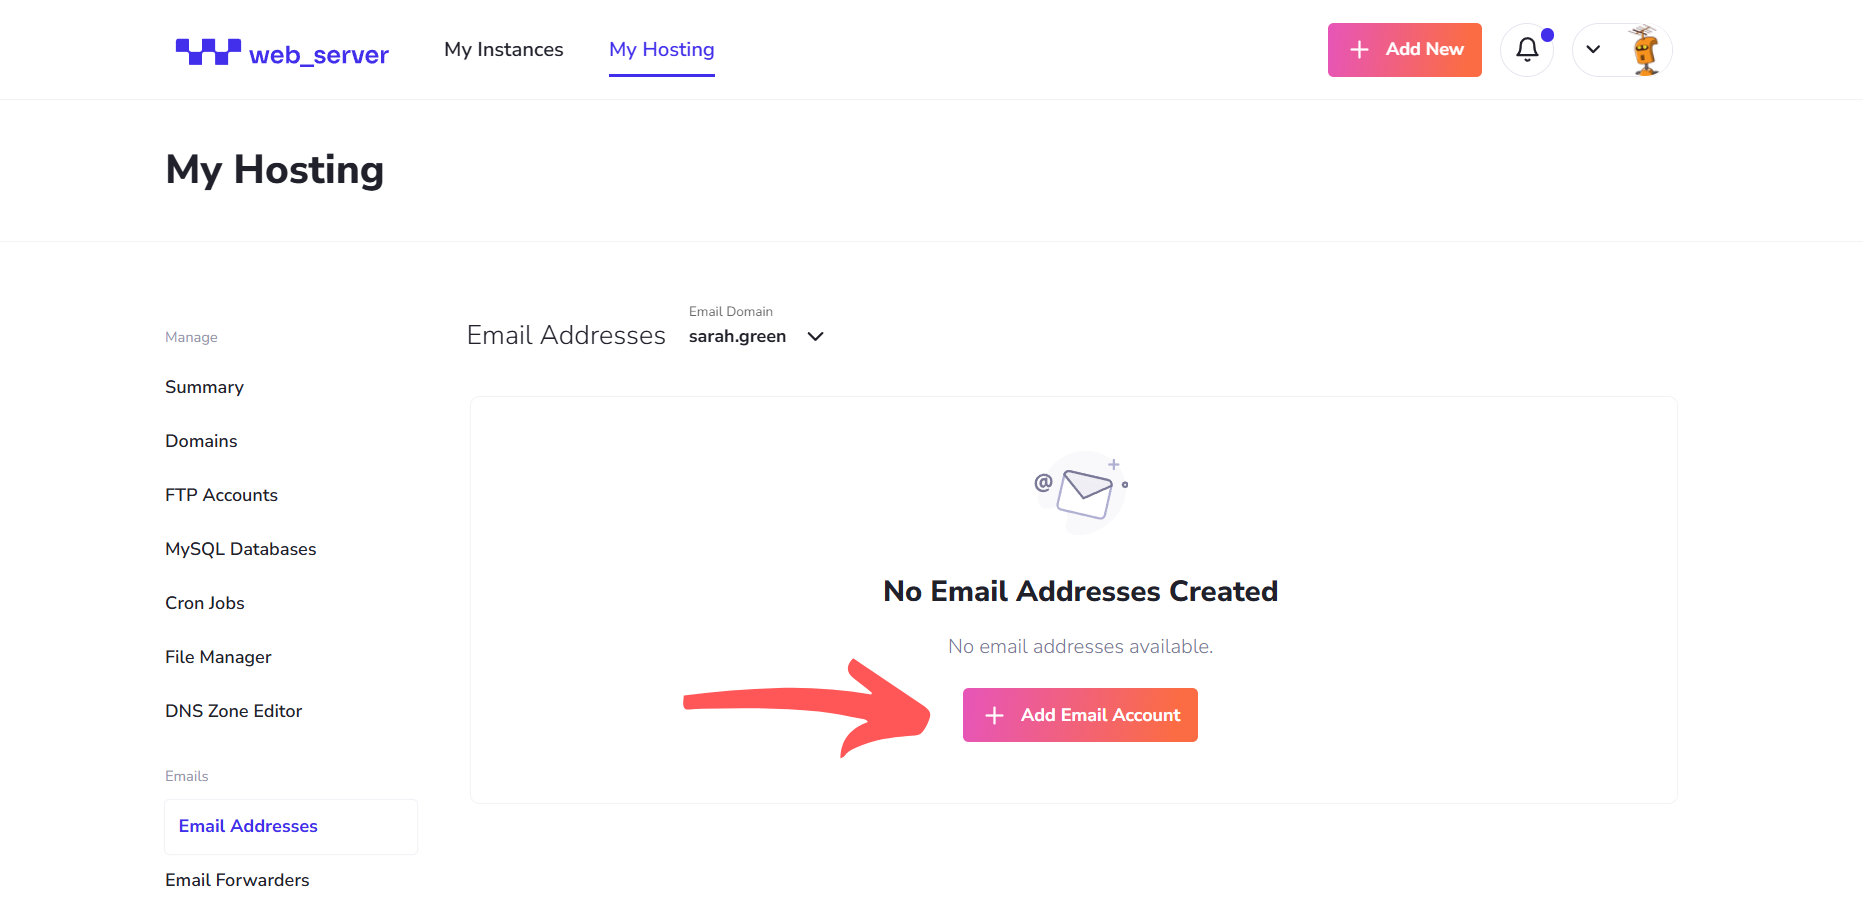
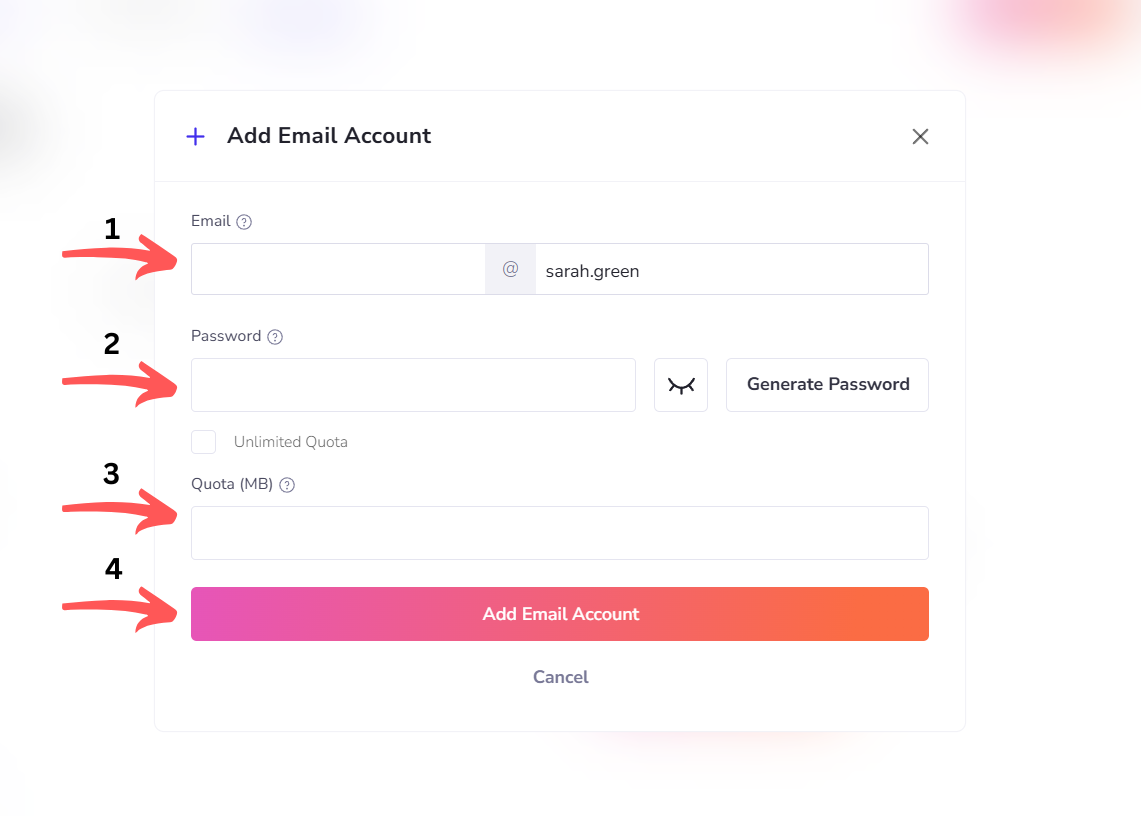
Step 3: Create a New Email Address
Now that you’re in the email settings:
- Click “Add email account”.
- Enter your desired email address (e.g., [email protected]).
- Set a secure password for the account, or use WBS’s built-in password generator to create one automatically.
- Choose the mailbox storage limit: check the ‘Unlimited Quota’ box to enable unlimited storage, or leave it unchecked to set a custom quota manually.
- Click “Add email account” to finalize.
Step 4: Wait for Email Setup to Complete
After creating the email account, Web-Server will begin setting it up in the background. This process typically completes within a few moments.
Step 5: Access and Manage Your Email
Once setup is finished, the email address will be ready to use. You can then view, edit, or delete the account from your dashboard and proceed to access your inbox via Webmail or your preferred email client.
Troubleshooting and Support
If you experience any issues during or after setup, here are a few common problems and how to resolve them:
- Login Issues: Double-check your email address and password. If you’ve forgotten your credentials, you can reset them from the dashboard.
- Email Not Sending or Receiving: Ensure your domain’s MX records are correctly configured. If you’re unsure, it’s best to consult your DNS settings or contact support team.
- Storage Limits: If you receive a quota warning, check your mailbox usage and delete old or unnecessary messages to free up space.
Conclusion
Creating a custom email address with Web-Server is a quick and effective way to enhance your brand’s credibility and communication. With just a few straightforward steps, you can set up a professional email, manage it from your hosting dashboard, and start connecting with clients using your domain. It’s a small task that makes a big difference in how your business is perceived online.
