
Search engines value unique content, but WordPress websites often generate multiple URLs pointing to the same page. This leads to duplicate content issues, which can dilute your site’s SEO authority. A canonical tag helps prevent this by telling search engines which version of a page should be treated as the original. Adding a canonical tag in the header of your WordPress site is a practical step toward maintaining clean indexing and protecting your search visibility.
Key Takeaway:
To add a canonical tag in WordPress, place a tag inside the
section of your site’s HTML. This can be done using an SEO plugin, by editing the header.php file, or by hooking into wp_head() in functions.php. Correct implementation prevents duplicate content and improves SEO indexing accuracy.Understanding Canonical Tags
A canonical tag is an HTML element placed in the header of a webpage that signals to search engines which URL should be considered the authoritative source when multiple variations of that page exist. WordPress, by design, can produce various URLs for the same content through categories, tags, pagination, and archives. Without a canonical directive, search engines may divide ranking signals across these versions or index the wrong one entirely.
To ensure the canonical tag functions properly, it must be located inside the section of the HTML. This is where search engine crawlers look for metadata during the initial page scan. Placing the tag elsewhere on the page reduces its effectiveness and can result in search engines ignoring it. Correct placement is not just a best practice, it’s a requirement for proper canonicalization.
Adding Canonical Tags Using SEO Plugins
The most efficient method to handle canonical tags in WordPress is by using a reliable SEO plugin. Tools like Yoast SEO, Rank Math, or All in One SEO automatically generate and insert canonical tags based on your site’s permalink structure.
Steps to add canonical tags using Plugins:
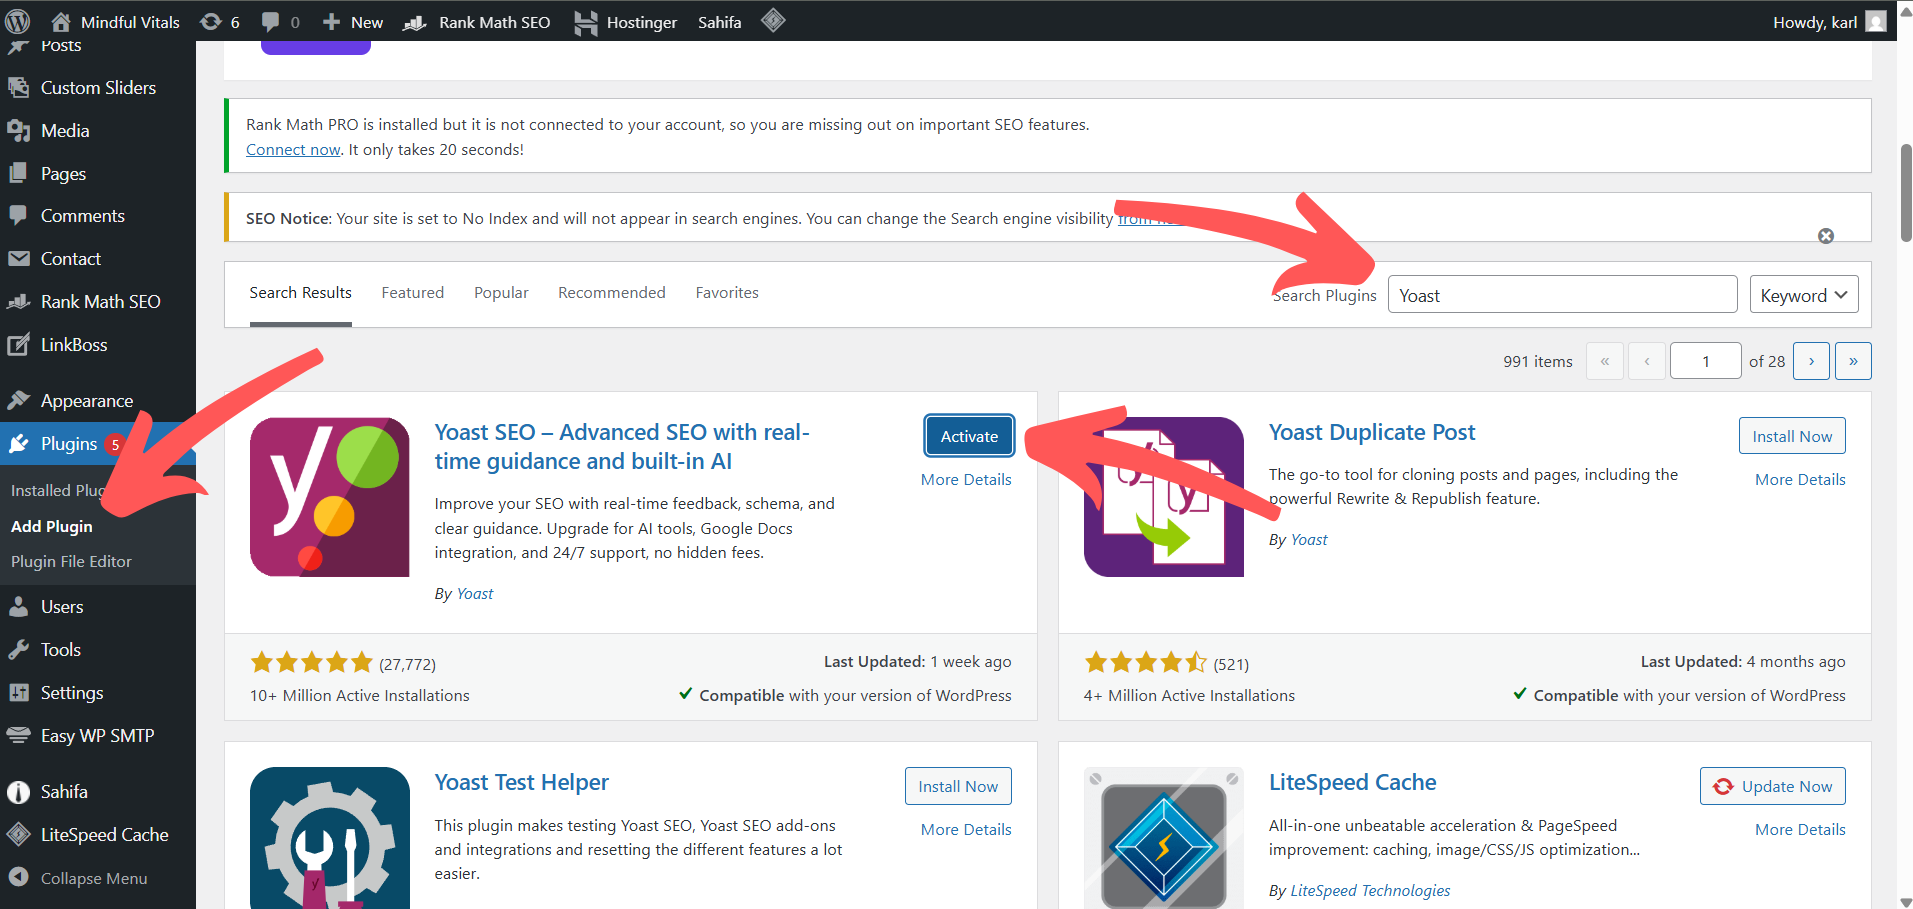
1. Install and activate the plugin: Go to your WordPress dashboard, navigate to Plugins > Add New, and search for Yoast SEO or Rank Math. Click Install, then Activate.
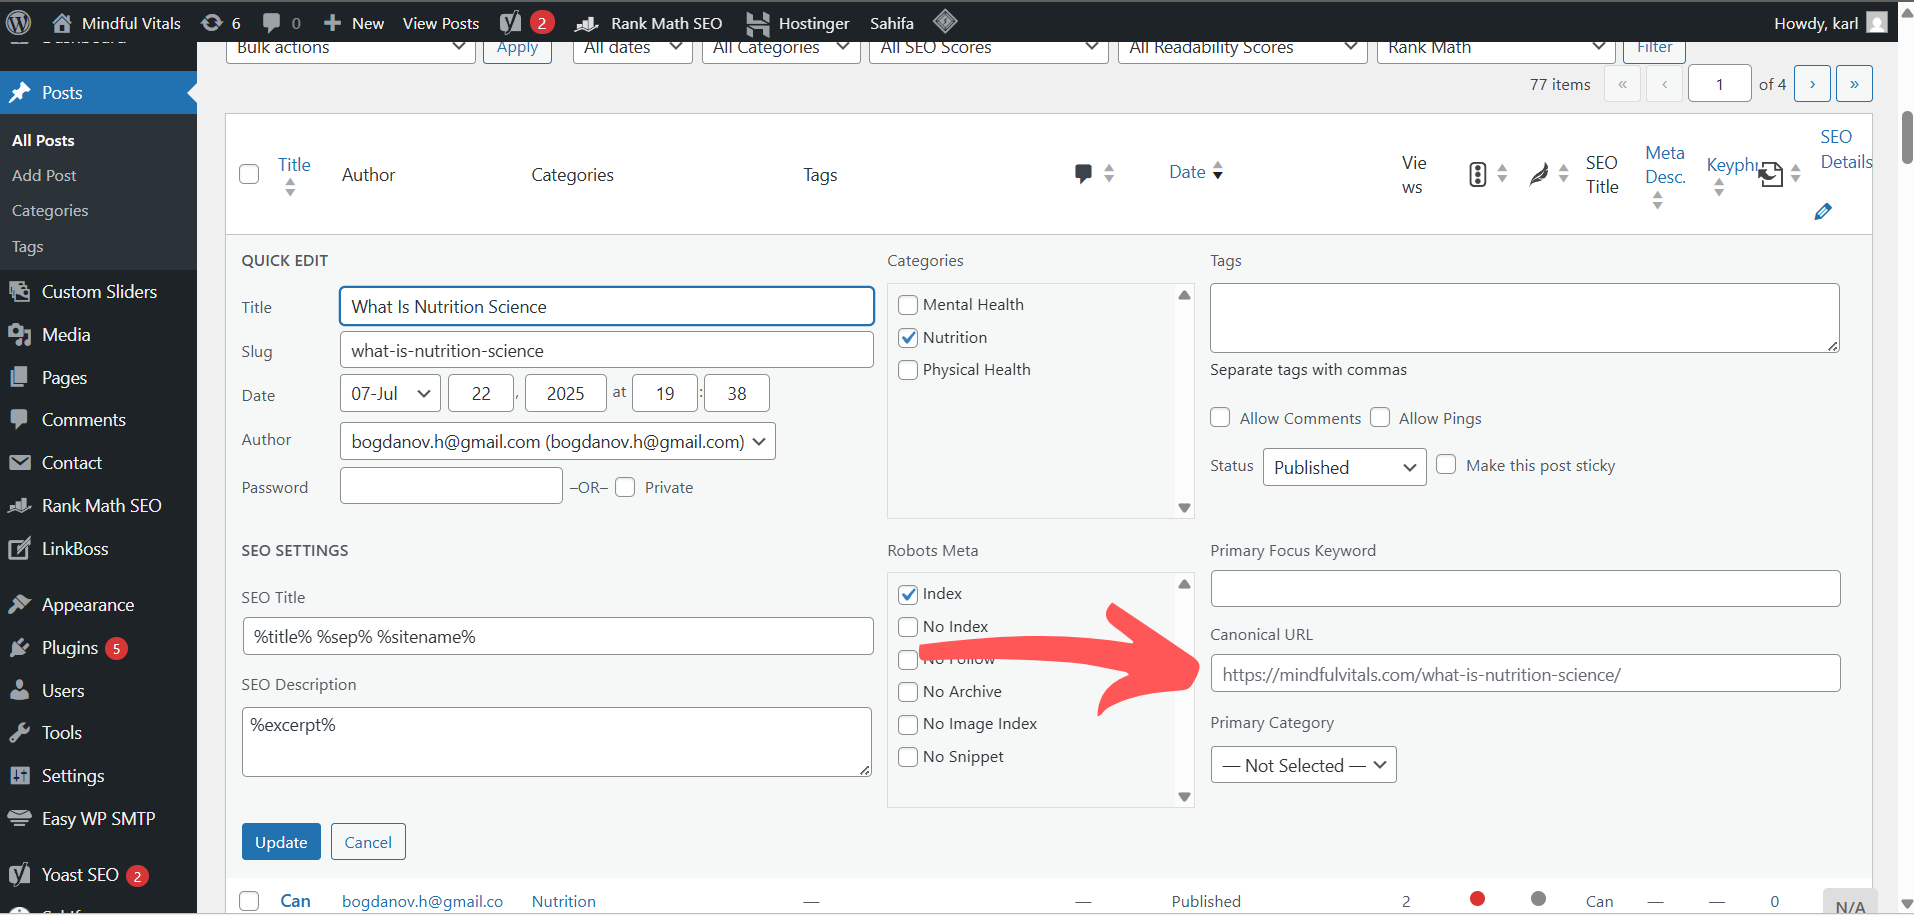
2. Open the page or post you want to edit: Navigate to Posts or Pages, and click Edit under the content you want to modify.
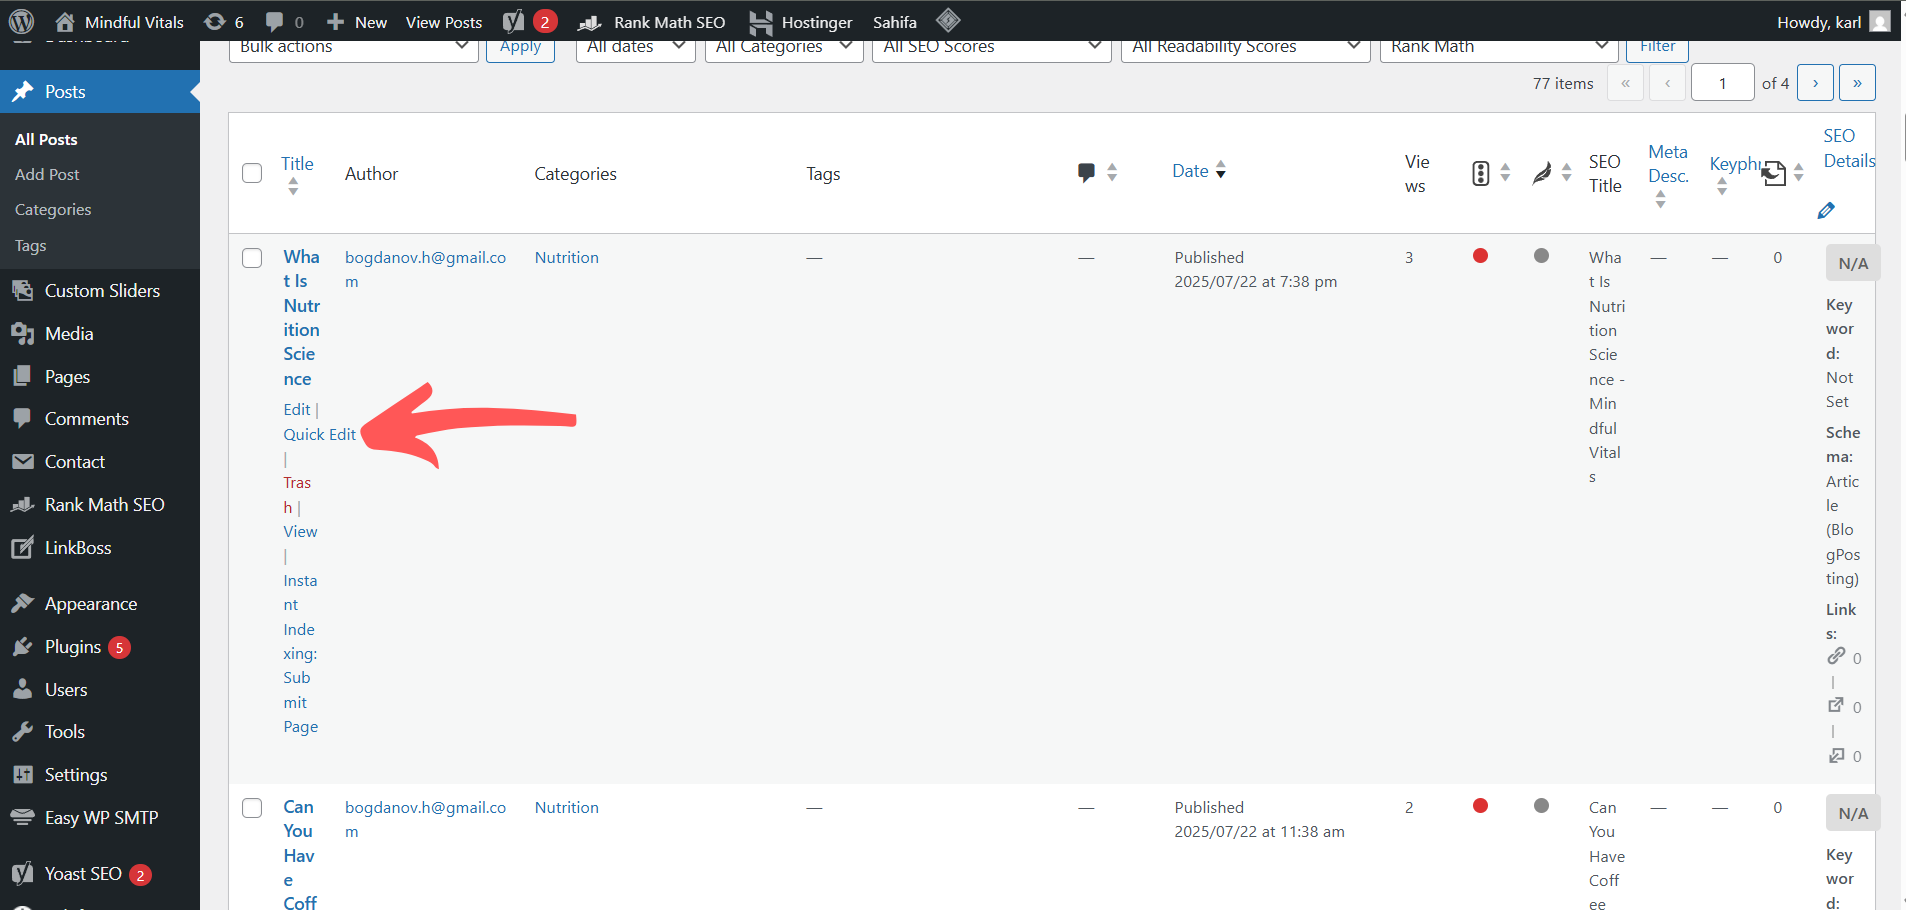
3. Scroll to the SEO settings section: Below the content editor, locate the SEO plugin’s settings panel.
4. Find the Canonical URL field: Look for the advanced SEO settings section in your plugin. There should be a field labeled Canonical URL where you can enter your preferred link.
5. Enter your desired canonical URL: If you want to override the default, paste the preferred URL into the field. Leave it blank to let the plugin auto-generate the canonical tag.
6. Update or publish the page: Click Update or Publish to save your changes. The canonical tag will now be included in the page’s header.
This example uses Yoast SEO, but the process is nearly identical in Rank Math and All in One SEO you’ll find similar options for setting the canonical URL in the page’s SEO settings panel.
Manually Adding Canonical Tags to the Header.php File
If you want to manually control canonical tags across your WordPress theme, editing the header.php file gives you direct access to the HTML <head> section. This method is best suited for developers or those comfortable modifying theme files.
Steps to manually add canonical tags:
1. Create a Backup: Never edit the header section without a safety net. Create a full backup of your site before making any changes. Check out our guide on creating a WordPress backup.
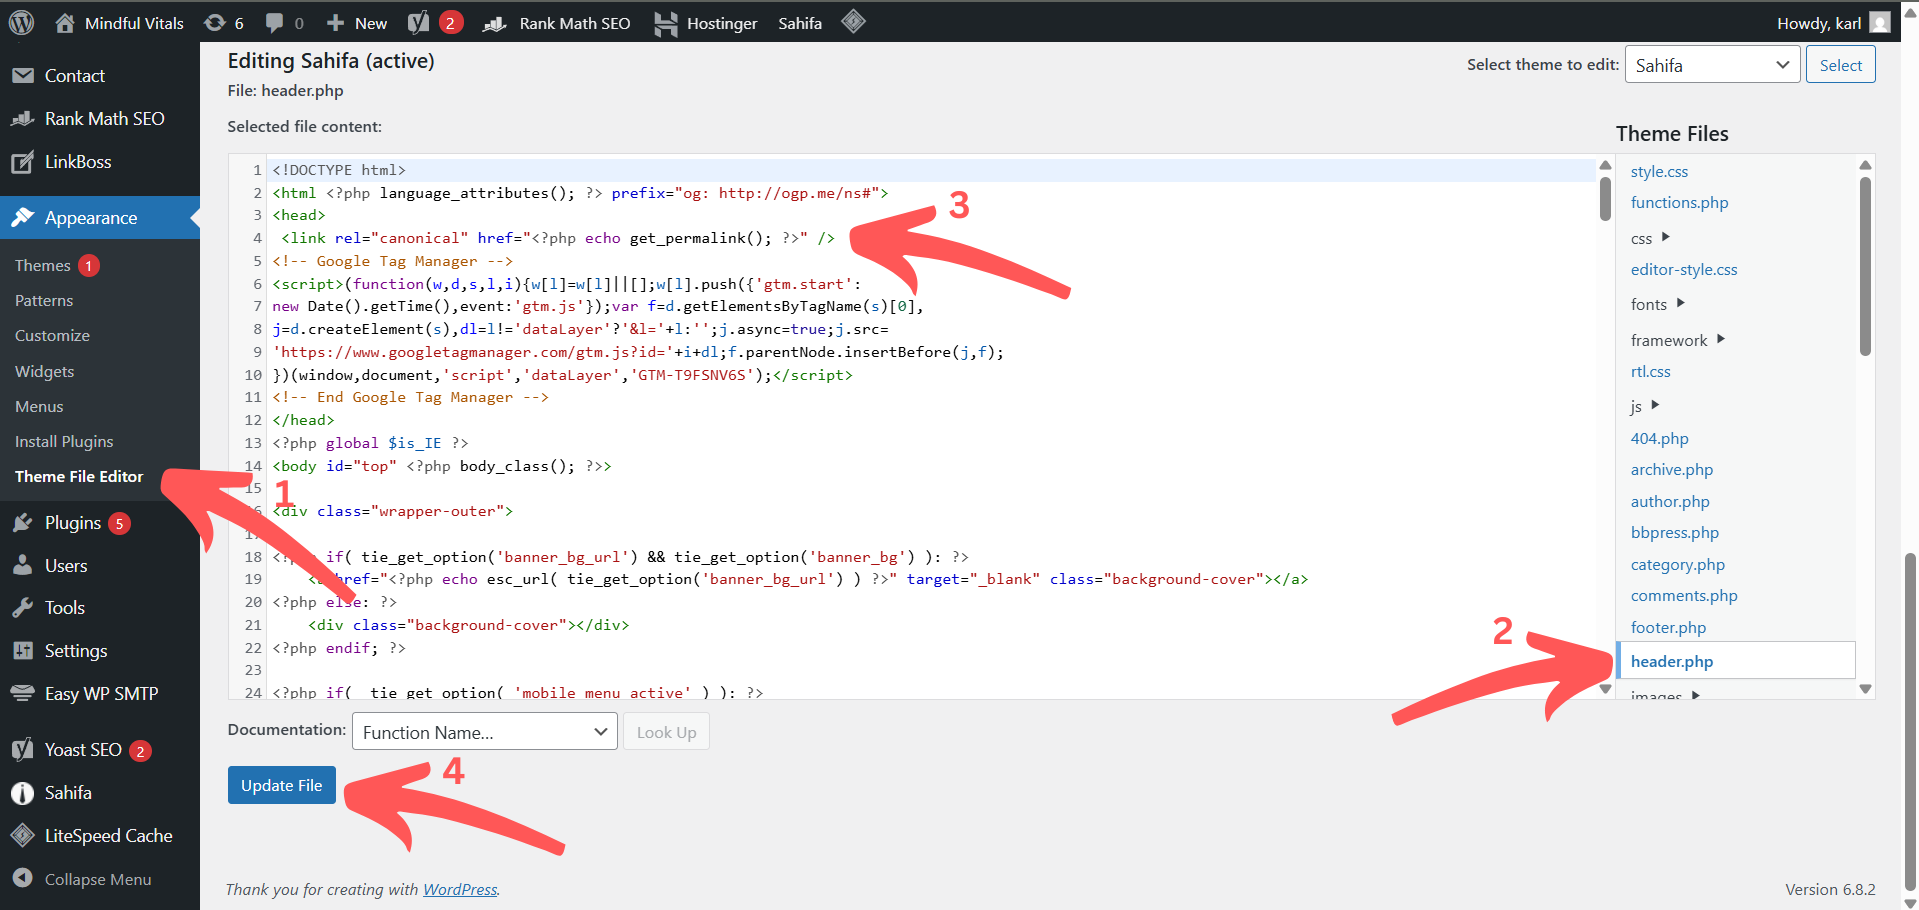
2. Navigate to Appearance > Theme File Editor: In your WordPress dashboard, go to Appearance > Theme File Editor and select header.php from the file list.
3. Locate the section: Find the opening <head> tag in the header.php file.
Add the following code inside the <head> section:
<link rel=”canonical” href=”<?php echo get_permalink(); ?>” />
4. This dynamically generates the current page’s URL.
5. Click Update File: Save your changes by clicking Update File at the bottom of the editor.
Using wp_head() Hook in Custom Themes or Functions
For more flexibility, especially in custom themes or when building advanced logic, you can use the wp_head() hook to inject canonical tags via the functions.php file.
Steps to add canonical tags using the wp_head() hook:
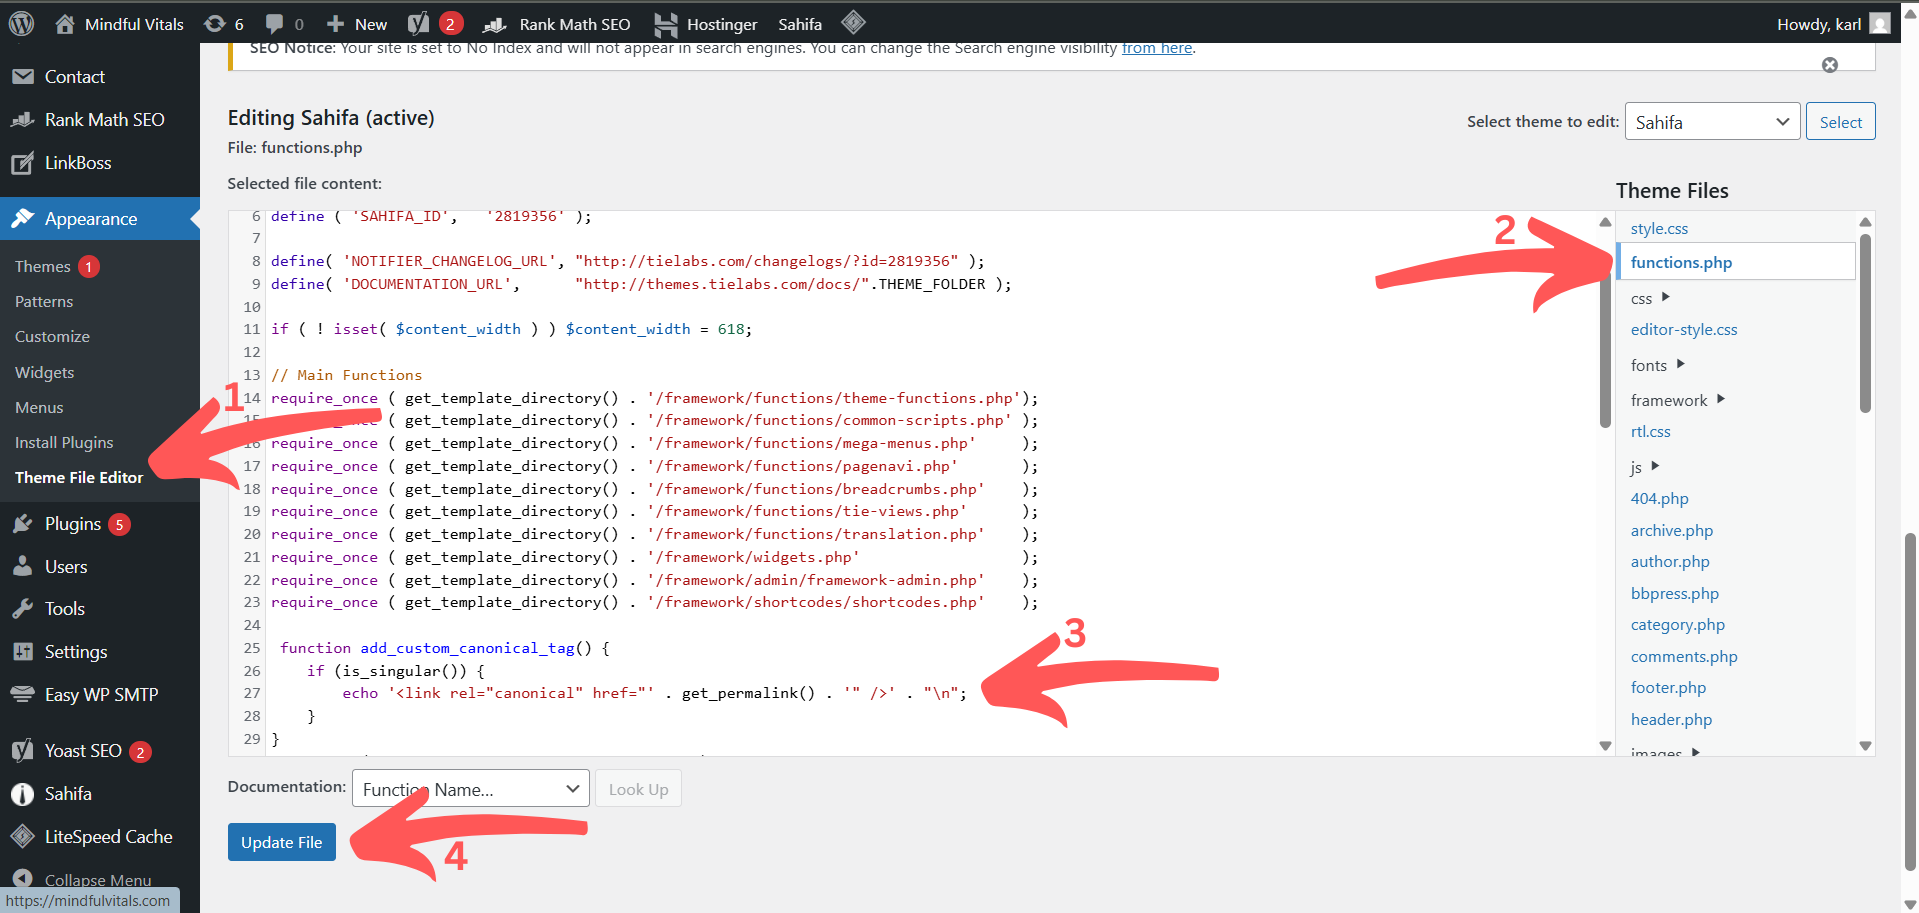
1. Open your theme’s functions.php file: Navigate to Appearance > Theme File Editor and select functions.php.
Add the following code snippet to your theme’s functions.php file:
function add_custom_canonical_tag() {
if (is_singular()) {
echo ‘<link rel=”canonical” href=”‘ . get_permalink() . ‘” />’ . “\n”;
}
}
add_action(‘wp_head’, ‘add_custom_canonical_tag’);
2. This ensures the canonical tag is only printed on singular content types like posts or pages.
3. Click Update File: Save the file and exit the editor.
Testing and Validating Canonical Implementation
After implementing canonical tags, whether through plugins or manual code, it’s essential to verify they’re functioning correctly across your site.
Steps to test and validate canonical tags:
1. Open the page in your browser: Right-click and select View Page Source.
2. Search for the canonical tag: Use your browser’s find tool (Ctrl+F or Cmd+F) and search for rel=”canonical” to locate the tag.
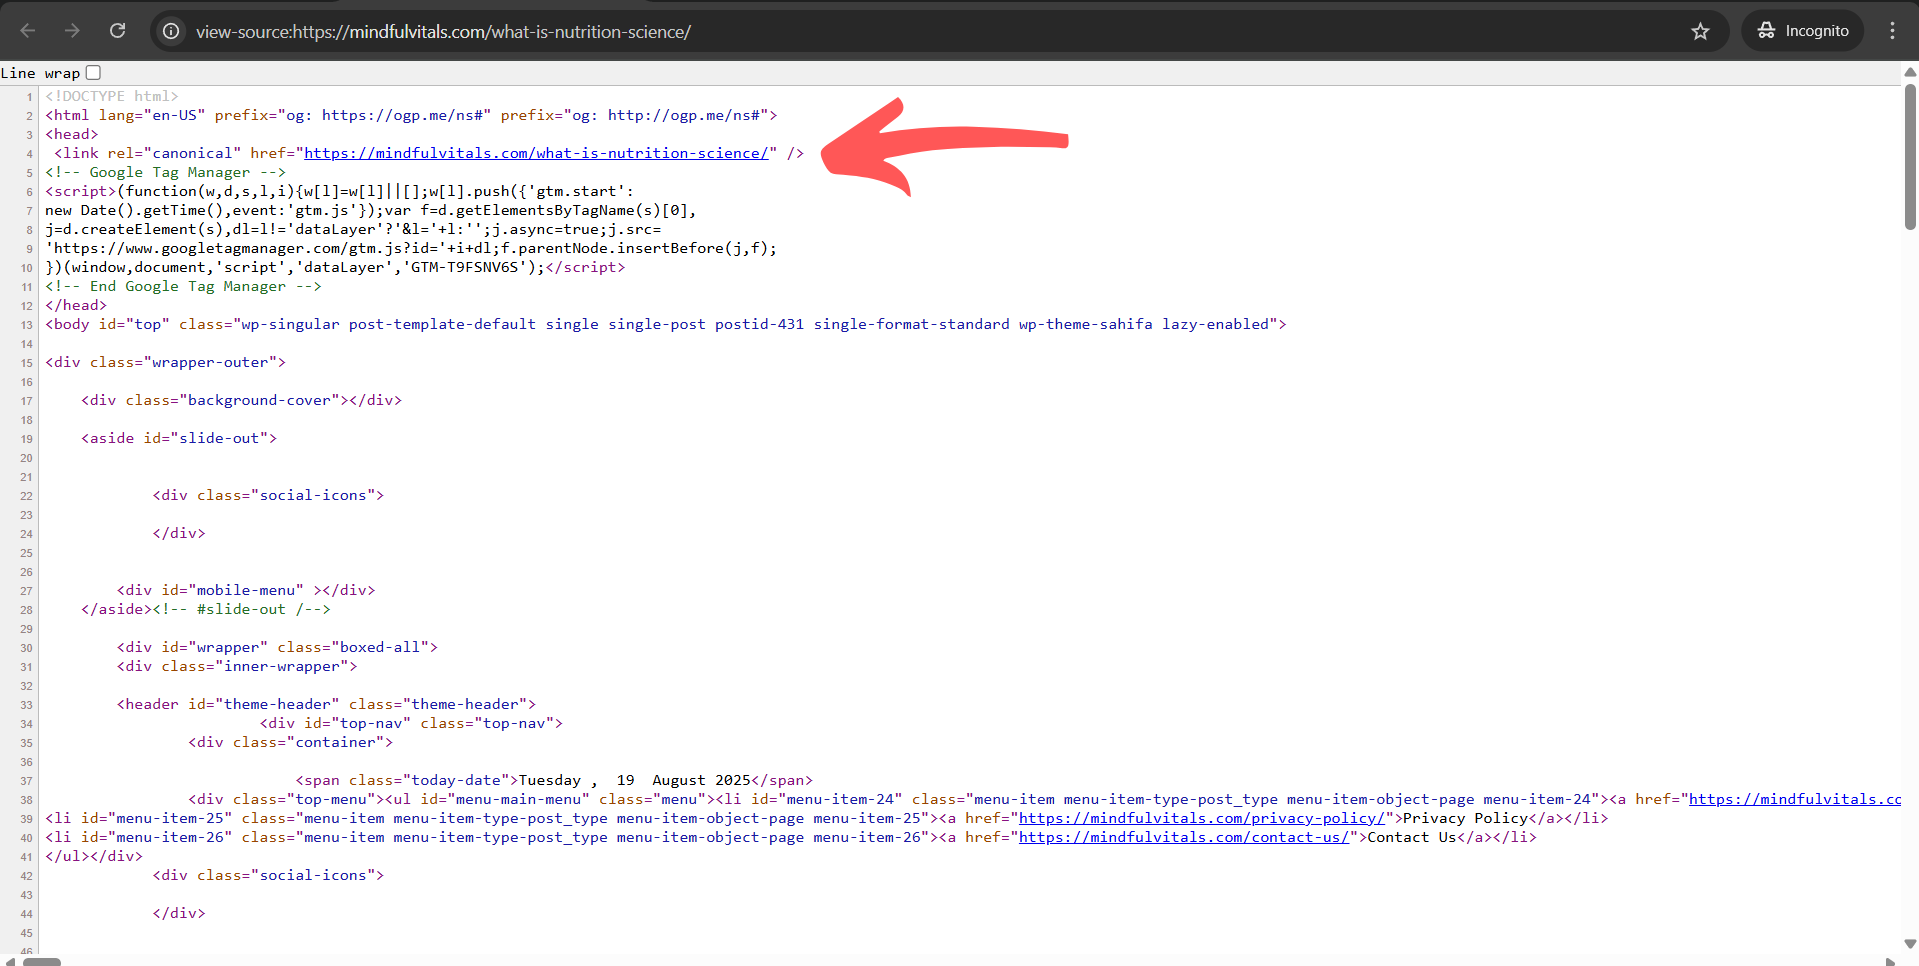
3. Check the URL value: Ensure the canonical URL matches the intended version of the page.
4. Use SEO audit tools for site-wide checks: Run a crawl using tools like Screaming Frog, Ahrefs, or Google Search Console. These will show canonical coverage and highlight missing or conflicting tags.
5. Review special cases: Pay attention to paginated archives, filtered pages, and category URLs where canonical conflicts often occur.
Common Mistakes to Avoid
An incorrect canonical implementation can do more harm than good. Avoid assigning canonical tags that point to the wrong URL or to non-canonical pages like filtered search results or temporary redirects. Using multiple plugins that inject canonical tags can also create conflicts, resulting in duplicate tags or contradictory directives.
Another frequent oversight is ignoring canonicalization for paginated content, such as blog archives or ecommerce product listings. Failing to configure these properly can cause indexing problems and lead to fragmented authority. Regular reviews of how your canonical tags are applied across different templates can help maintain consistency and SEO performance.
Conclusion
Adding a canonical tag in the header of your WordPress site is a critical task for controlling duplicate content and maintaining strong SEO. Whether you choose a plugin-based approach or implement it manually through PHP, the key is correct placement and ongoing validation. A well-structured canonical strategy ensures that search engines understand your content hierarchy and attribute authority to the right pages, keeping your rankings focused and protected.
