
Configuring DNS (Domain Name System) settings for your website is an essential task to ensure that visitors can access your website seamlessly. Whether you’re setting up a new domain, updating existing DNS records, or troubleshooting issues, getting DNS configuration right is crucial for smooth website performance. In this guide, we’ll walk you through the step-by-step process of configuring DNS for your website in Web-Server.
What is DNS, and Why Is It Important?
DNS is the system that translates human-friendly domain names (e.g., www.yourwebsite.com) into machine-readable IP addresses that computers use to identify each other on the network. Essentially, DNS acts as the “phonebook” of the internet, helping browsers locate the servers hosting your website.
Proper DNS configuration is crucial for several reasons:
- Website Accessibility: Incorrect DNS settings can prevent users from reaching your website.
- Email Management: DNS records, such as MX (Mail eXchange), are responsible for routing emails.
- Website Performance: DNS settings can affect the speed and availability of your website.
A well-configured DNS ensures that your website is always accessible, performs optimally, and your email routing works seamlessly. With that in mind, let’s dive into the process of configuring DNS for your website using Web-Server.
Steps to Configure DNS for Your Website in Web-Server
Now that you understand the importance of DNS, let’s take a look at how to configure it for your website on Web-Server. Follow these simple steps to manage your DNS settings effectively.
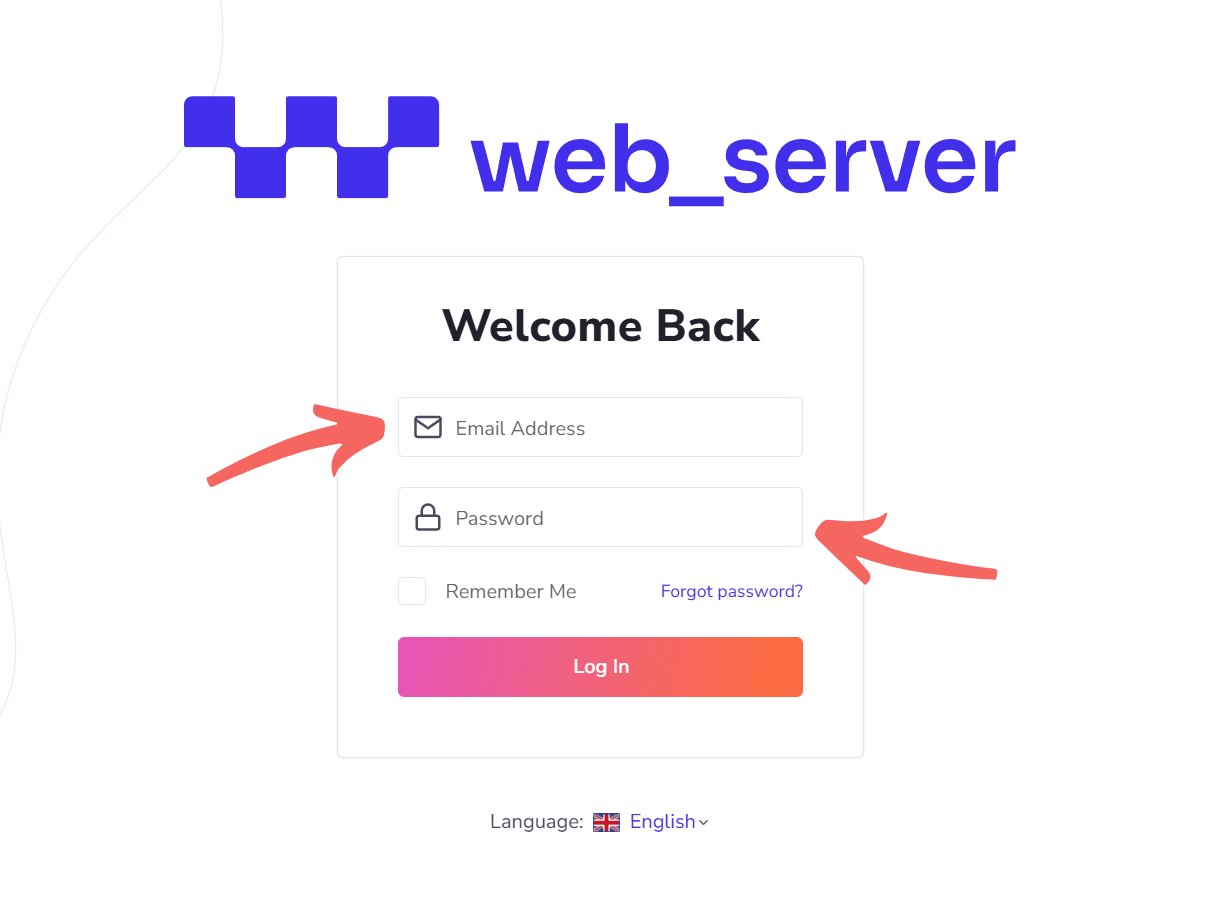
Step 1: Log in to Your Web-Server Account
To begin configuring your DNS settings, the first step is to access your Web-Server account:
- Visit Web-Server’s Login Page: Navigate to the Web-Server login page in your browser.
- Enter Your Credentials: Input your username and password to access your account.
Once logged in, you will be directed to your account dashboard, where you can begin managing your DNS records.
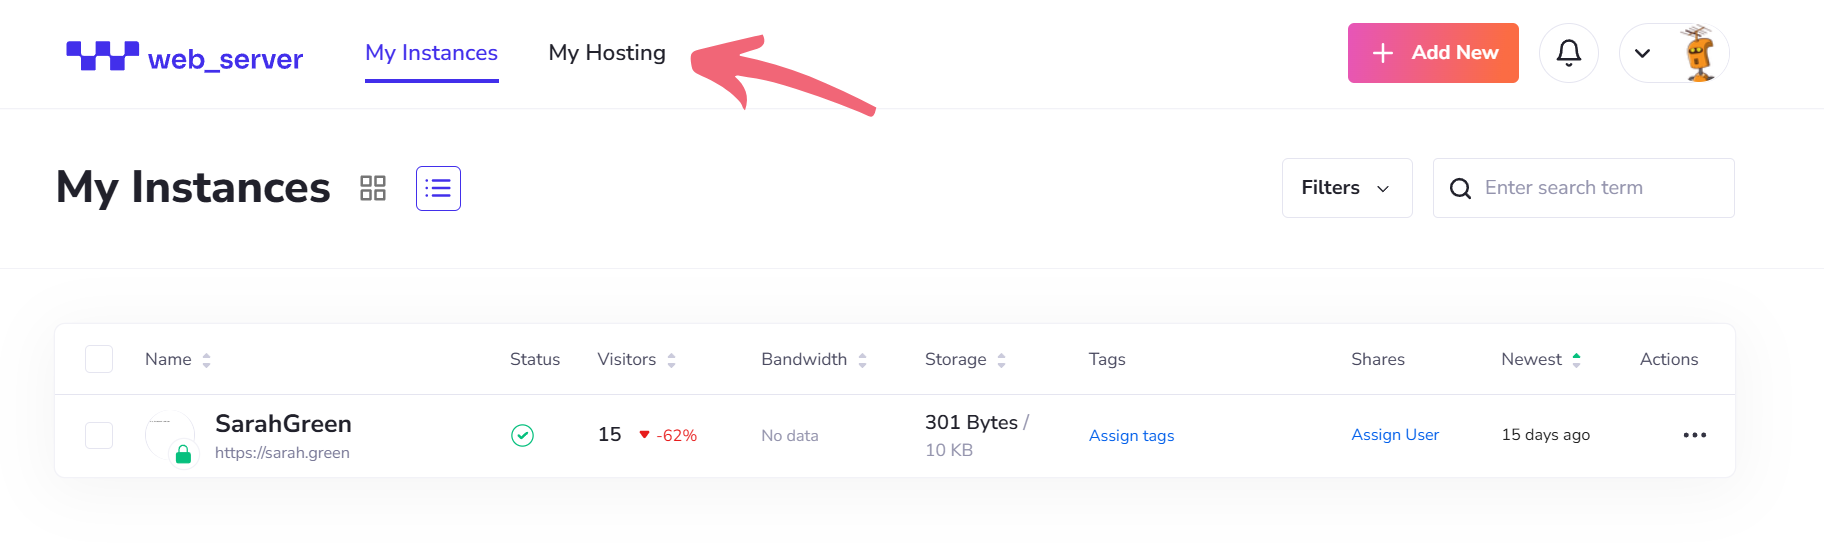
Step 2: Access DNS Management Tools
Now that you’re logged in, you can access Web-Server’s DNS management tools to configure the DNS settings for your domain.
- Navigate to Your Dashboard: From your account dashboard, look for the hosting settings.
- Click the “My Hosting” Tab.
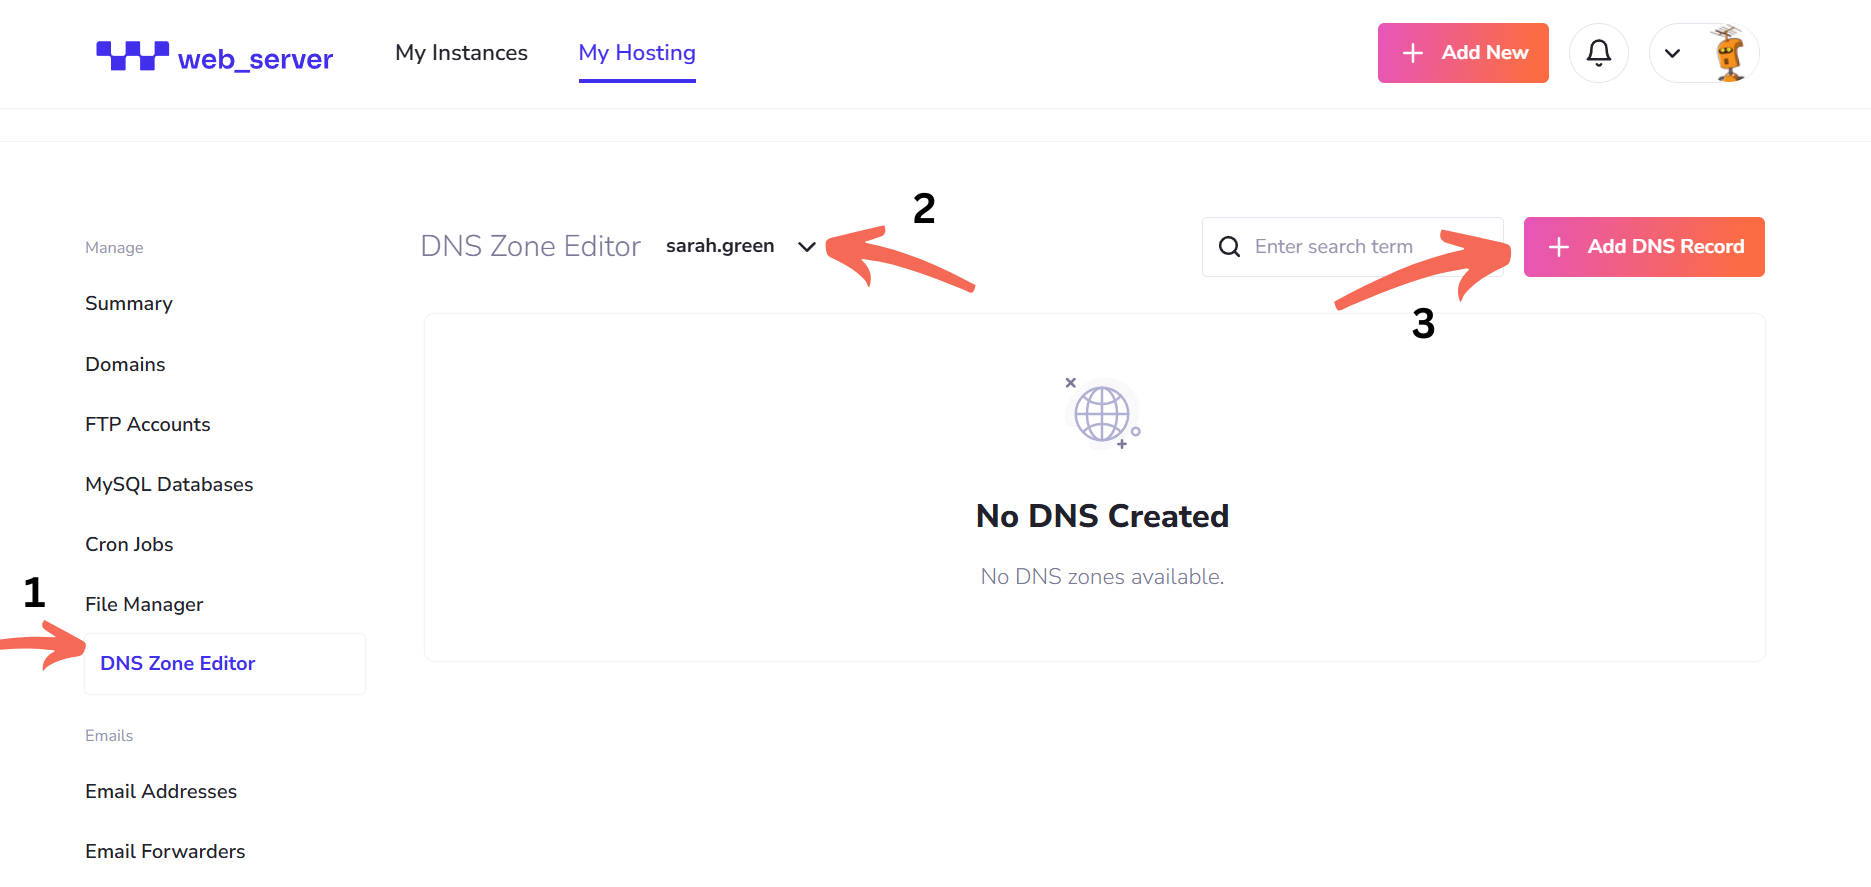
- Go to DNS Zone Editor: Find and click on the “DNS Zone Editor” option. This is where you can add, modify, or delete DNS records for your domain.
- Choose the Domain to Configure: If you have multiple domains registered with Web-Server, you will see a list of them. Select the domain for which you want to configure DNS settings.
Step 3: Add or Edit DNS Records
At this point, you’ll be able to either add new DNS records or edit existing ones. There are various types of DNS records, each serving a specific function for your domain.
The most common DNS records include:
- A Records: These direct traffic to your website’s IP address.
- CNAME Records: Used to alias one domain to another (e.g., pointing “blog.yourwebsite.com” to your main domain).
- MX Records: Responsible for managing email routing for your domain.
- TXT Records: Used for verification purposes, such as linking your domain to services like Google Search Console.
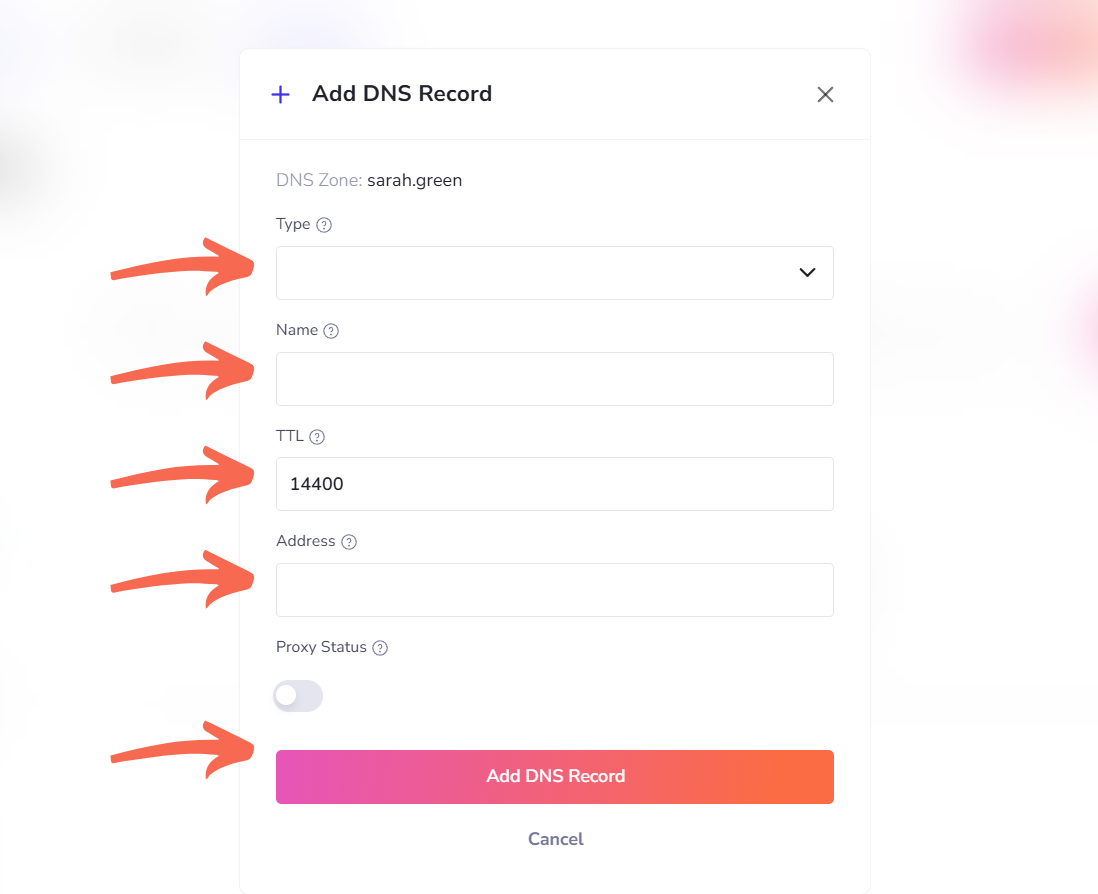
To add a new DNS record:
- Click on “Add DNS Record” to create a new record.
- Choose the Record Type: Select the appropriate record type (A, CNAME, MX, TXT, etc.) from the dropdown.
- Enter the Required Information: For example, if you’re adding an A Record, you’ll need to provide the IP address of your web server. Similarly, if you’re adding a CNAME, you’ll need to specify the alias domain.
- Save the Record: Once all the required fields are filled in, click “Add DNS record”.
Step 4: Wait for DNS Propagation
Once you’ve made changes to your DNS records, it may take some time for those changes to propagate across the internet. DNS propagation is the process by which DNS changes are distributed across various servers worldwide. This typically takes anywhere from a few minutes to 24-48 hours, depending on the TTL (Time To Live) settings.
During this propagation period, some users may see the old version of your website, while others will see the updated version.
Step 5: Verify Your DNS Settings
After waiting for the DNS changes to propagate, it’s important to verify that everything is working correctly. You can use third-party DNS lookup tools, such as MXToolbox, to verify your DNS records and confirm that the changes have taken effect.
- Check A Records: Ensure your website’s IP address is correct.
- Verify CNAME Records: Make sure your subdomains are properly directed to the correct domains.
- Check MX Records: Ensure email routing is configured properly.
Step 6: Troubleshooting
If your website is not appearing as expected or you encounter issues, follow these troubleshooting steps:
- Double-Check DNS Records: Review the DNS settings to ensure accuracy. A minor error, such as an incorrect IP address or missing record, can cause problems.
- Clear Your Browser Cache: Sometimes, old cached data can prevent changes from appearing. Try clearing your browser cache or testing in an incognito window.
- Use DNS Lookup Tools: Use tools like DNSstuff or MXToolbox to ensure that your DNS records are propagating correctly.
- Contact Web-Server Support: If the issue persists, reach out to Web-Server’s support team for further assistance.
Conclusion
Configuring DNS for your website in the Web-Server is an important task that can significantly impact your website’s accessibility, performance, and email routing. By following the steps outlined in this guide, you’ll be able to set up and manage your DNS records with confidence. Remember, DNS changes can take time to propagate, so be patient and verify your settings regularly.
