
Migrating your WordPress website to a new hosting provider can feel overwhelming, especially if you’re unfamiliar with the technical details. However, with the right approach and tools, it can be a straightforward and stress-free experience.
In this article, we will explore the essentials of migrating your WordPress site to Web-Server, including preparing for migration, the step-by-step process using Web-Server’s built-in tools, and what to do after the move to ensure your site runs smoothly. Whether you’re seeking improved speed, enhanced security, or easier site management, this guide will provide you with clear instructions and helpful tips to make your migration successful.
What is Website Migration, and Why Does it Matter?
Website migration involves transferring your entire WordPress site, including files, databases, themes, plugins, and settings, from one hosting provider to another. The main goal is to move your site seamlessly without losing data or causing downtime for your visitors.
Website owners migrate for various reasons: to improve performance, enhance security, reduce costs, or simplify management. Migration may also be driven by the need for scalability or better customer support.
While the benefits are clear, migration requires careful planning to avoid issues like broken links, data loss, or downtime that could disrupt the user experience or impact SEO.
How Does Migration Work on Web-Server?
Web-Server offers an easy-to-use migration feature that automates much of the process. Instead of manually copying files and databases, you can import your existing WordPress site by providing your current URL and FTP credentials. This saves time and reduces errors, making migration accessible even if you’re not a technical expert.
Before you begin, ensure you have your current FTP hostname, username, password, and the path where WordPress is installed. It’s also a good idea to create a backup of your site, just in case.
Step-by-Step Guide to Migrating Your WordPress Site
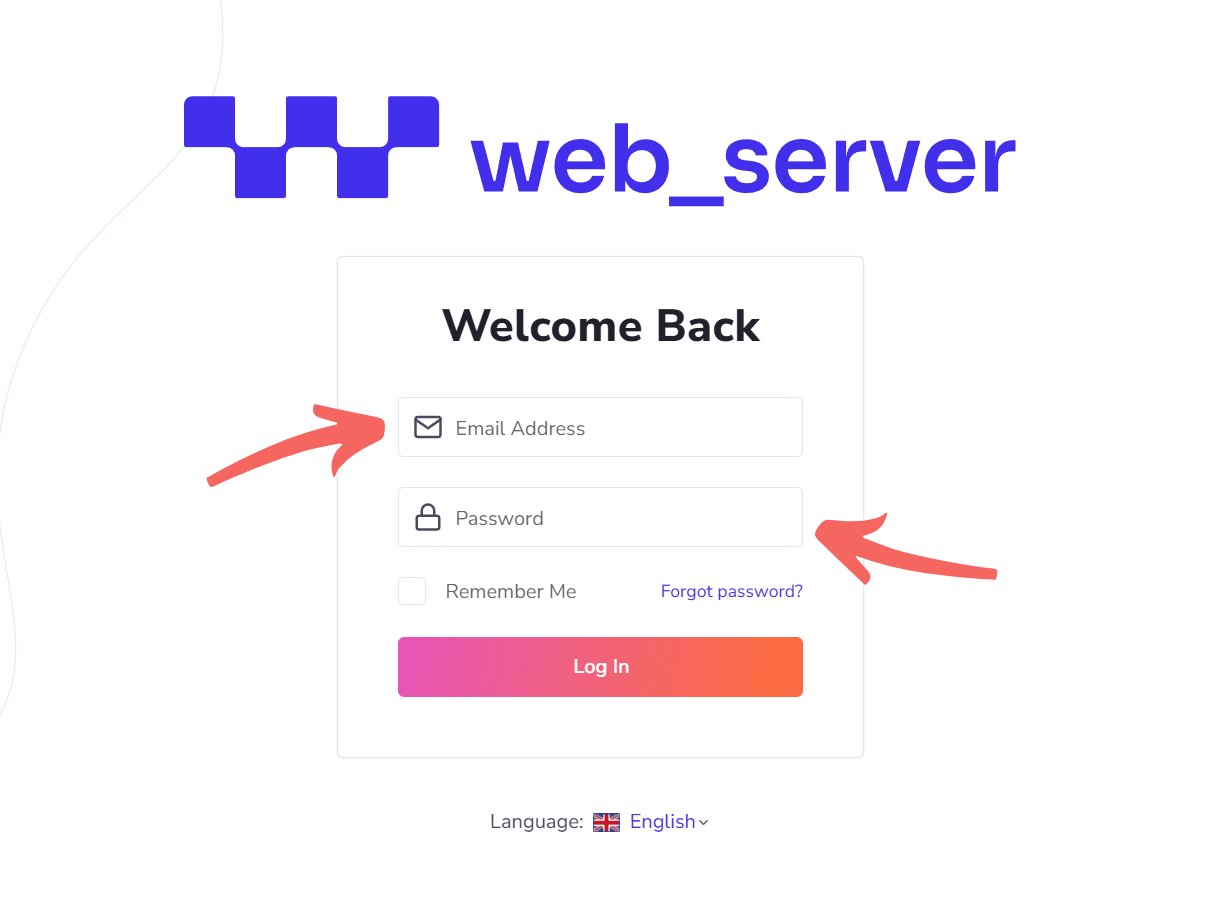
Step 1: Log in to WBS
Access your Web-Server account dashboard by logging in. If you don’t have an account, sign up on the Web-Server platform to get started.
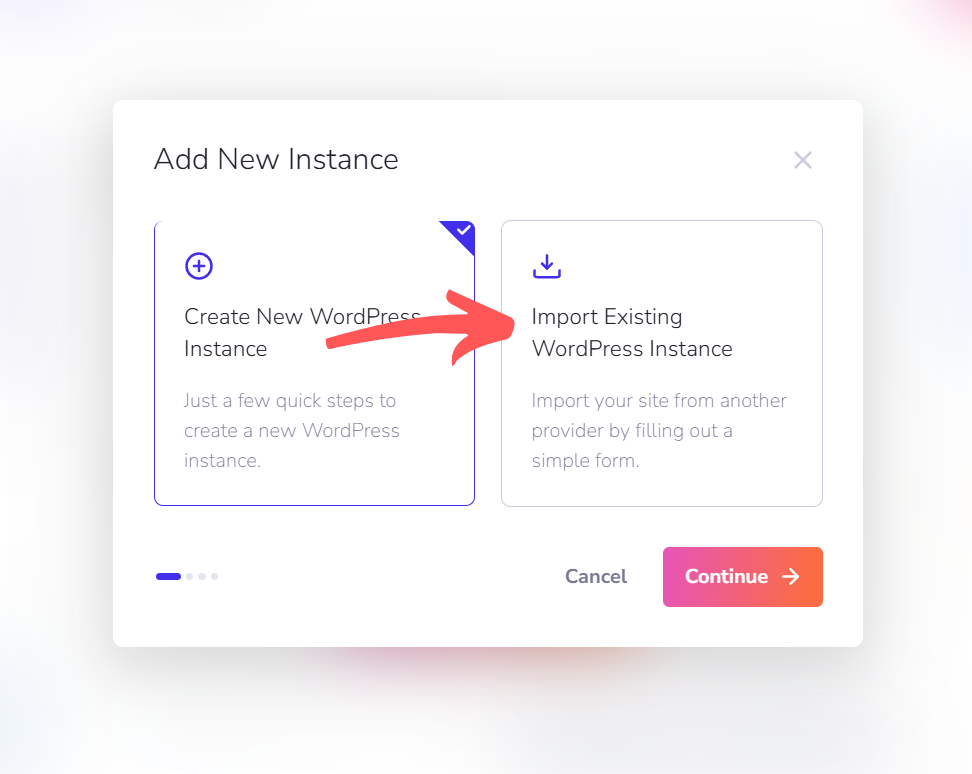
Step 2: Initiate the Migration
If this is your first time logging in and you don’t have any WordPress instances, click the Create First Instance button. If you already have existing instances, click the Add New button in your dashboard’s upper right corner. Both options will direct you to the migration process.

Step 3: Enter Your Current WordPress URL
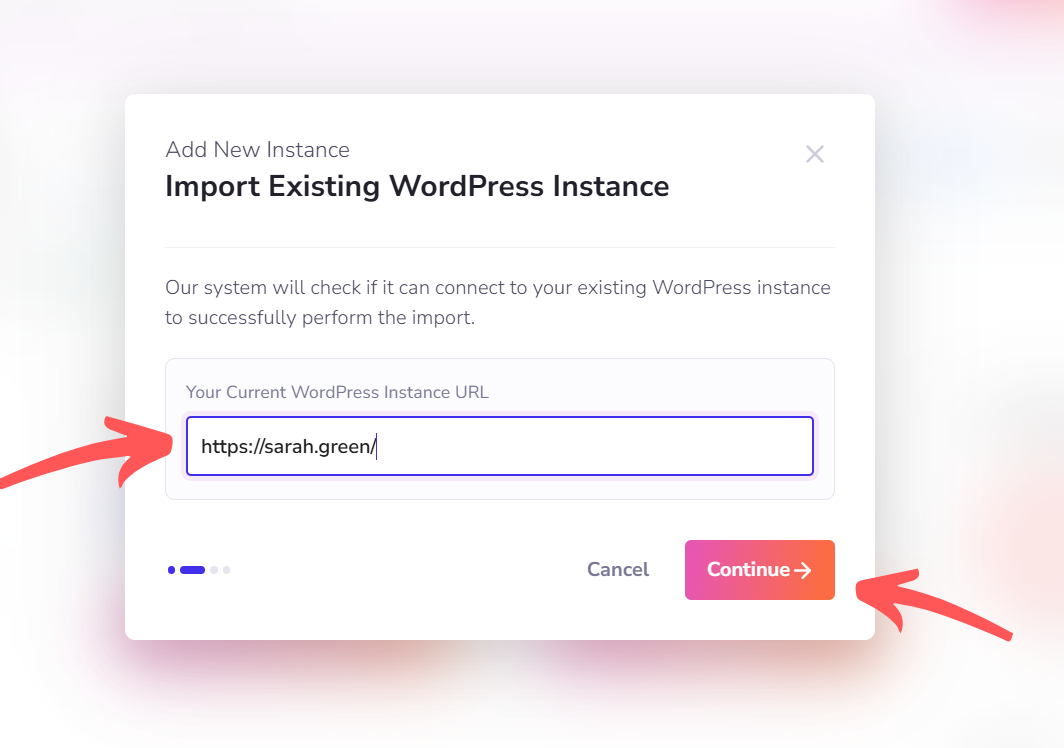
Choose Import Existing WordPress Instance, then enter the URL of your current WordPress site when prompted.
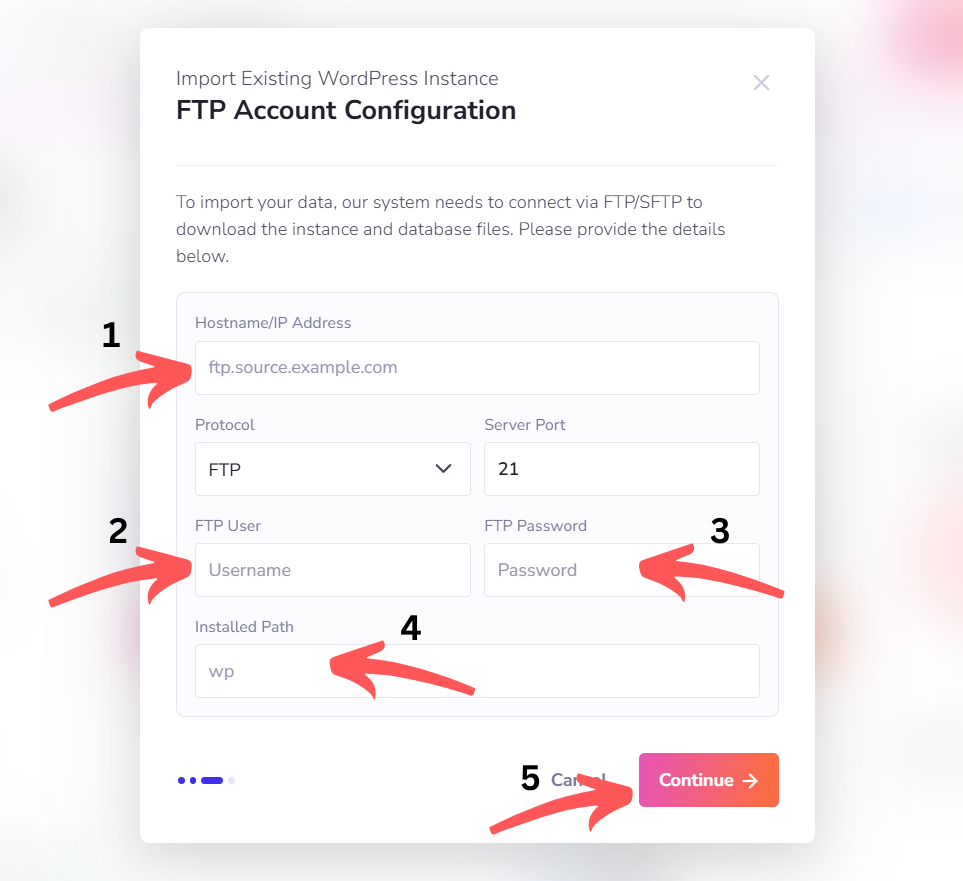
Step 4: Enter Your FTP Account
Before entering your FTP details, make sure you have your hostname, username, password, and installed path ready. These are needed to securely connect Web-Server to your current host and transfer your site files.
If you have this information, go ahead and enter your FTP hostname or IP address, username, password, and installed path below. Then click Continue to start the migration. Depending on your site size, this may take a few minutes.
If you’re unsure where to find your FTP credentials, don’t worry, this is a common question. We’ve included a quick guide to help you locate them on popular hosting platforms.
Your FTP credentials are usually available in your hosting account’s control panel. Here’s how to find them for some of the top hosting providers:
If your hosting provider isn’t listed, try logging into your hosting dashboard and looking for sections labeled FTP Accounts, FTP Settings, or FTP Access. Alternatively, you can contact your hosting provider’s support team for help.
Once you have your FTP details, return to Step 4 to complete the migration setup.
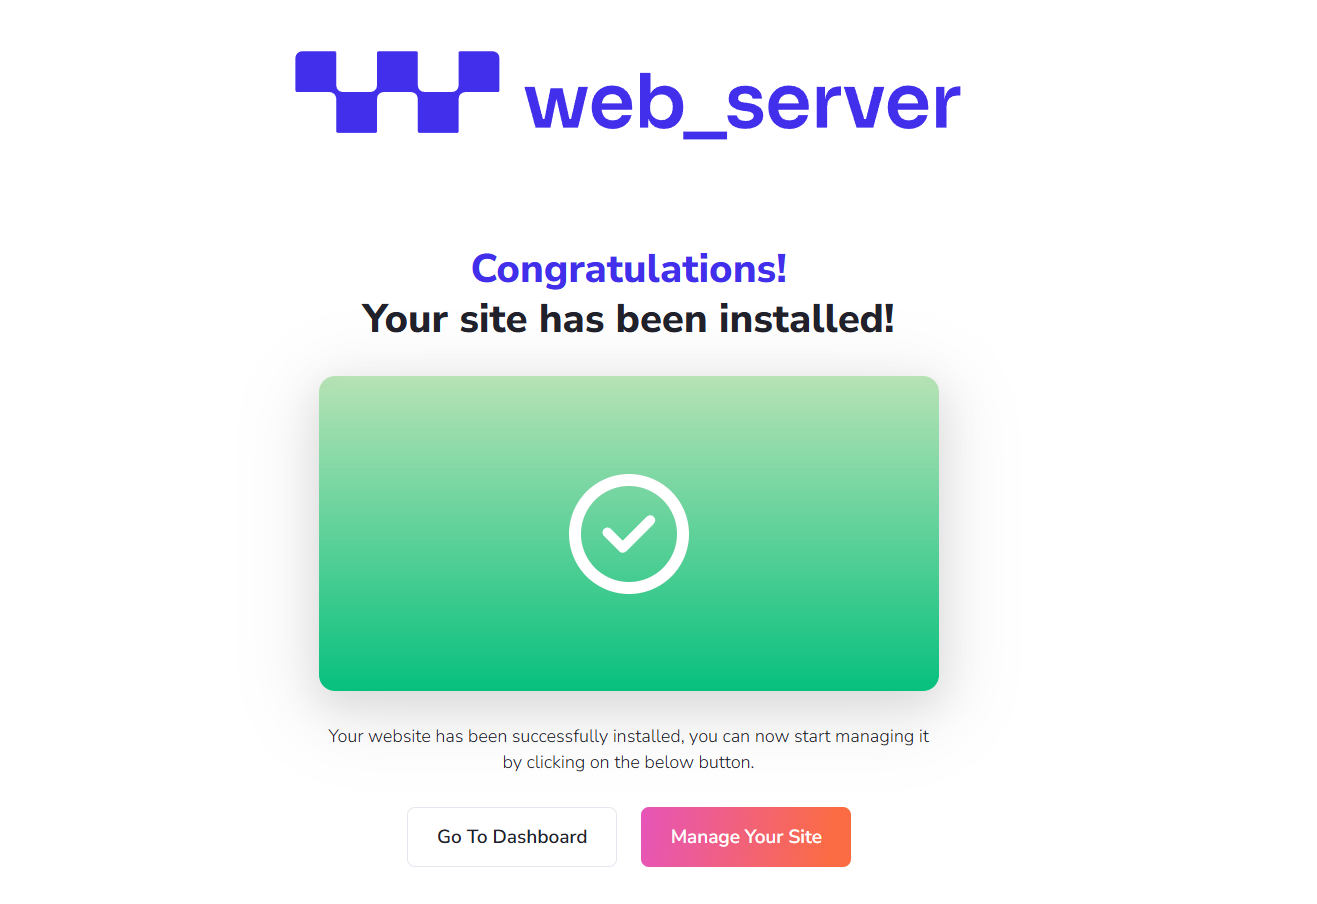
Step 5: Complete Migration
Once the migration finishes, you’ll receive a confirmation. You can now access your WordPress dashboard or manage your site directly through Web-Server’s interface.
What to Do After Migration
- Test Your Site: Visit your site to check that all pages, images, and functions work correctly.
- Update Your DNS Settings: Point your domain’s DNS records to Web-Server to direct visitors to the new host. Remember that DNS changes may take up to 48 hours to propagate fully.
- Set Up SSL: If your site uses HTTPS, ensure your SSL certificates are active on the new host.
- Backup Your Site: Perform a fresh backup on Web-Server to ensure you have a secure copy on your new platform.
Troubleshooting and Support
If your migration doesn’t go as planned, here are some common issues and solutions:
- Migration Stalls or Fails: Double-check your FTP credentials and path. Contact Web-Server support if problems persist.
- Broken Links or Missing Files: Clear your site’s cache and review the migration logs for errors.
- Need Help? Web-Server’s support team is available to assist you at every step.
Make the Move with Confidence
Migrating your WordPress site to Web-Server is not just a technical step; it’s a strategic decision to enhance your website’s performance, security, and ease of management. Web-Server’s powerful and intuitive migration tools make the transition seamless and efficient, ensuring that even those new to site transfers can complete the process with confidence and minimal effort.
By choosing Web-Server, you’re investing in a hosting platform designed to deliver lightning-fast loading speeds, robust protection against threats, and centralized management features that simplify your day-to-day operations. Start your migration today and take the first step towards a more reliable, secure, and high-performing website that supports your business goals and growth.
