
Managing a WordPress website involves constant updates and improvements. However, making changes directly on a live site can sometimes lead to unexpected issues or downtime. That’s where a staging environment comes in handy. In this article, we will guide you through the process of setting up a staging site on Web-Server. You’ll learn what staging is, why it’s essential for your website management, and how to create one step-by-step with Web-Server’s tools.
What is Staging and Why Is It Important?
A staging environment is essentially a clone of your live website. It allows you to test updates, plugins, and design changes in a safe, controlled setting without affecting your live site or visitors. This allows you to identify and fix any issues before they impact your real audience.
Using staging helps protect your website’s performance and uptime. It reduces the risks that come with direct updates, giving you peace of mind that your live site remains stable while you work on improvements behind the scenes.
Step-by-Step Guide to Setting Up Staging on Web-Server
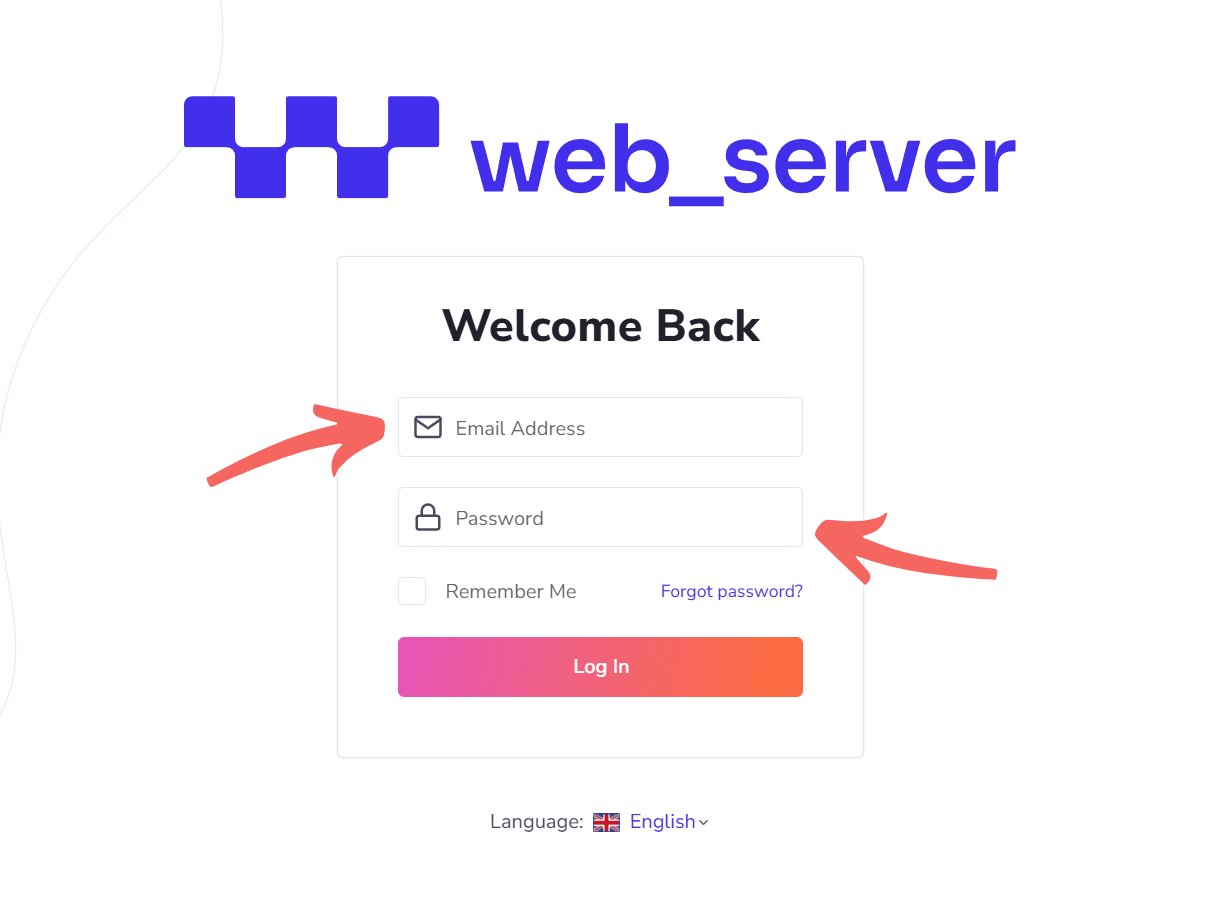
Step 1: Log in to Web-Server
Begin by logging into your Web-Server account using your username and password. Once logged in, you will land on the main dashboard, which displays all your WordPress sites hosted on Web-Server.
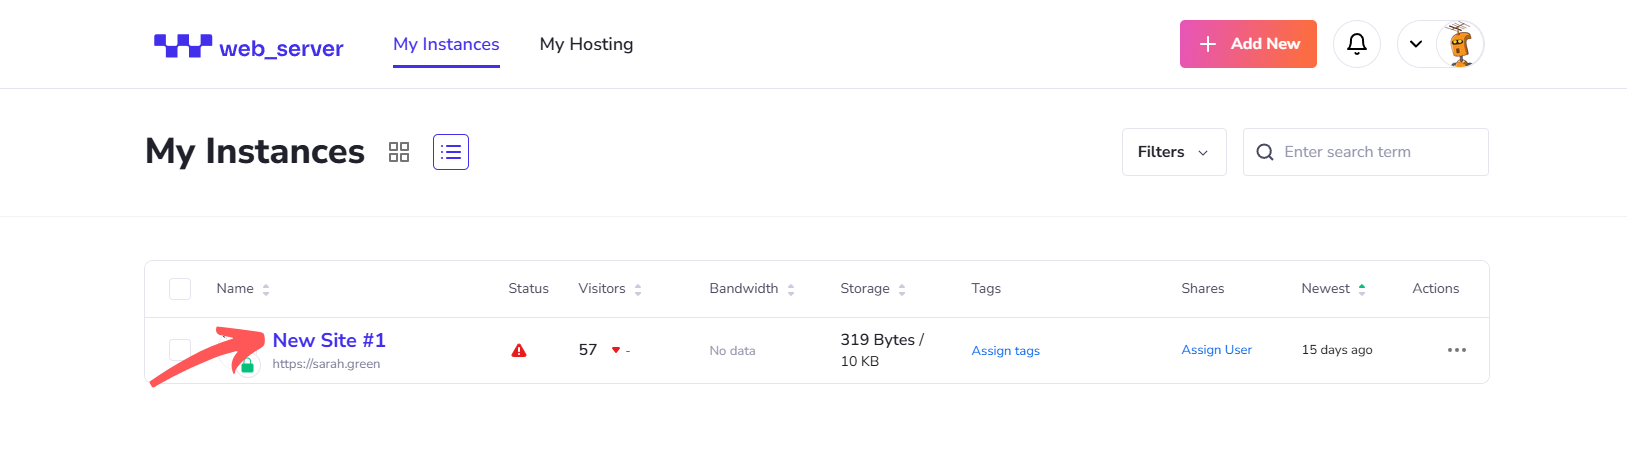
Step 2: Access the Staging Option
To create a staging environment, navigate to your Instances dashboard by clicking on the site name you want to manage.
You have two options to proceed:
- Click the (+) button next to the Live section or the Staging option on the right side.
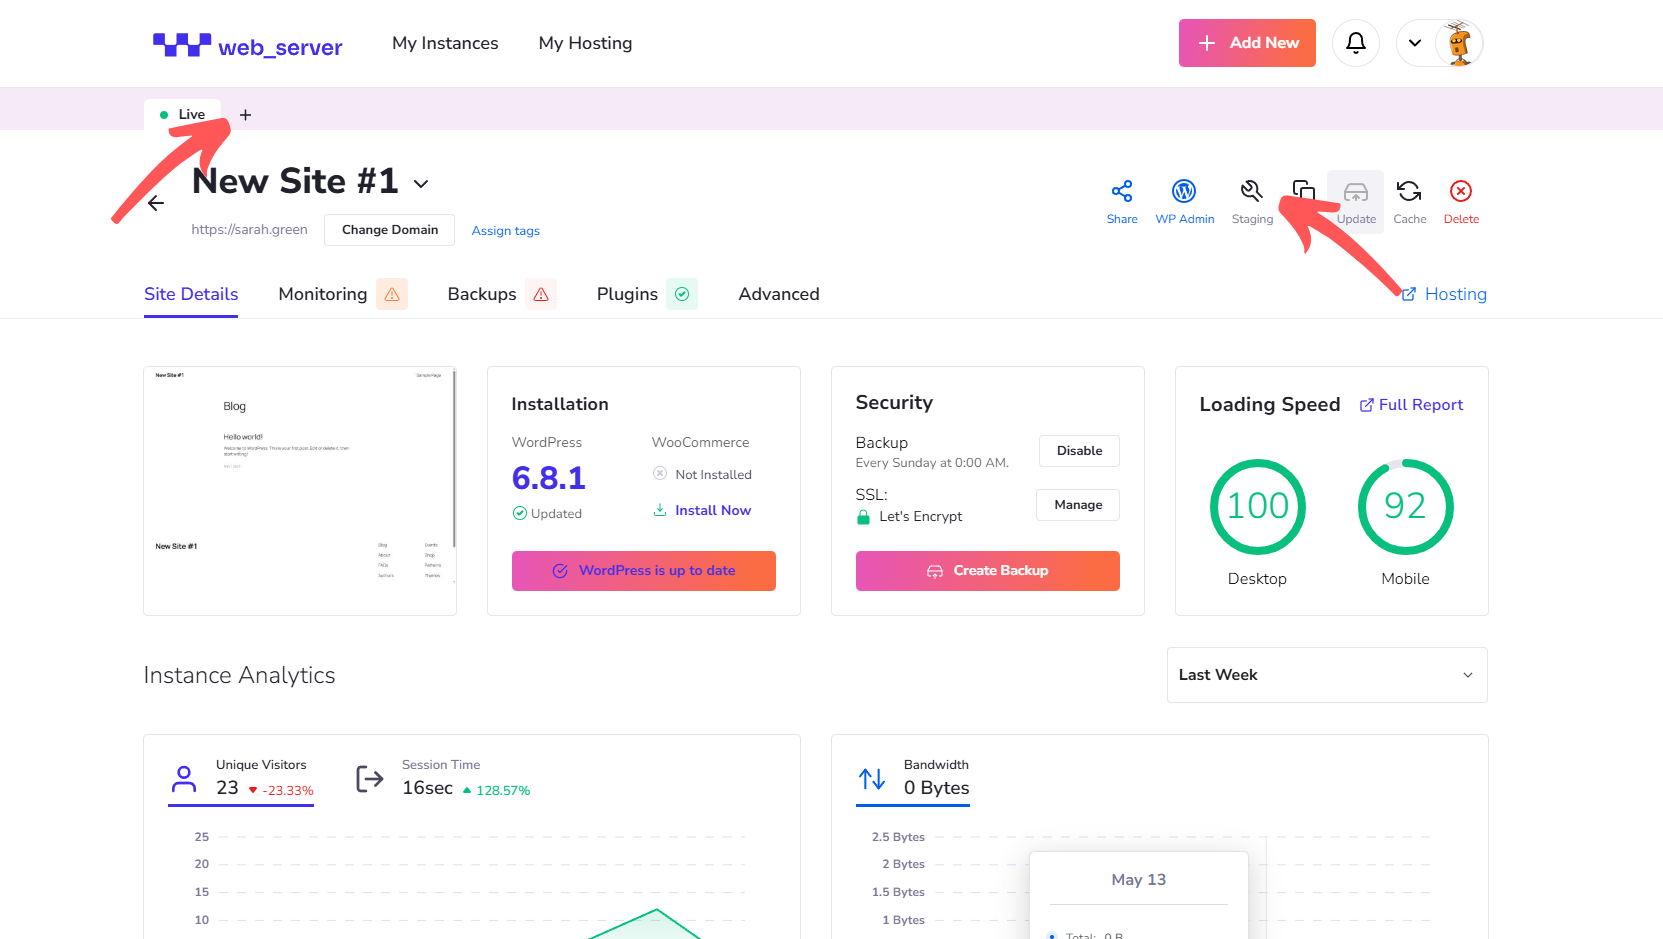
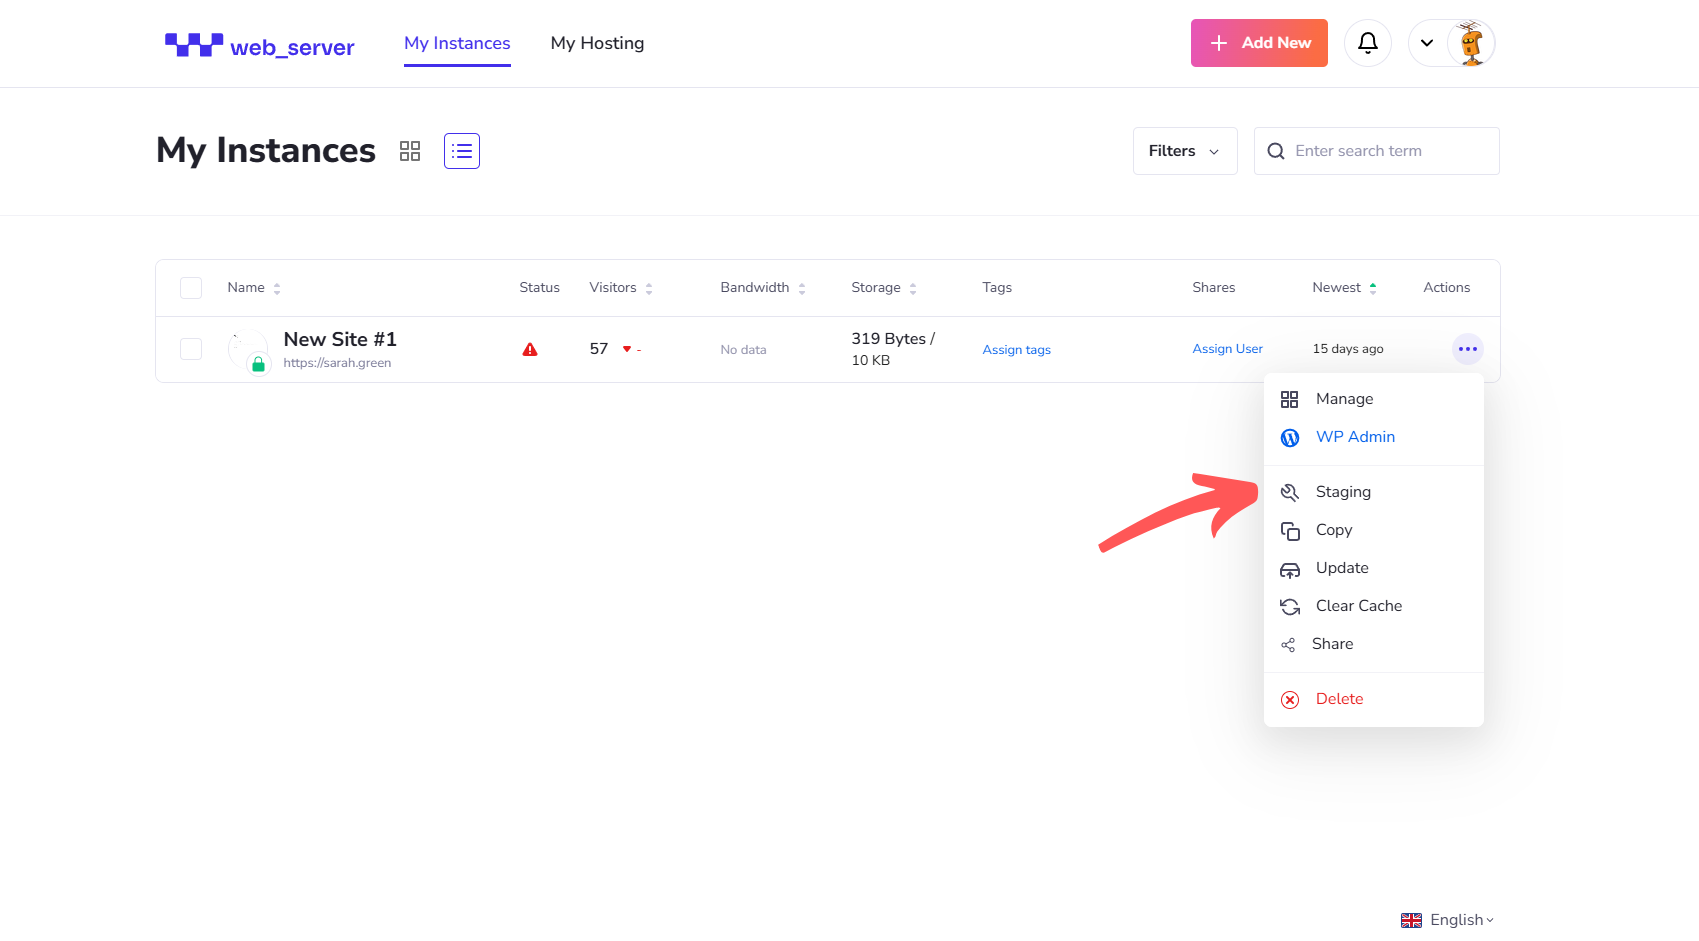
- Alternatively, in the Instances list, hover over the three-dot menu beside your site and select Staging.
Please note that each WordPress installation can only have one staging environment.
Step 3: Create the Staging Environment
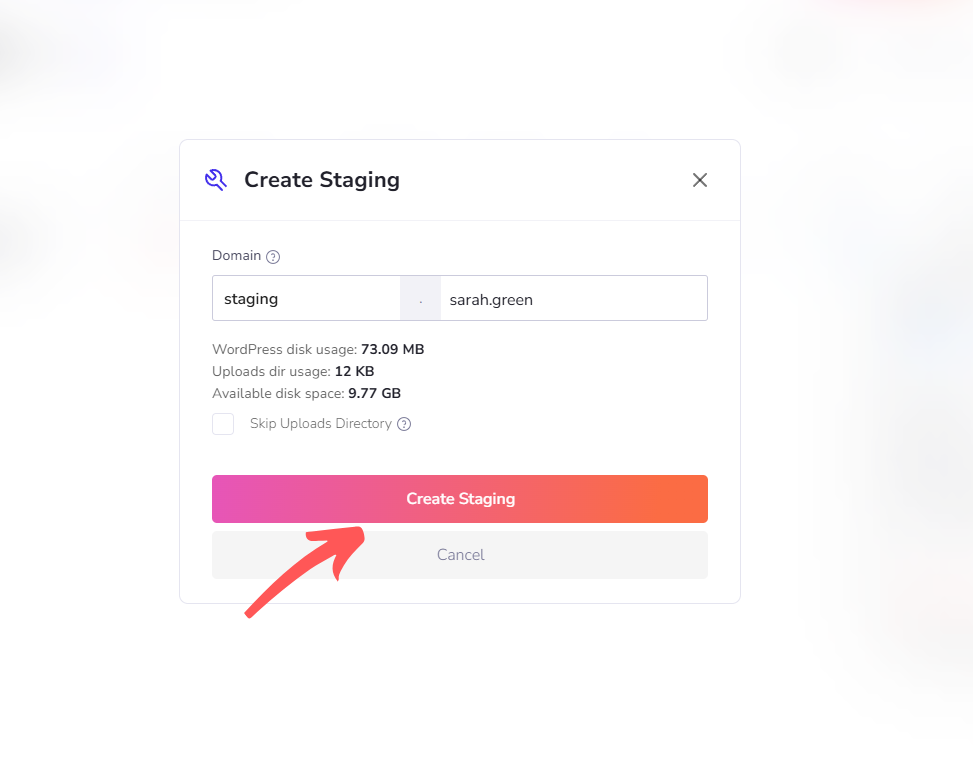
Click on the Staging option to begin. The system might prompt you to provide a subdomain, but “staging” works perfectly as the default.
Next, Web-Server will calculate disk usage and present you with the following information:
- WordPress disk usage
- Uploads directory usage
- Available disk space
You may choose to exclude the uploads directory to save space. Once you’ve reviewed these details, click Create Staging to start the setup process.
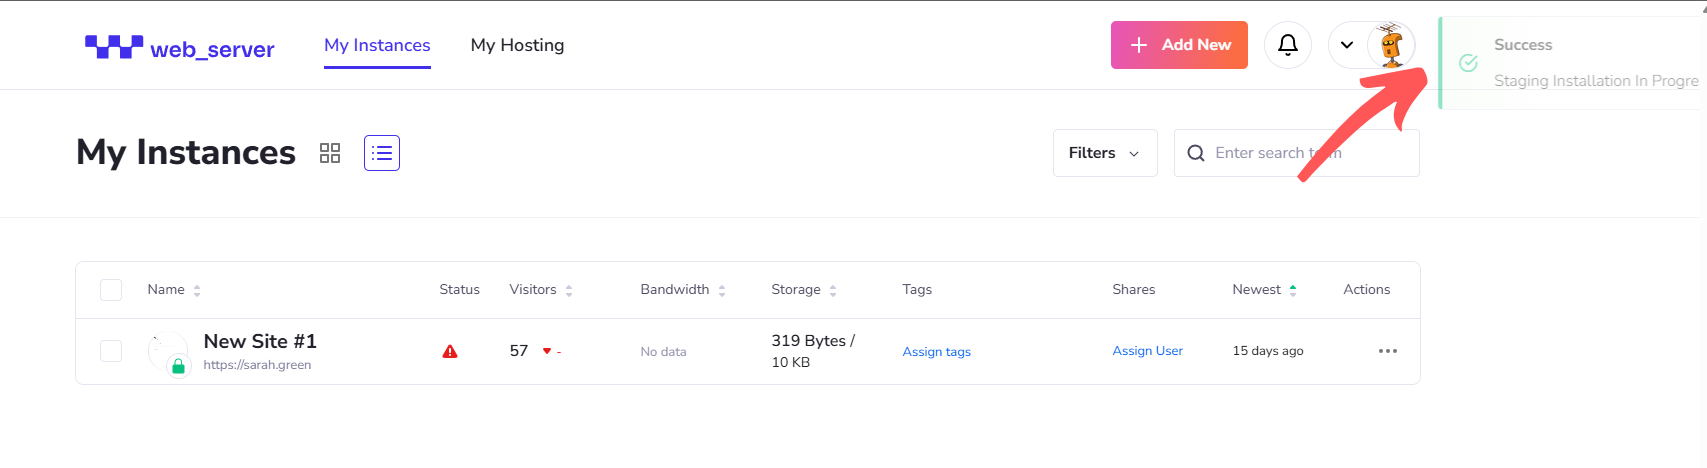
Step 4: Staging Setup Complete
After a brief process, your staging site will be ready. You can access it anytime by clicking the Staging tab beside your dashboard’s Live tab. This tab replaces the plus button you used earlier to create the staging site.
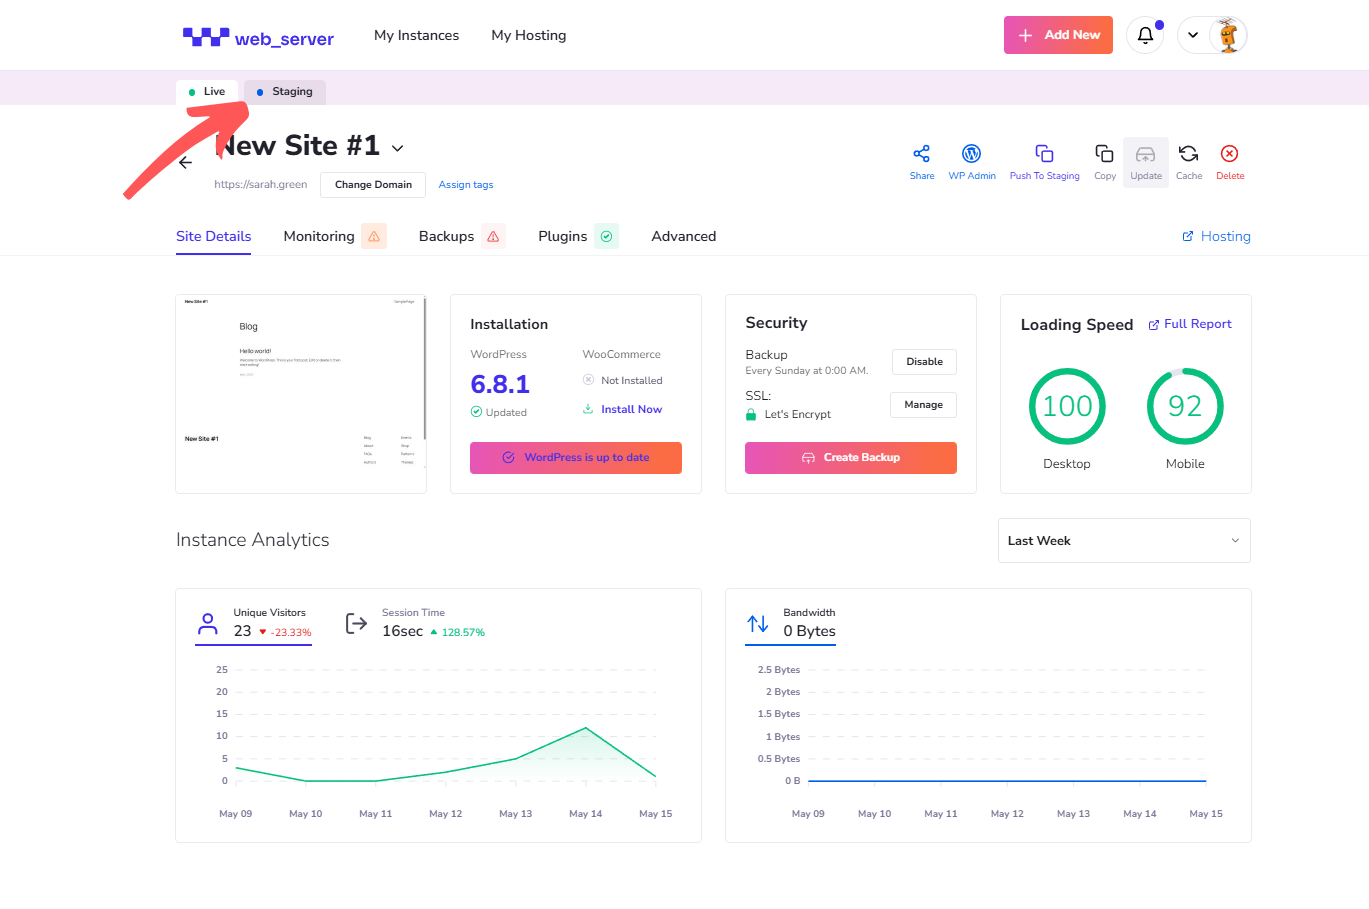
Step 5: Access Your Staging Site
To work on your staging environment, click the Staging tab next to the Live tab. From here, you can test updates, install plugins, or make design changes without impacting your live site.
Synchronizing Content Between Live and Staging
Web-Server provides two useful features to keep your live and staging sites in sync:
Push to Staging
This updates your staging site with the current content from your live website. It’s helpful to refresh staging before making new changes.
Push to Live
After testing and confirming your updates on staging, this feature pushes those changes to your live website, making them visible to your visitors.
These synchronization tools ensure a smooth workflow and help you manage your website confidently.
Test Confidently, Deploy Safely with Web-Server Staging
Setting up a staging environment on Web-Server is straightforward and essential to managing a WordPress site safely. By testing your changes in staging, you minimize risks to your live site and ensure your visitors always have a smooth experience. Give it a try today and enjoy a worry-free way to develop and update your website.
