
Backing up your WordPress website is a fundamental aspect of managing a website. Regular backups ensure you have a secure copy of your site, protecting you from data loss due to hacking attempts, failed updates, or human error. Web-Server (WBS) provides a reliable backup system that allows you to easily protect, restore, and manage your website.
What are Backups
Creating regular backups is one of the most effective ways to protect your WordPress website from data loss or unexpected issues. A backup is a complete copy of your website at a specific time. It includes everything your site needs to function, such as your content, images, themes, plugins, settings, and the database that stores user information and site data.
With Web-Server (WBS), backups are comprehensive and reliable. Whether recovering from a faulty update, a plugin error, or an accidental change, you can restore your site to a previous, stable version. WBS offers both manual and automatic backup options. You can manually create a backup before installing updates or making design changes.
WBS also performs automatic backups on a schedule, ensuring your site is protected even when you aren’t actively managing it. Each backup is securely stored and contains all the necessary components to restore your site when needed.
Watch the Step-by-Step Video
Watch the complete walkthrough of the process in this video, or check the detailed step-by-step guide how to back up your wordpress website on Web-Server with confidence.
How to Access Your Backups
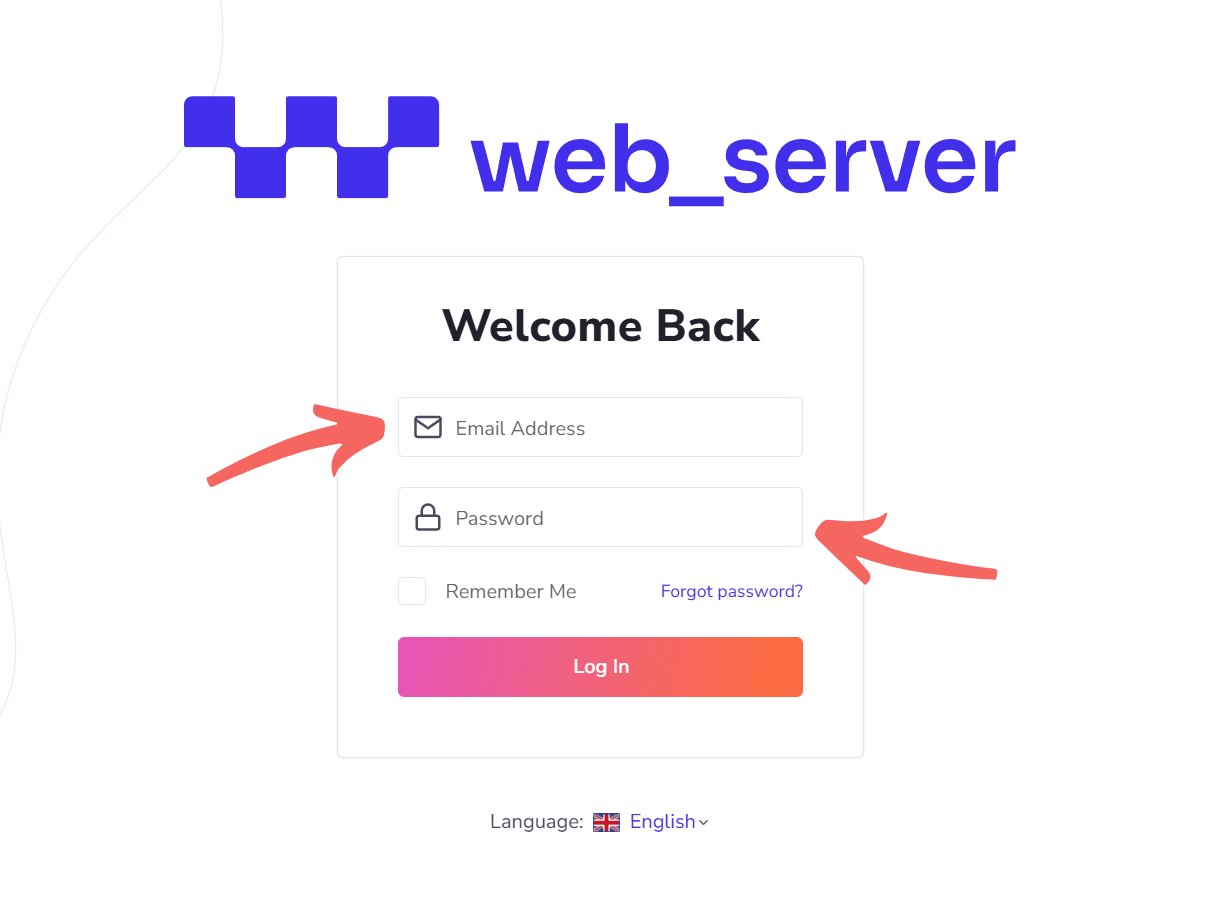
Step 1: Log in to Your WBS Account
Start by signing in to your Web-Server (WBS) account at web-server.com. Once logged in, you’ll arrive at your main dashboard, where all your WordPress sites hosted on WBS are listed.
Step 2: Open Your Site Management Dashboard
Locate the website you want to manage from the list. You can access the management dashboard in two ways. The first is by clicking directly on the site name, which immediately takes you to the dashboard for that site. The second option is to hover over your site entry, which will reveal the “Manage Site” and “WP Admin” buttons. Click “Manage” to open the site’s management dashboard. Both methods take you to the same place.
Step 3: Navigate to the Backups Section
Once inside the site’s management dashboard, look for the “Backups” tab in the navigation menu. Clicking this tab will open the Backups section, where you can view, create, and manage all backups associated with that site.
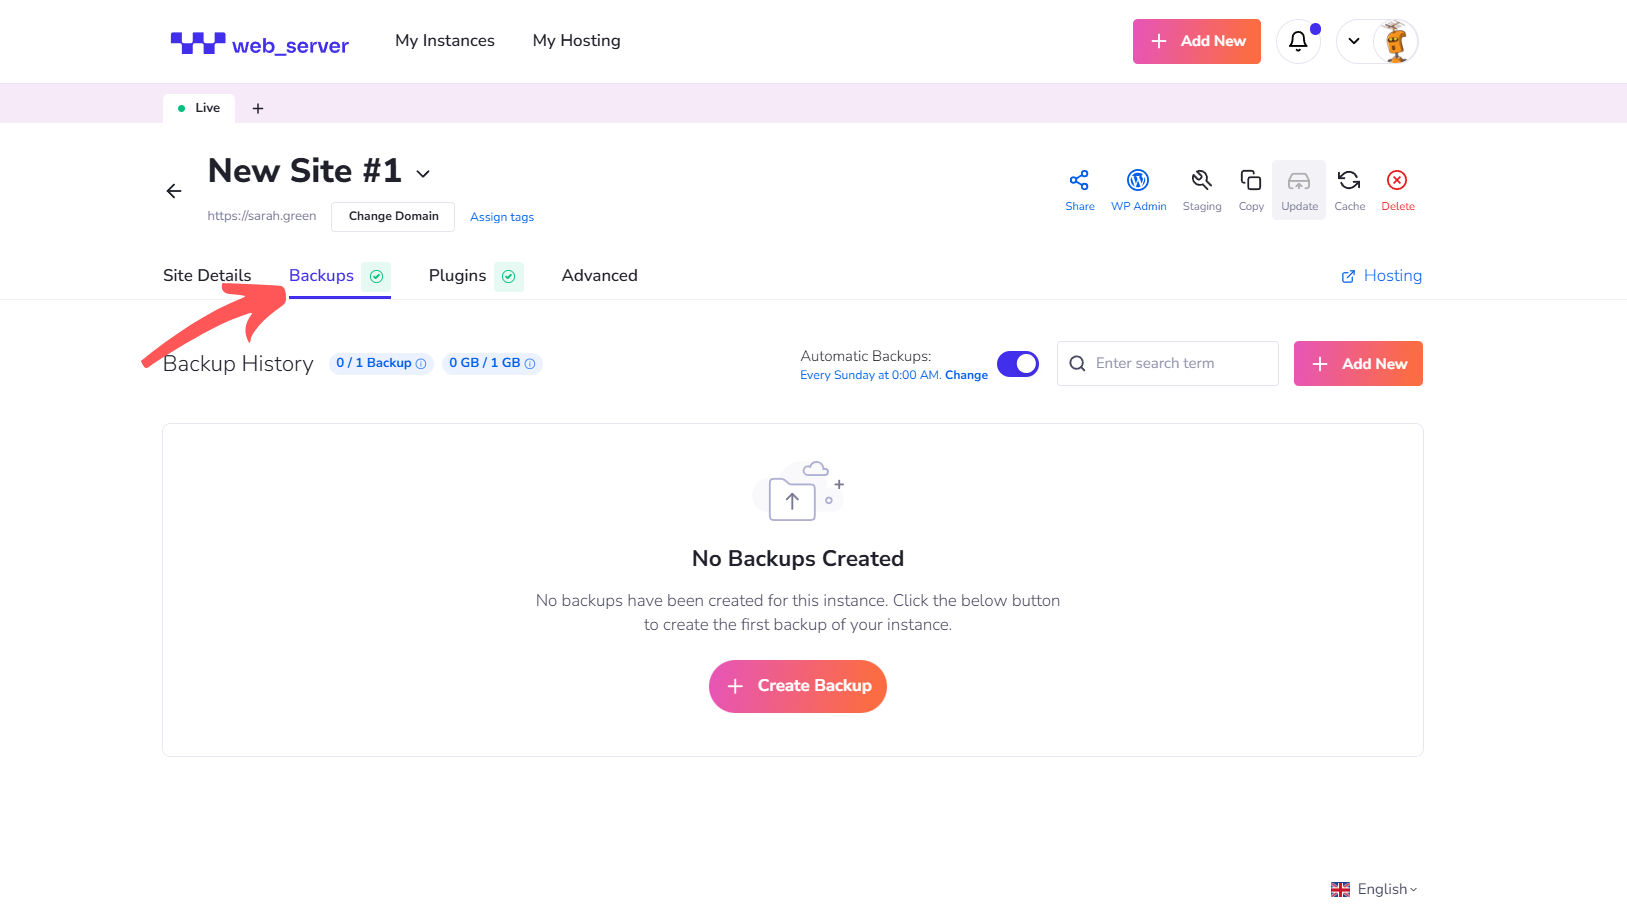
Step 4: View Your Backup History
In the Backups section, you’ll see a list of all available backups, each labeled with a timestamp and relevant details. This is your backup history. From here, you have complete control over each saved version of your site. You can review backup details, download copies, restore your site to a previous version, or delete backups that are no longer needed.
How to Create a Backup
Step 1: Locate the Backup Controls
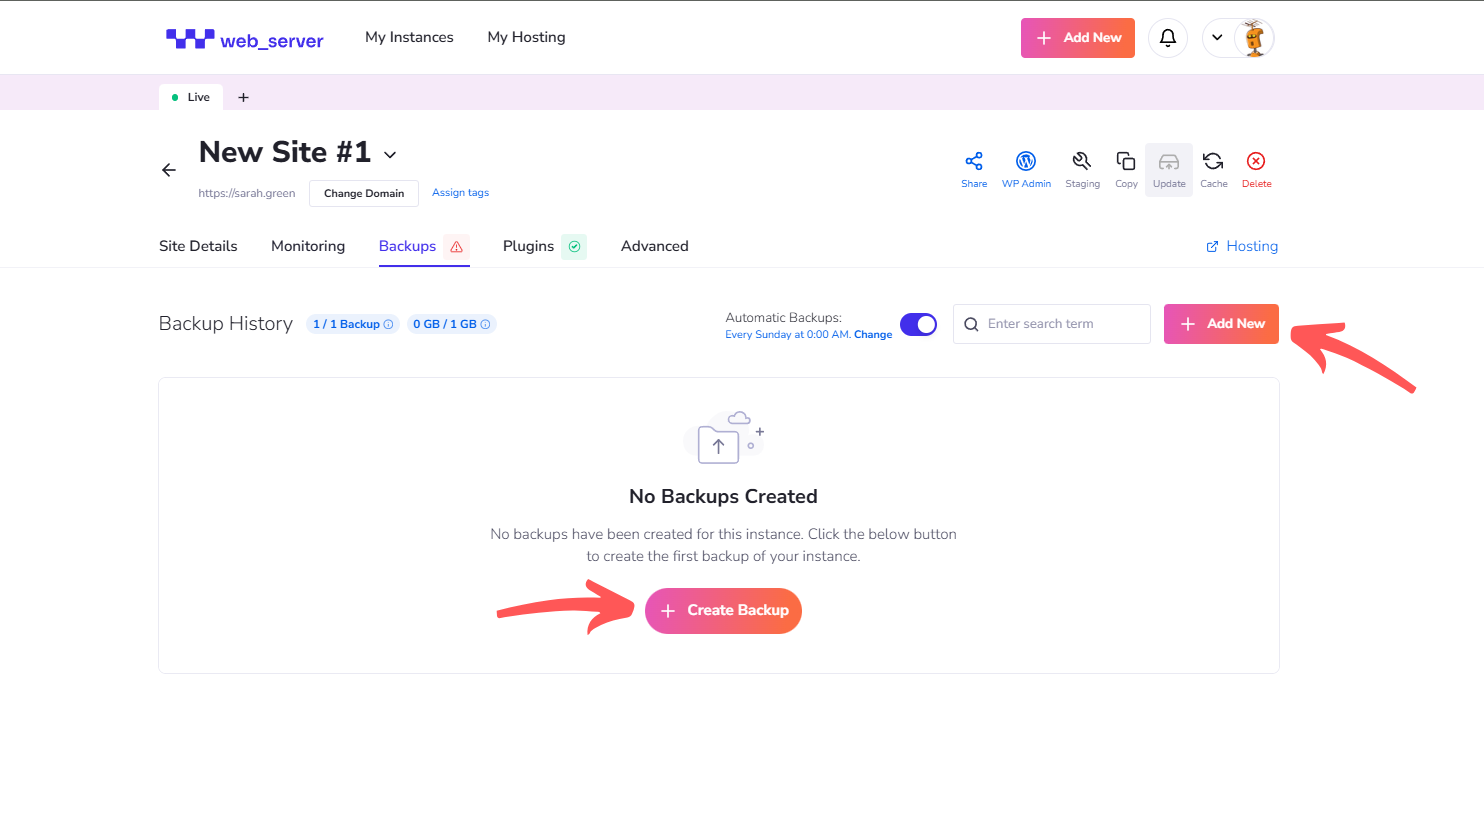
Inside the Backups section of your site’s dashboard, you’ll see a list of previously created backups and their timestamps. At the top-right of this section, you’ll find a button labeled “Add New.” This is one of the options you can use to create a new backup manually.
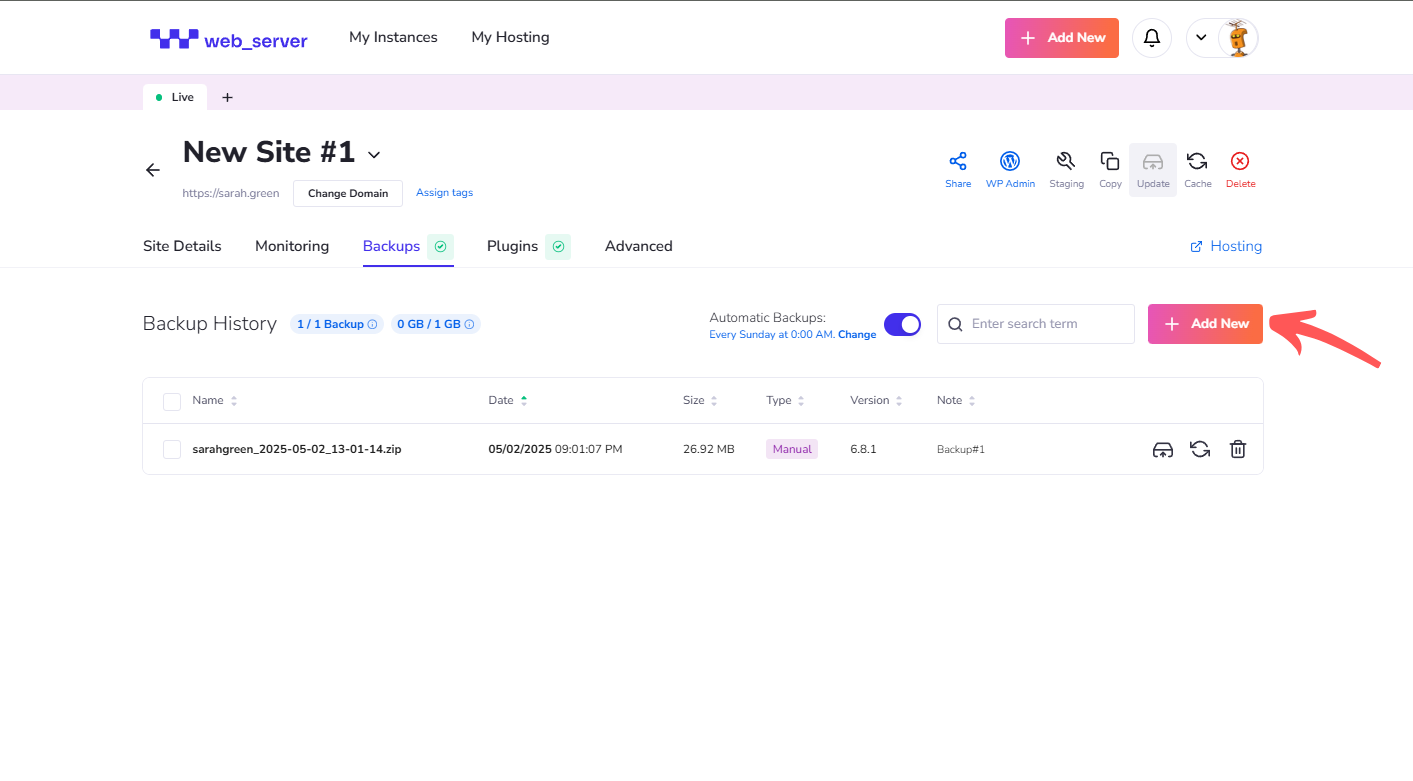
Step 2: Start the Backup Process
Click the “Add New” button to initiate the backup. Alternatively, if it’s your first time creating a backup, you’ll notice a “Create Backup” button at the bottom of the page. Clicking either button will generate a complete snapshot of your WordPress site.
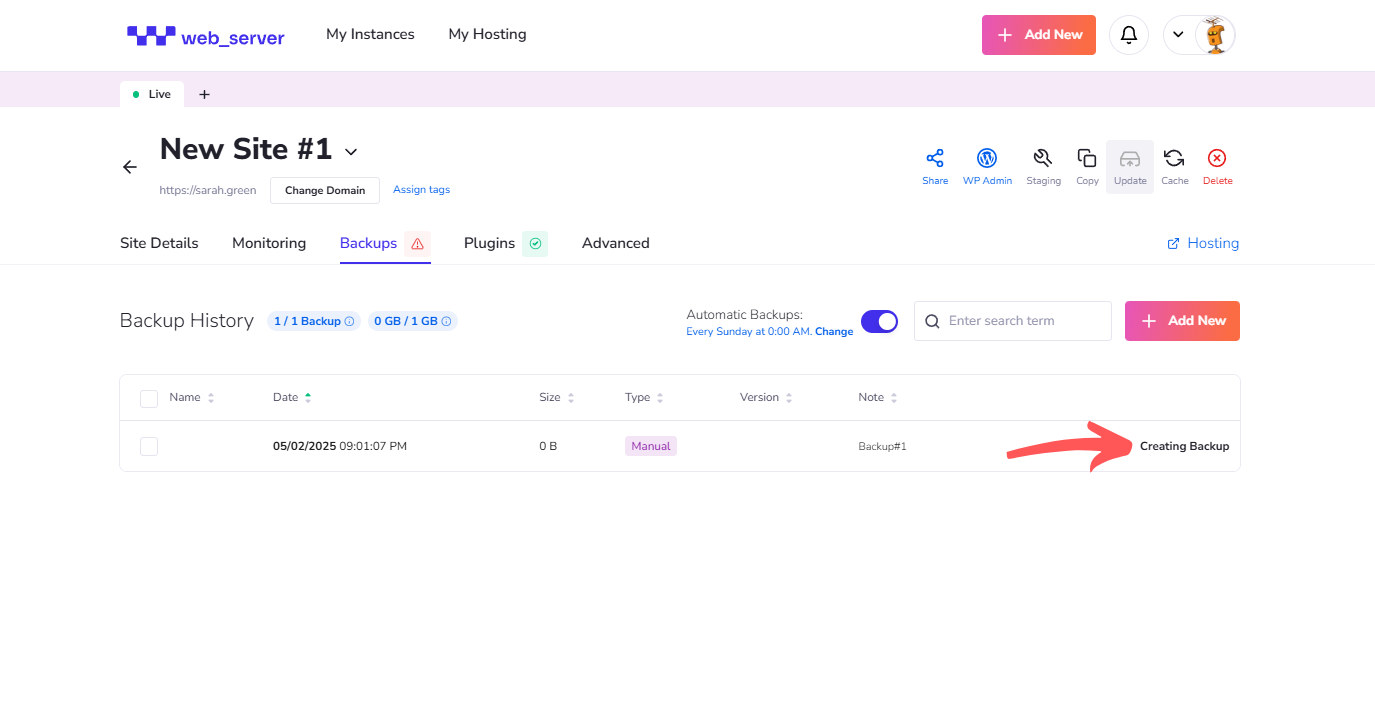
Step 3: Wait While the Backup is Created
Once initiated, Web-Server will begin compiling all the necessary components of your site, including your content, media library, installed themes and plugins, configuration settings, and the WordPress database. The system handles this process automatically and efficiently. Depending on the size of your site, the backup may take a few moments to complete.
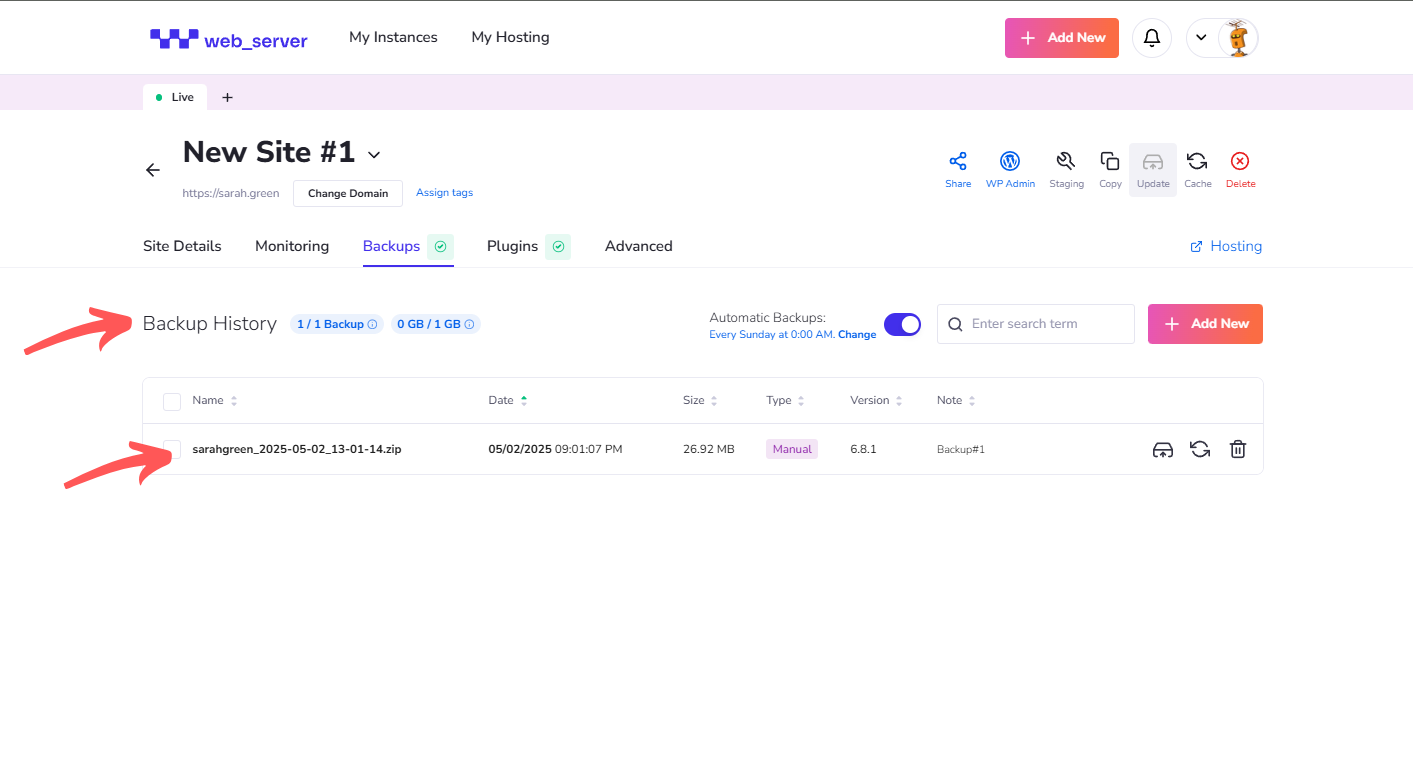
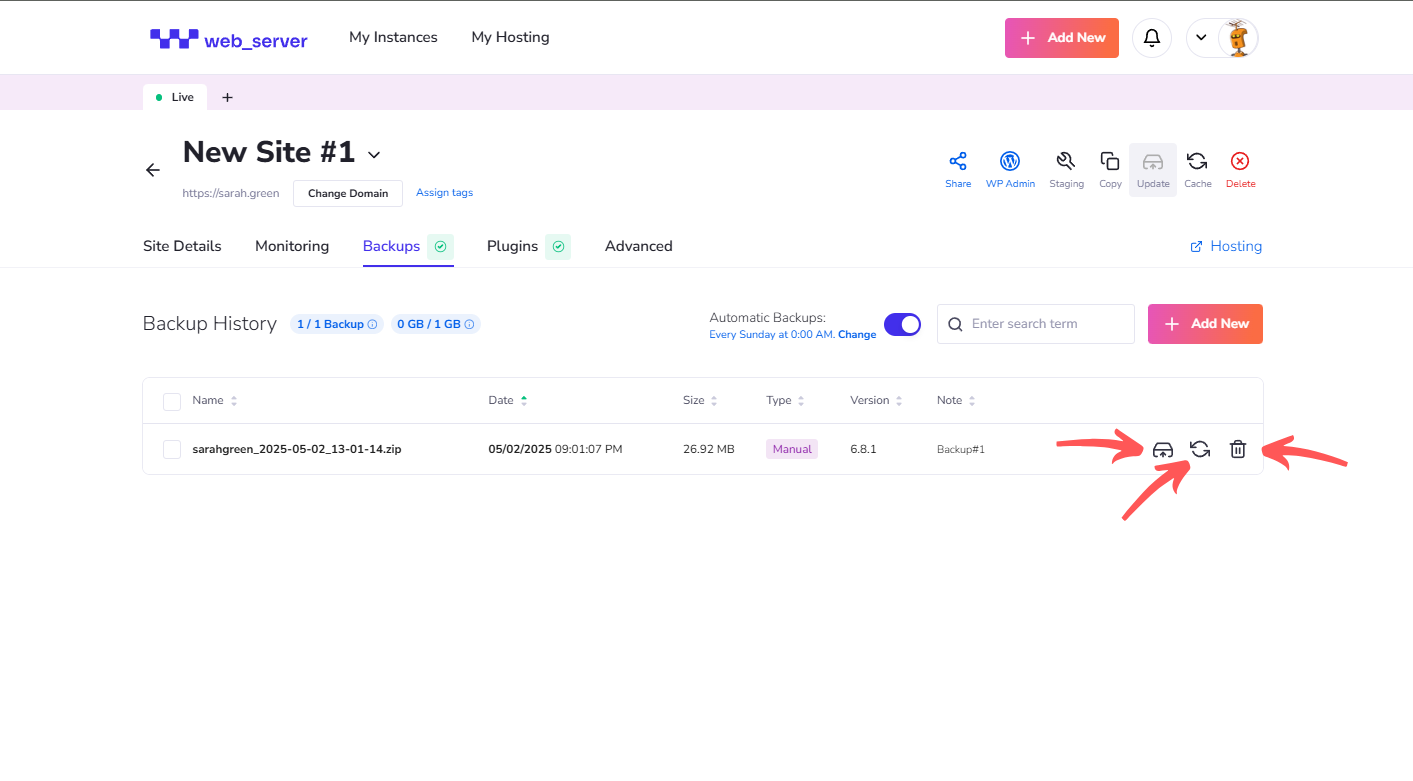
Step 4: Verify the Backup in Your History
After the process finishes, the newly created backup will appear at the top of your backup history list. Each backup entry is labeled with the exact date and time it was created, making it easy to identify. You’ll also see options next to each backup: Download, Restore, or Delete.
Manual backups provide control, especially before performing major updates, installing new plugins, or making design changes. They create a secure restore point, ensuring your site can be rolled back if needed.
In addition to manual backups, Web-Server (WBS) offers automated backups that run without user input. These automated backups act as a built-in safety net, ensuring your website is regularly protected even if you forget to create one manually. Automated backups can be scheduled to run at a time that minimizes impact on site performance.
Managing Your Backups
Managing backups in WBS is straightforward and secure. Each backup entry includes options to download, restore, or delete:
- Download: Saves the backup file to your device or uploads it to cloud storage for safekeeping. This can be used for external archiving or transferring your site to another server.
- Restore: Reverts your website to the selected backup. This is useful when something breaks after an update or configuration change.
- Delete: Removes outdated backups to free up server space. Only delete backups that are no longer needed.
Restoring Your Backup
Restoring a backup with Web-Server is a quick process. In the Backups section of your site dashboard, locate the version you want to restore and click the “Restore Backup” button next to it. A confirmation prompt will appear to make sure you intend to proceed. Once confirmed, WBS will begin restoring your website to the selected backup state.
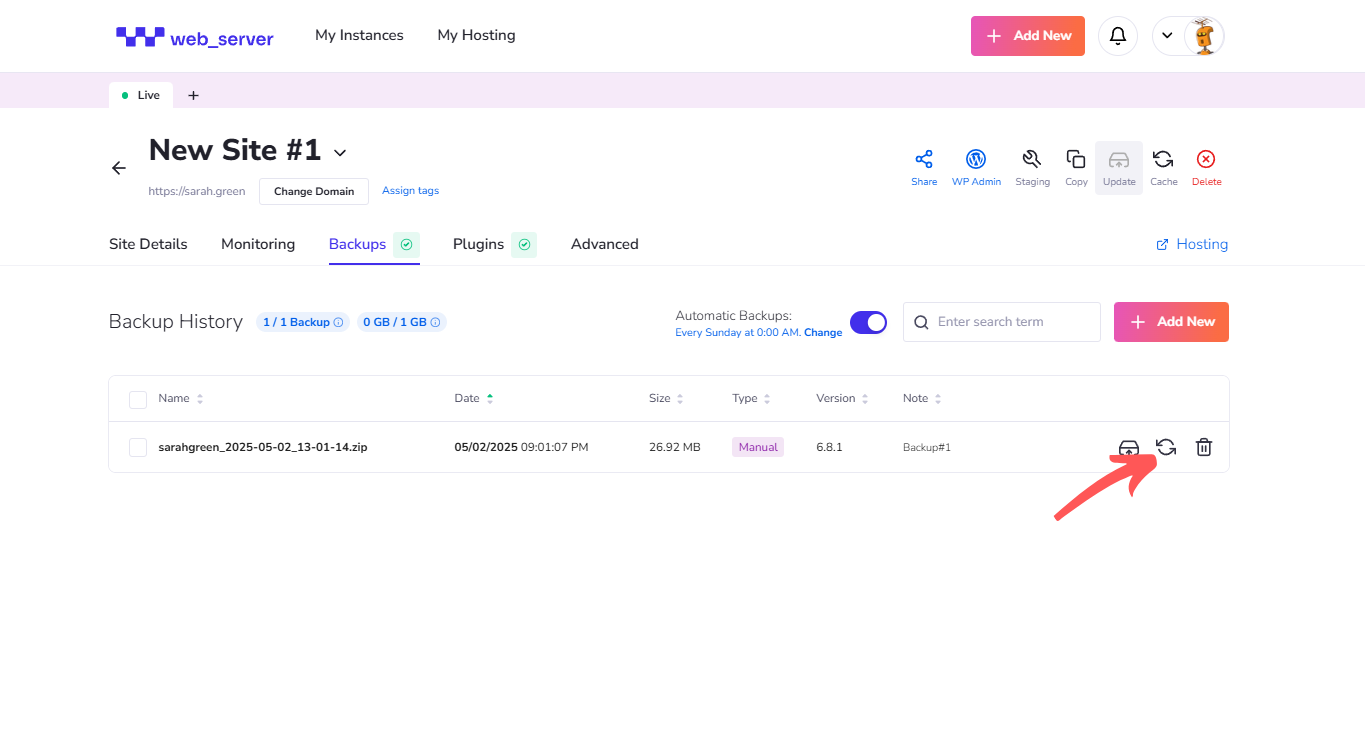
It’s important to note that restoring a backup will overwrite your current website data with the contents of the selected backup. For safety, it is recommended to download your latest backup before initiating a restore to ensure you have a recent copy saved.
Stay Protected with Smart Backup Management
Managing your WordPress backups with Web-Server is designed to be reliable and straightforward. Whether scheduling automatic backups or restoring your site, WBS offers straightforward tools to maintain your site’s security. There’s no need for complicated tools or technical expertise—everything you need is built into your dashboard.
